
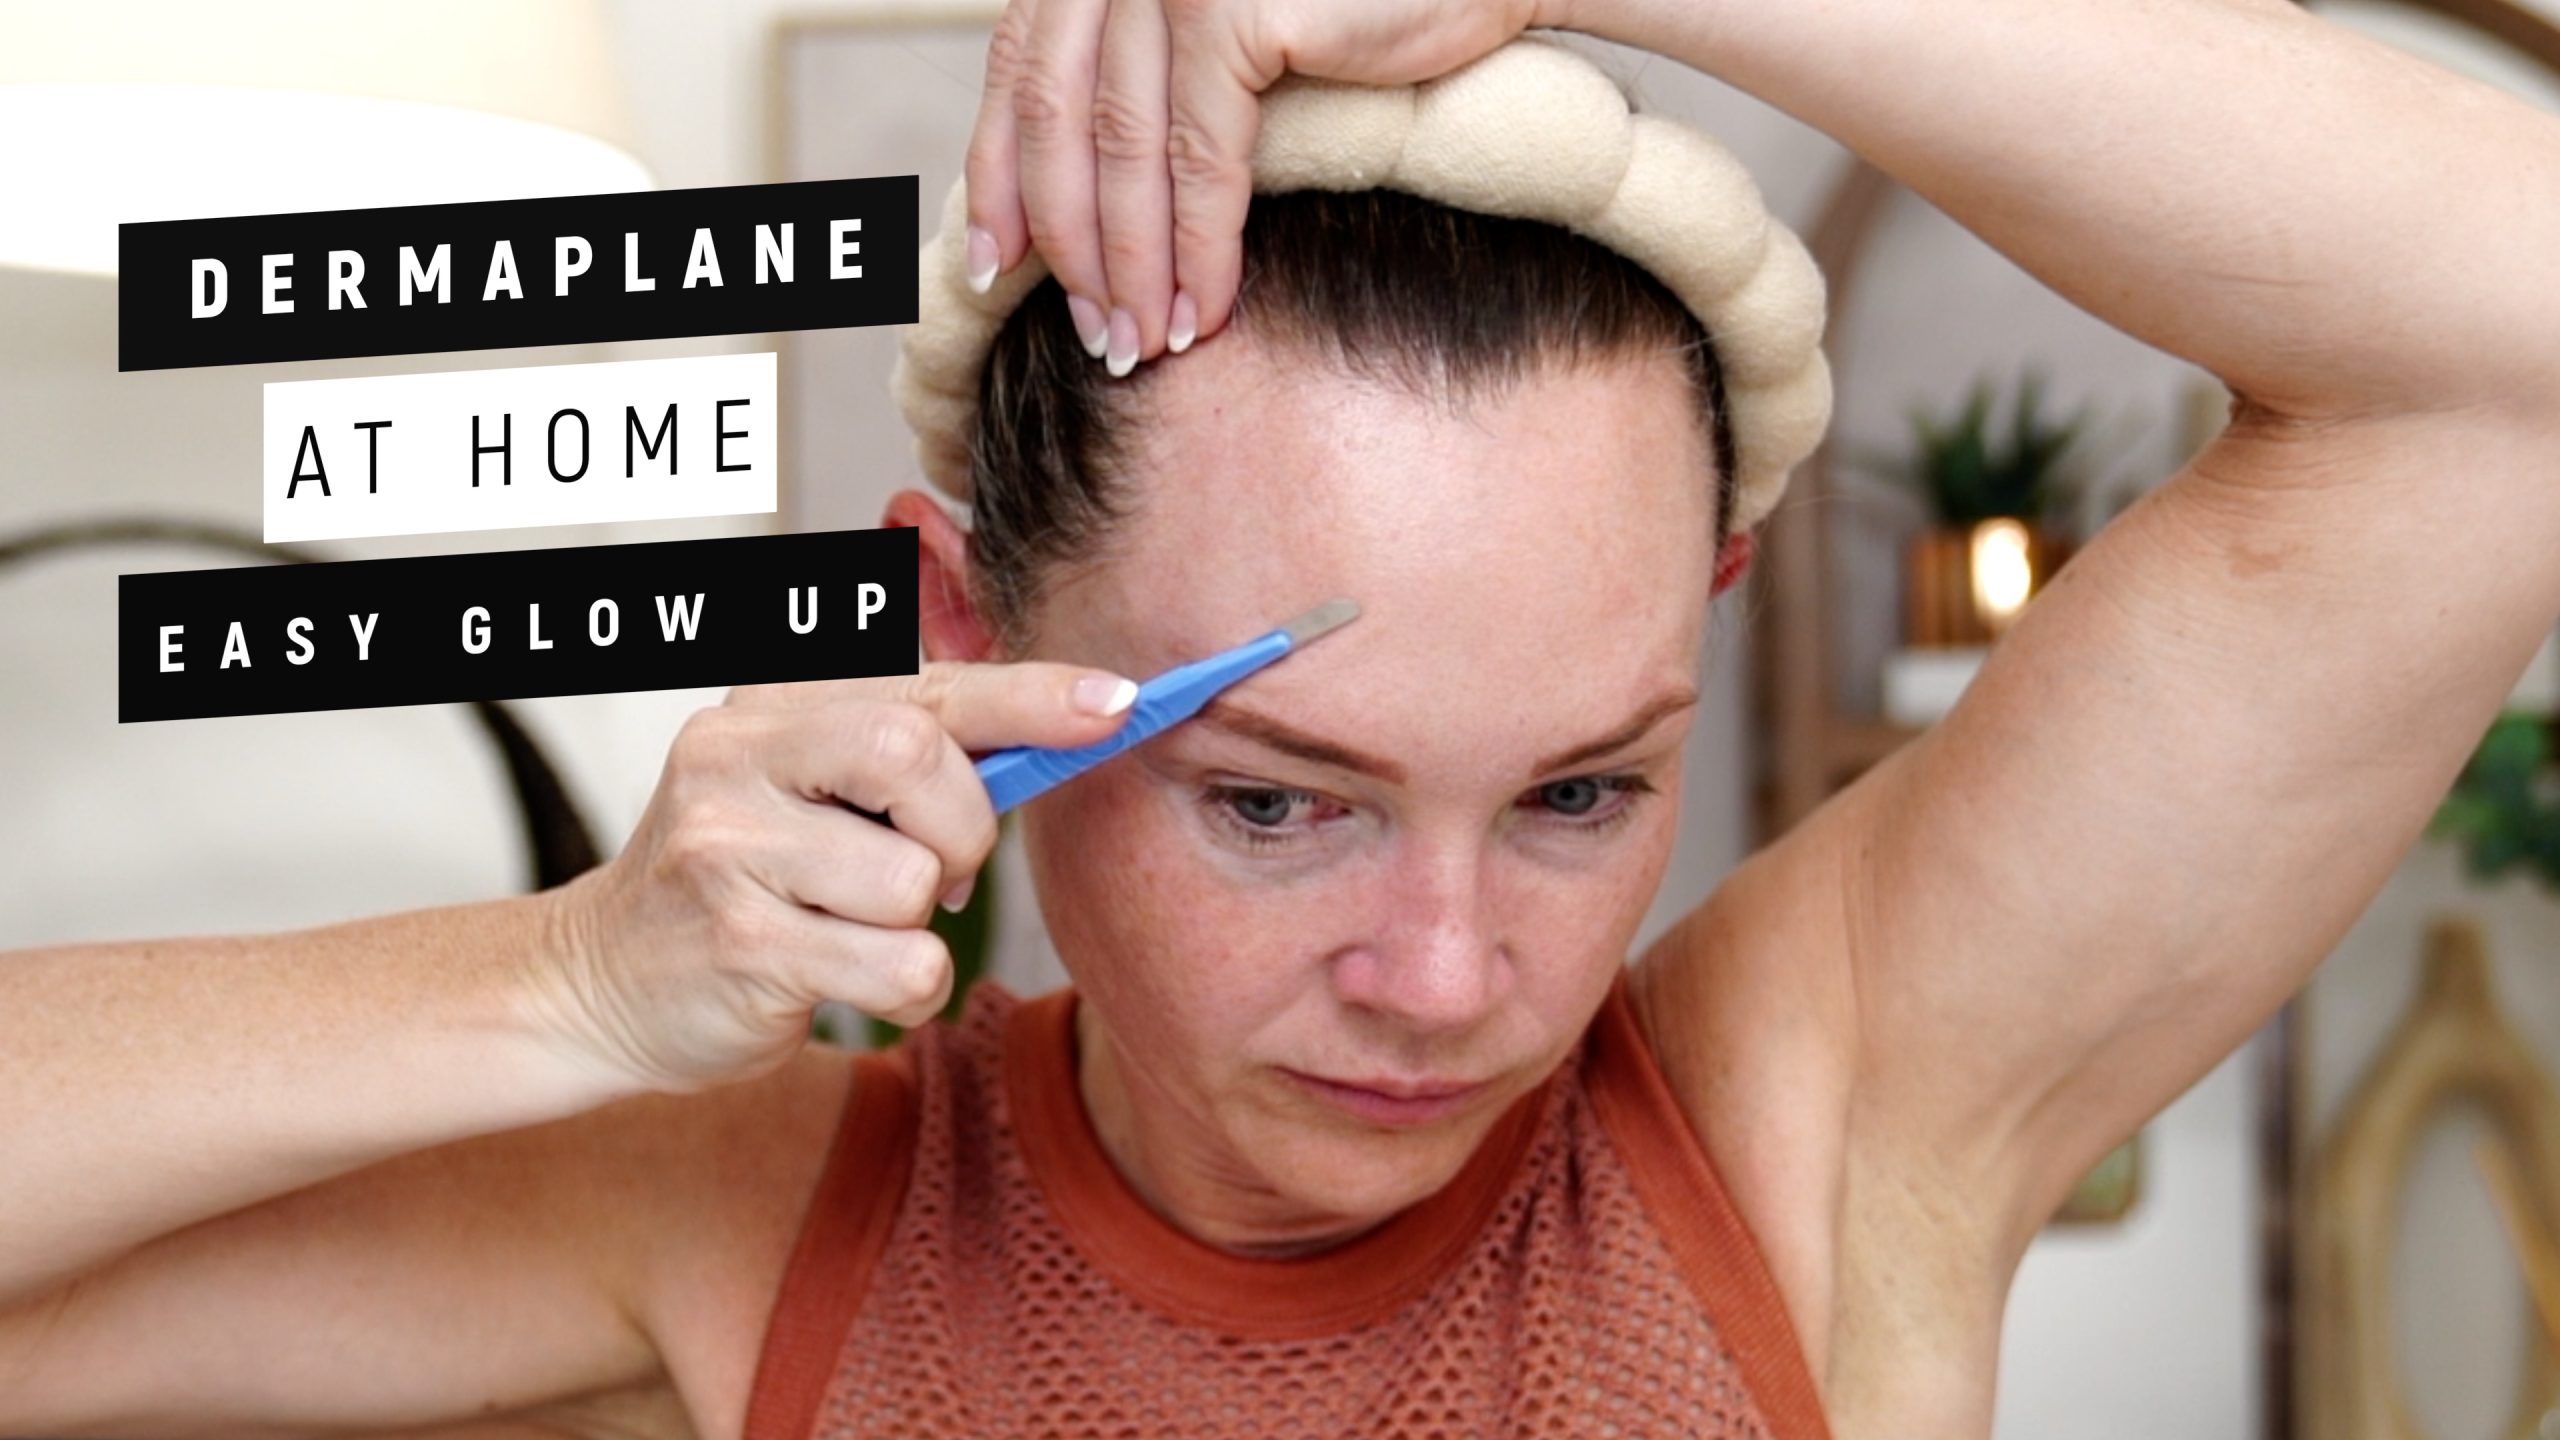
Dermaplaning, Acid Peel, and Hydration What is dermaplaning, and can it be done at home? I dermaplaned my face at home, and here’s my procedure.…
Dermaplaning, Acid Peel, and Hydration
What is dermaplaning, and can it be done at home?
I dermaplaned my face at home, and here’s my procedure.
Dermaplaning and taking care of your skin at home is extremely possible! It will also save you time and money, plus, you’ll love how smooth and bright your skin will be.
Dermaplaning is a cosmetic treatment in which a scalpel scrapes dead skin cells and peach fuzz (also known as vellus hair) off your face.
Most will have this treatment done in the office, but it can be successfully done at home.
What are the benefits of dermaplaning?
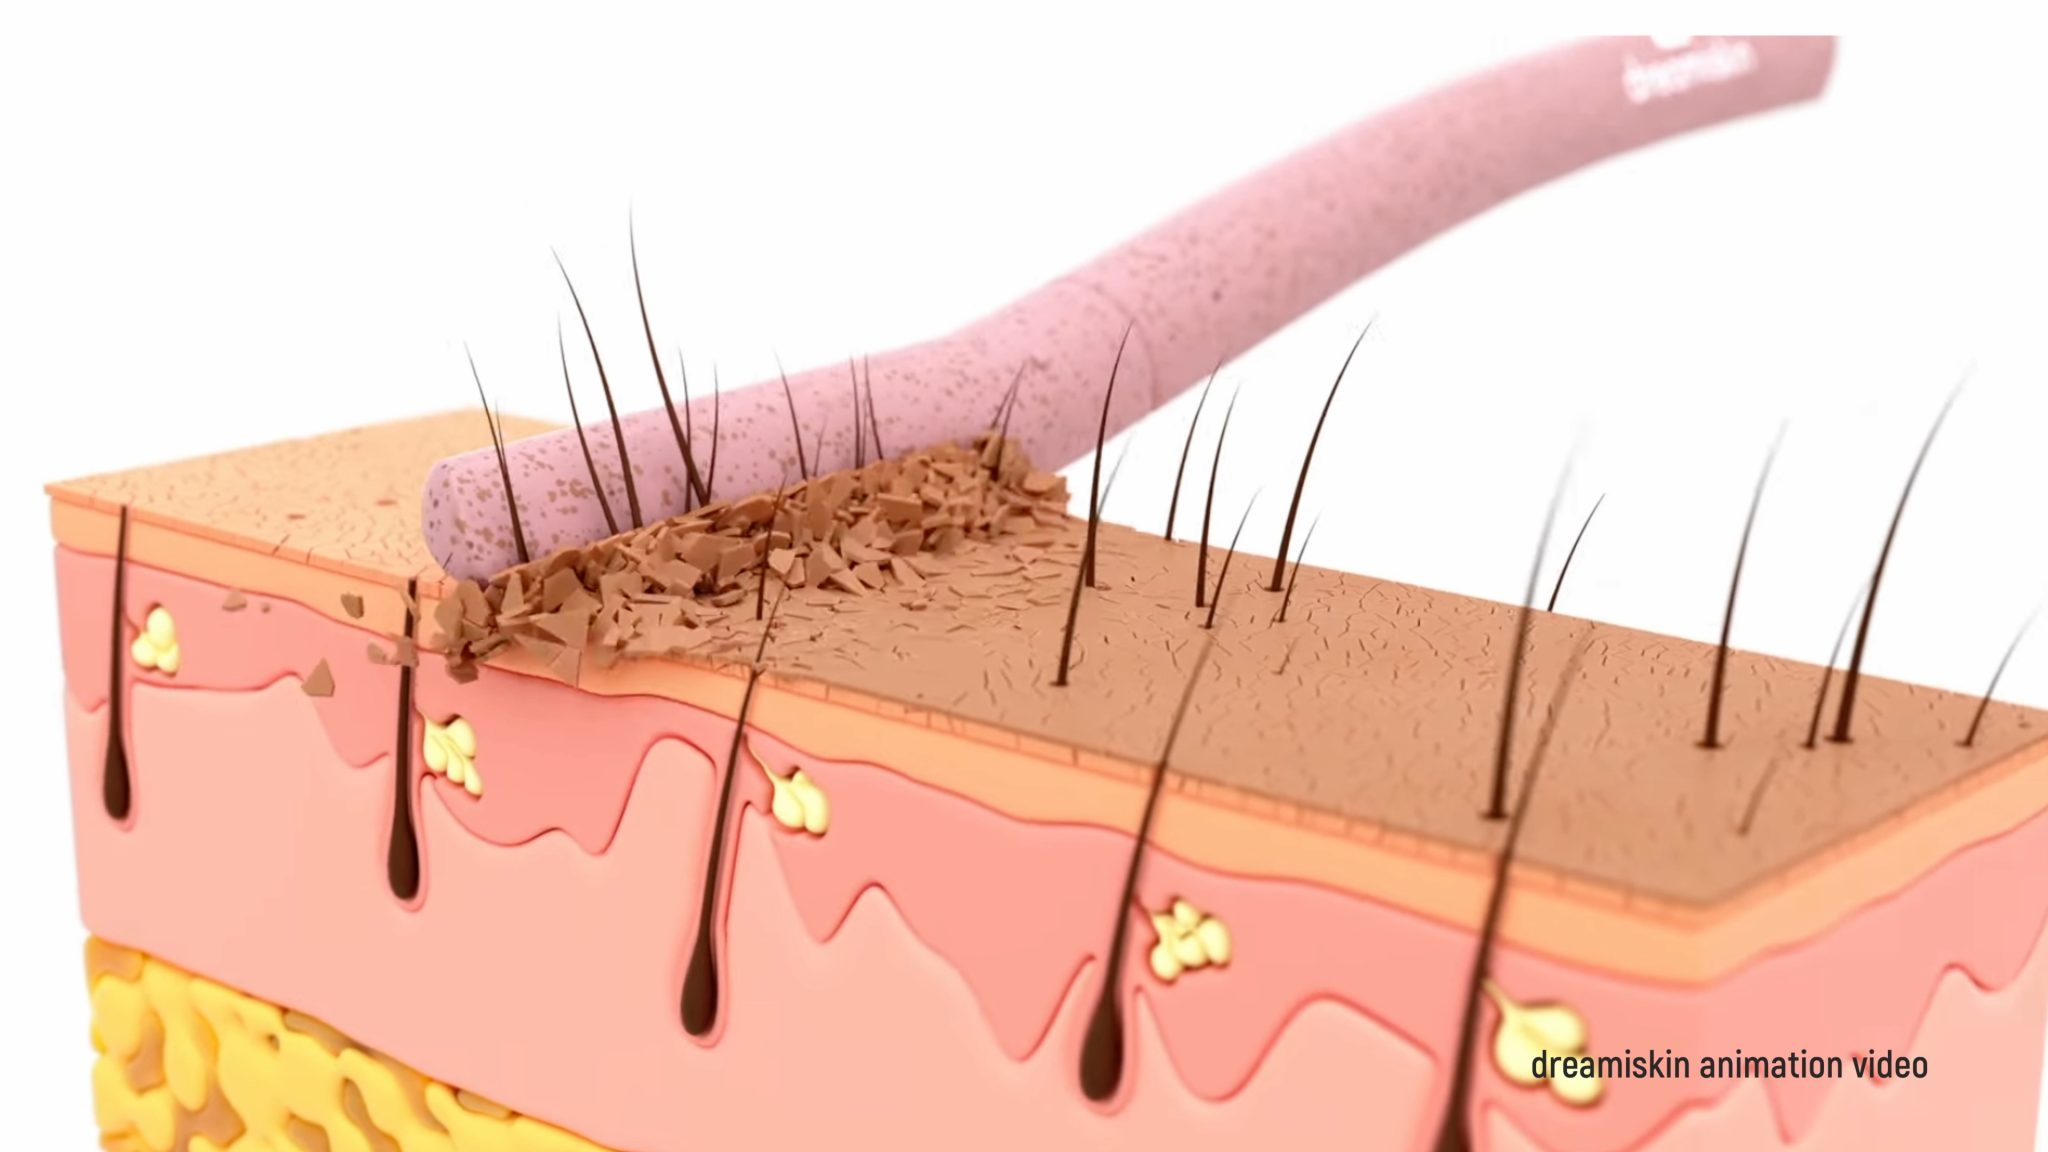
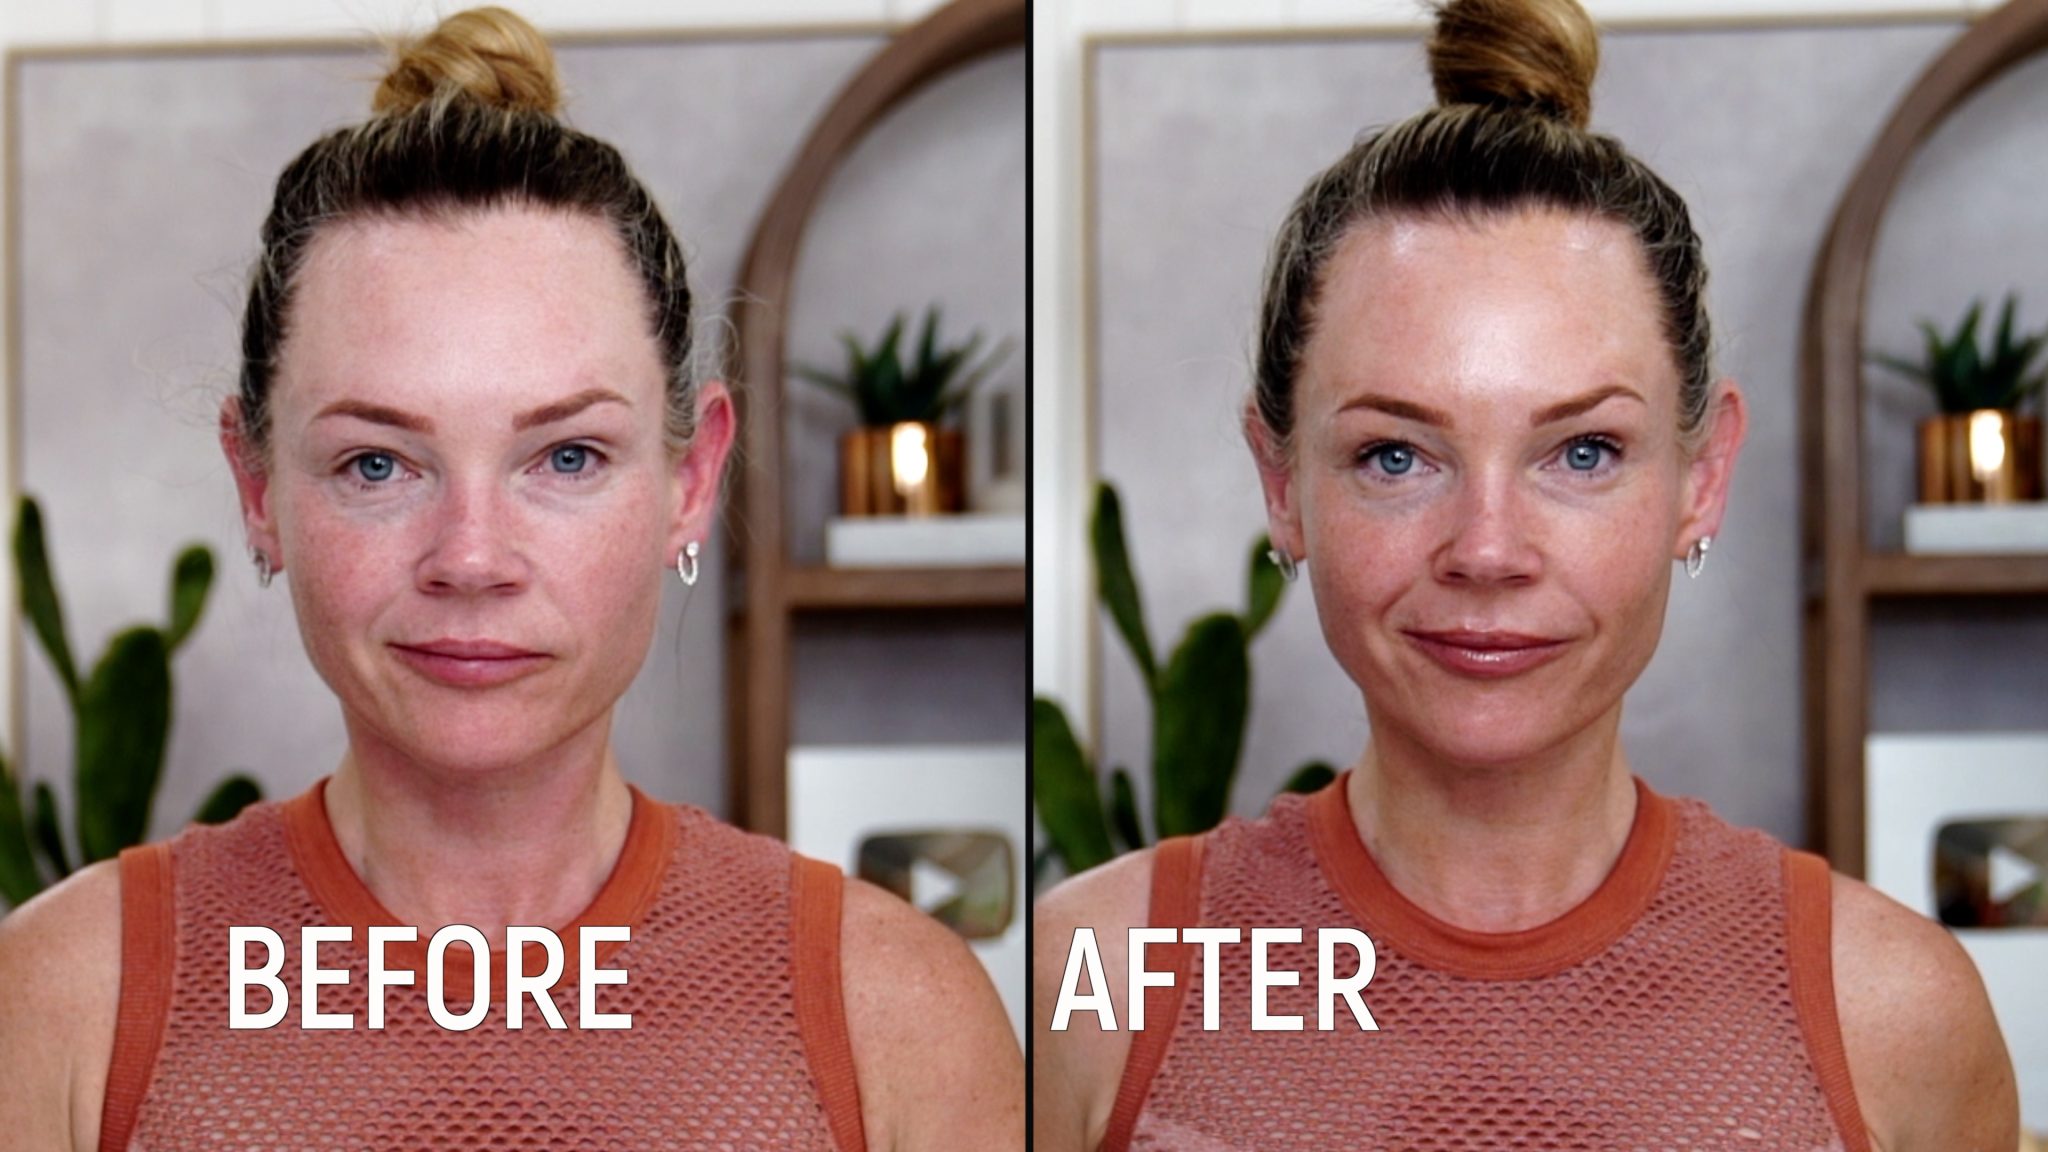
Dermaplaning is beneficial because it mechanically removes the top micron of skin, allowing better product penetration and the appearance of newer, fresher skin cells to be seen.
Your skincare products will absorb deeper, and your makeup will look less makeupy because it’s going on a smoother canvas.
How often can you dermaplane at home?
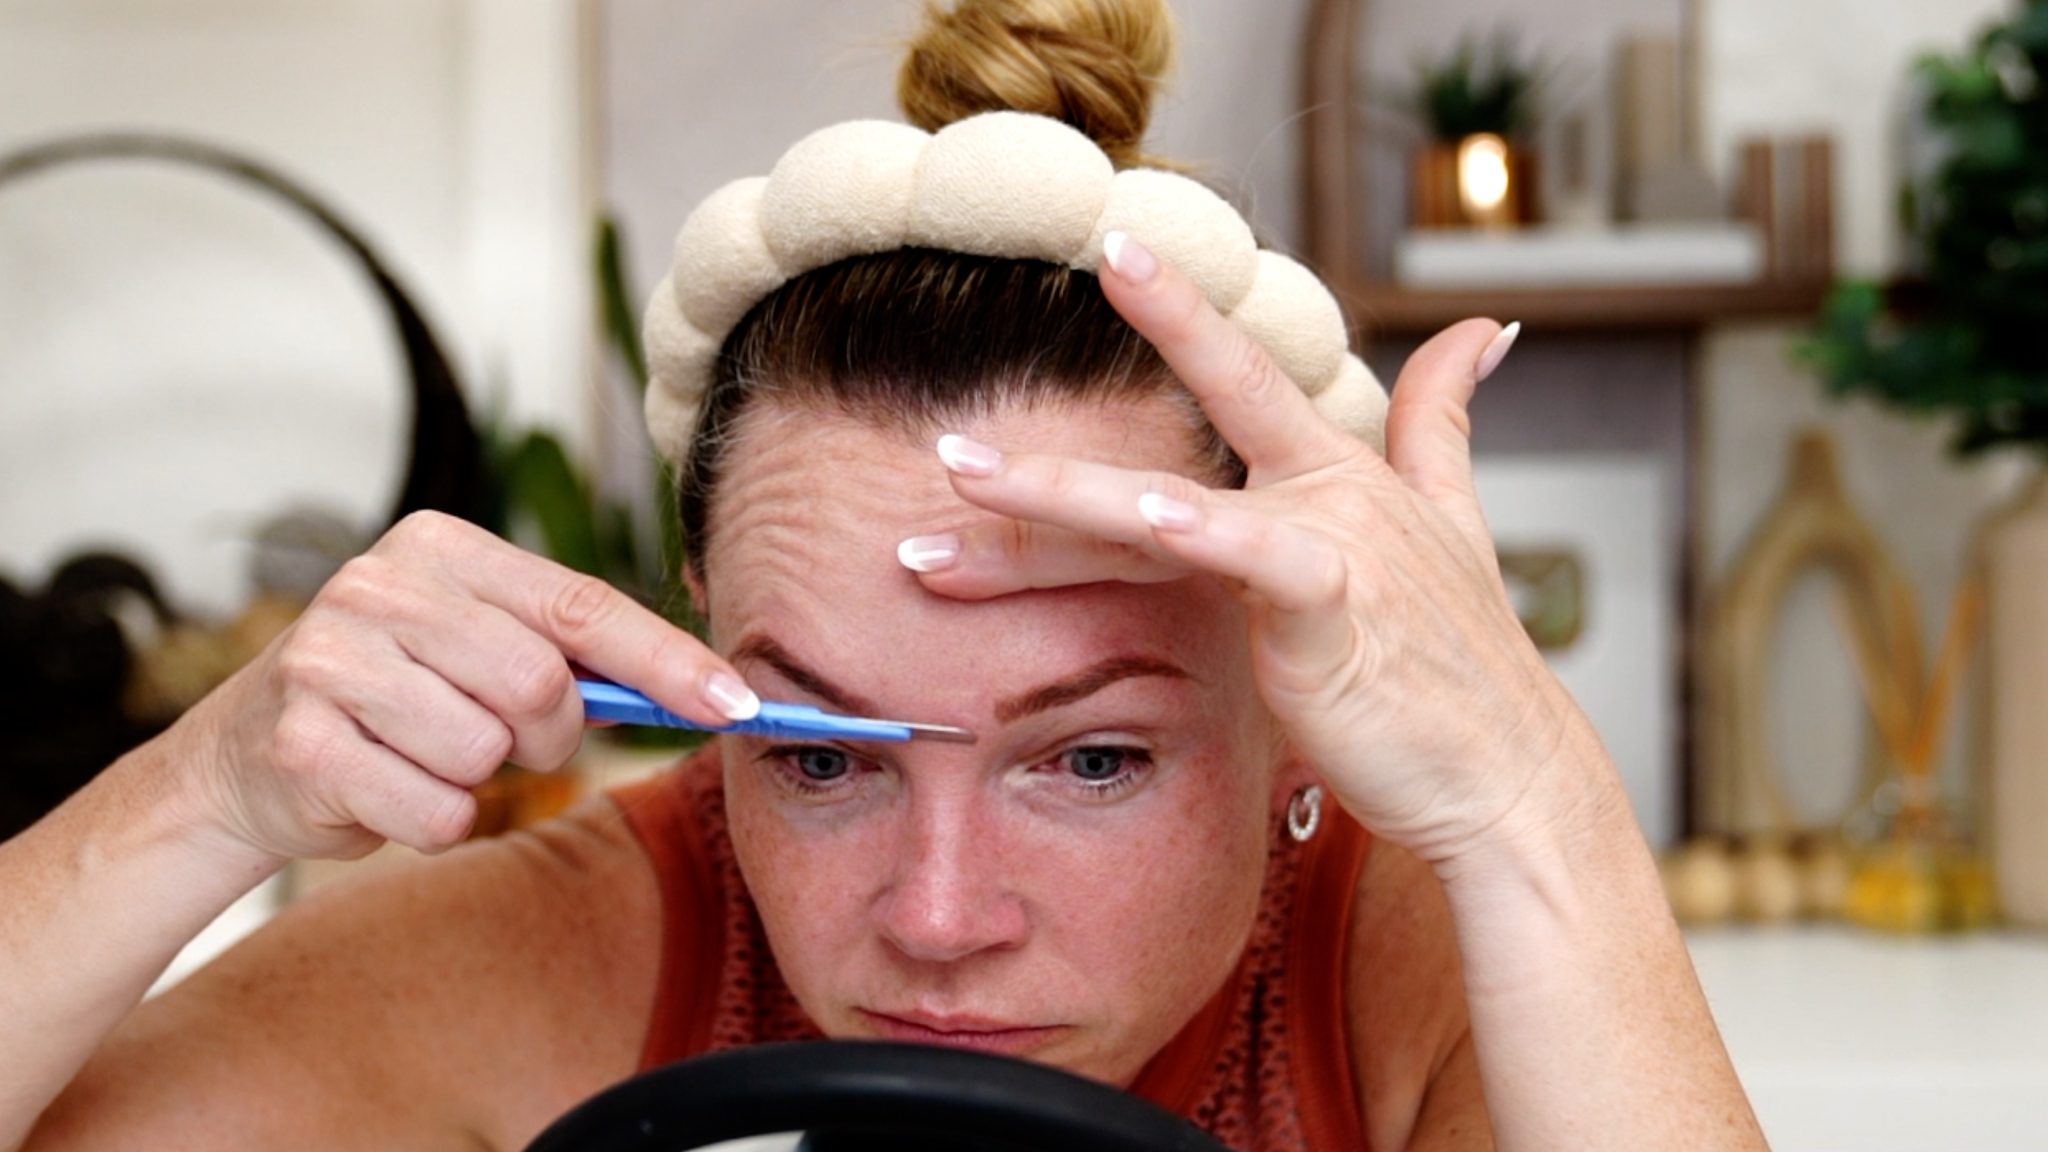
We all collect skin cell buildup and unwanted vellus hair at different rates.
Personally, I can dermaplane once per month, but typically, I tend to do it quarterly.
DERMAPLANING PROCEDURE
This is the at-home dermaplaning procedure I’ve been sharing for years, and I still love doing it this way.
Everything I use is linked below in a blog post so you can easily find everything and any current deals.
Prepping for dermaplaning basically implies a deep clean so the dermaplaning blade can easily shave off vellus hair and dead skin.
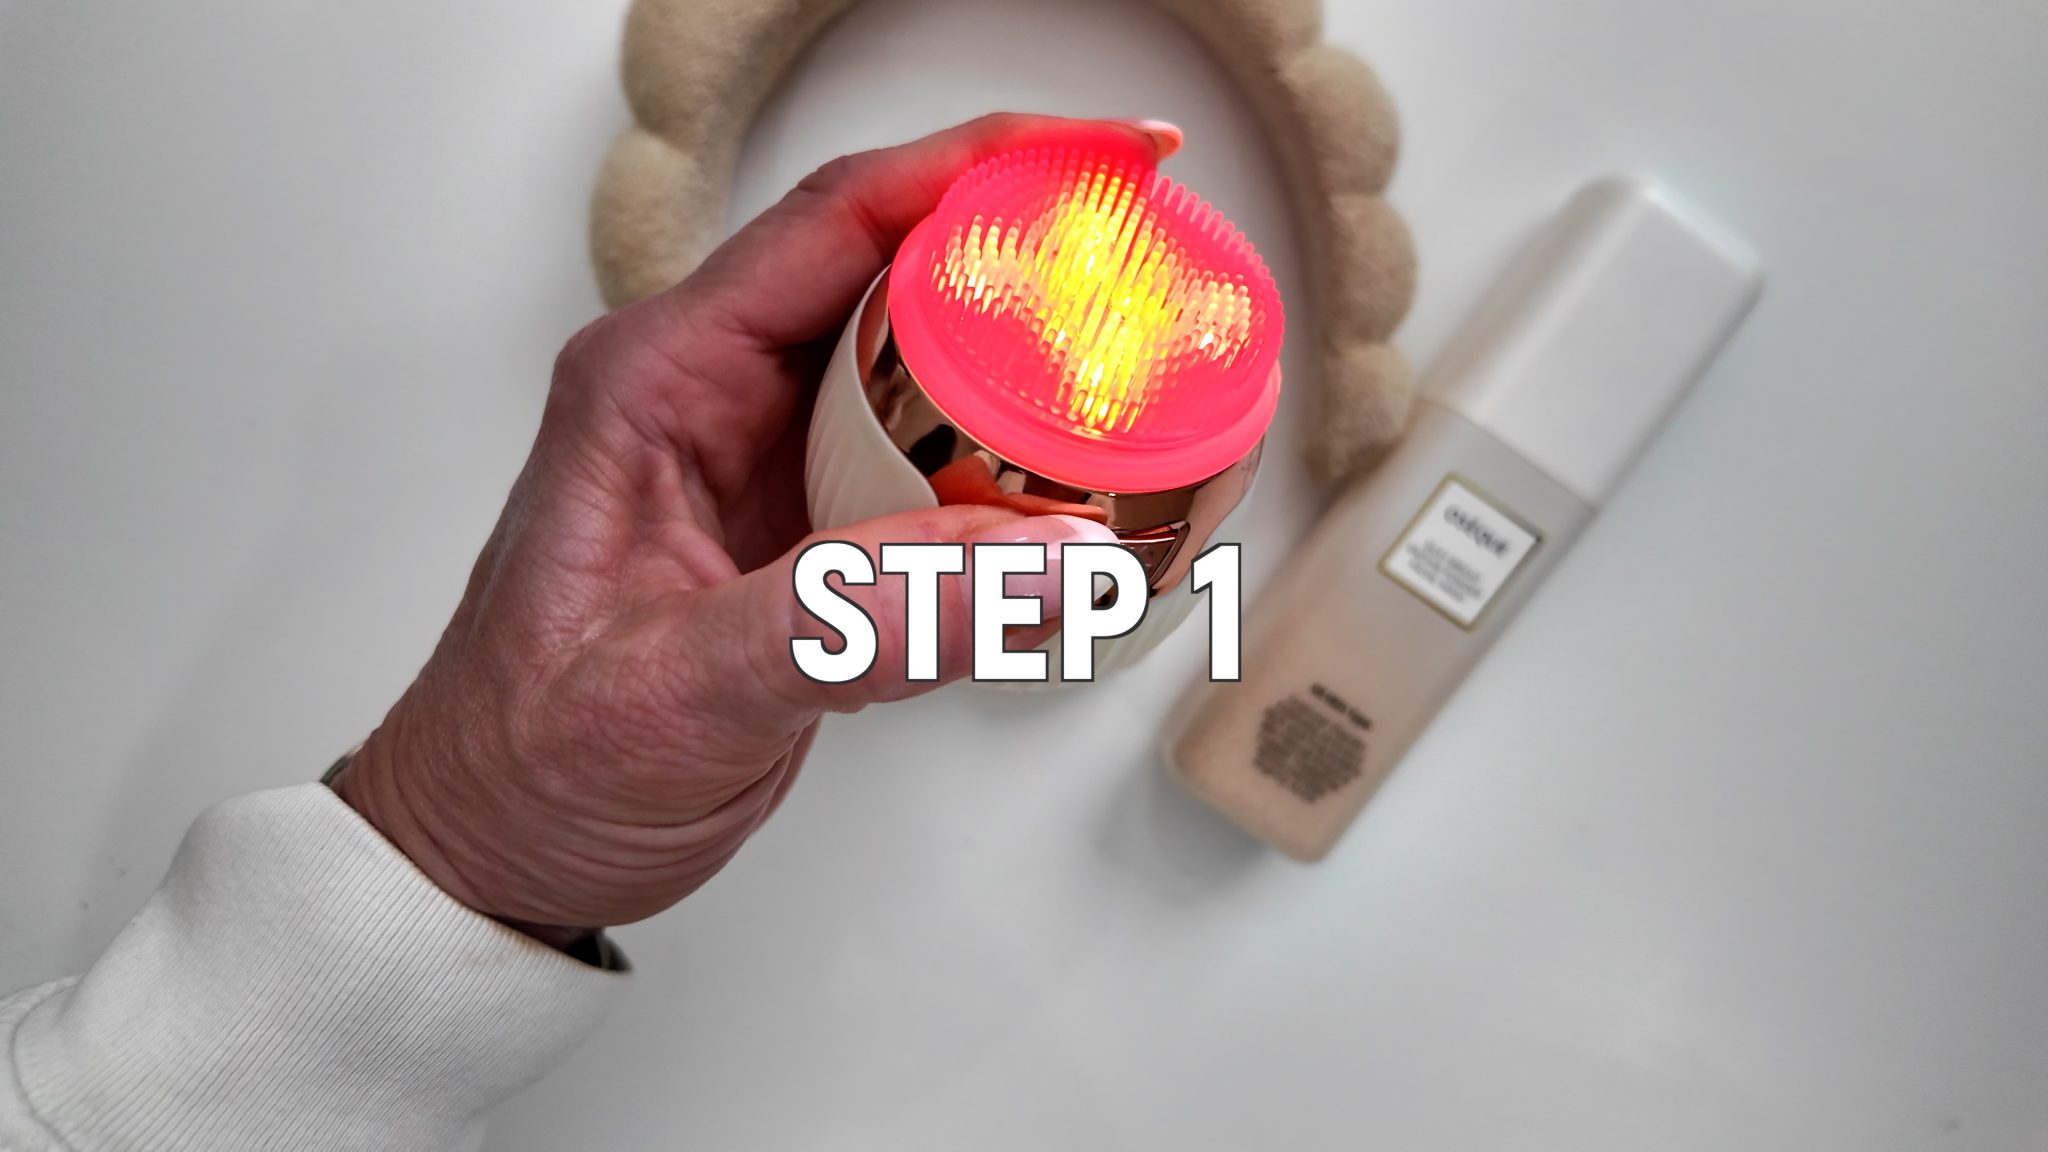
STEP 1:
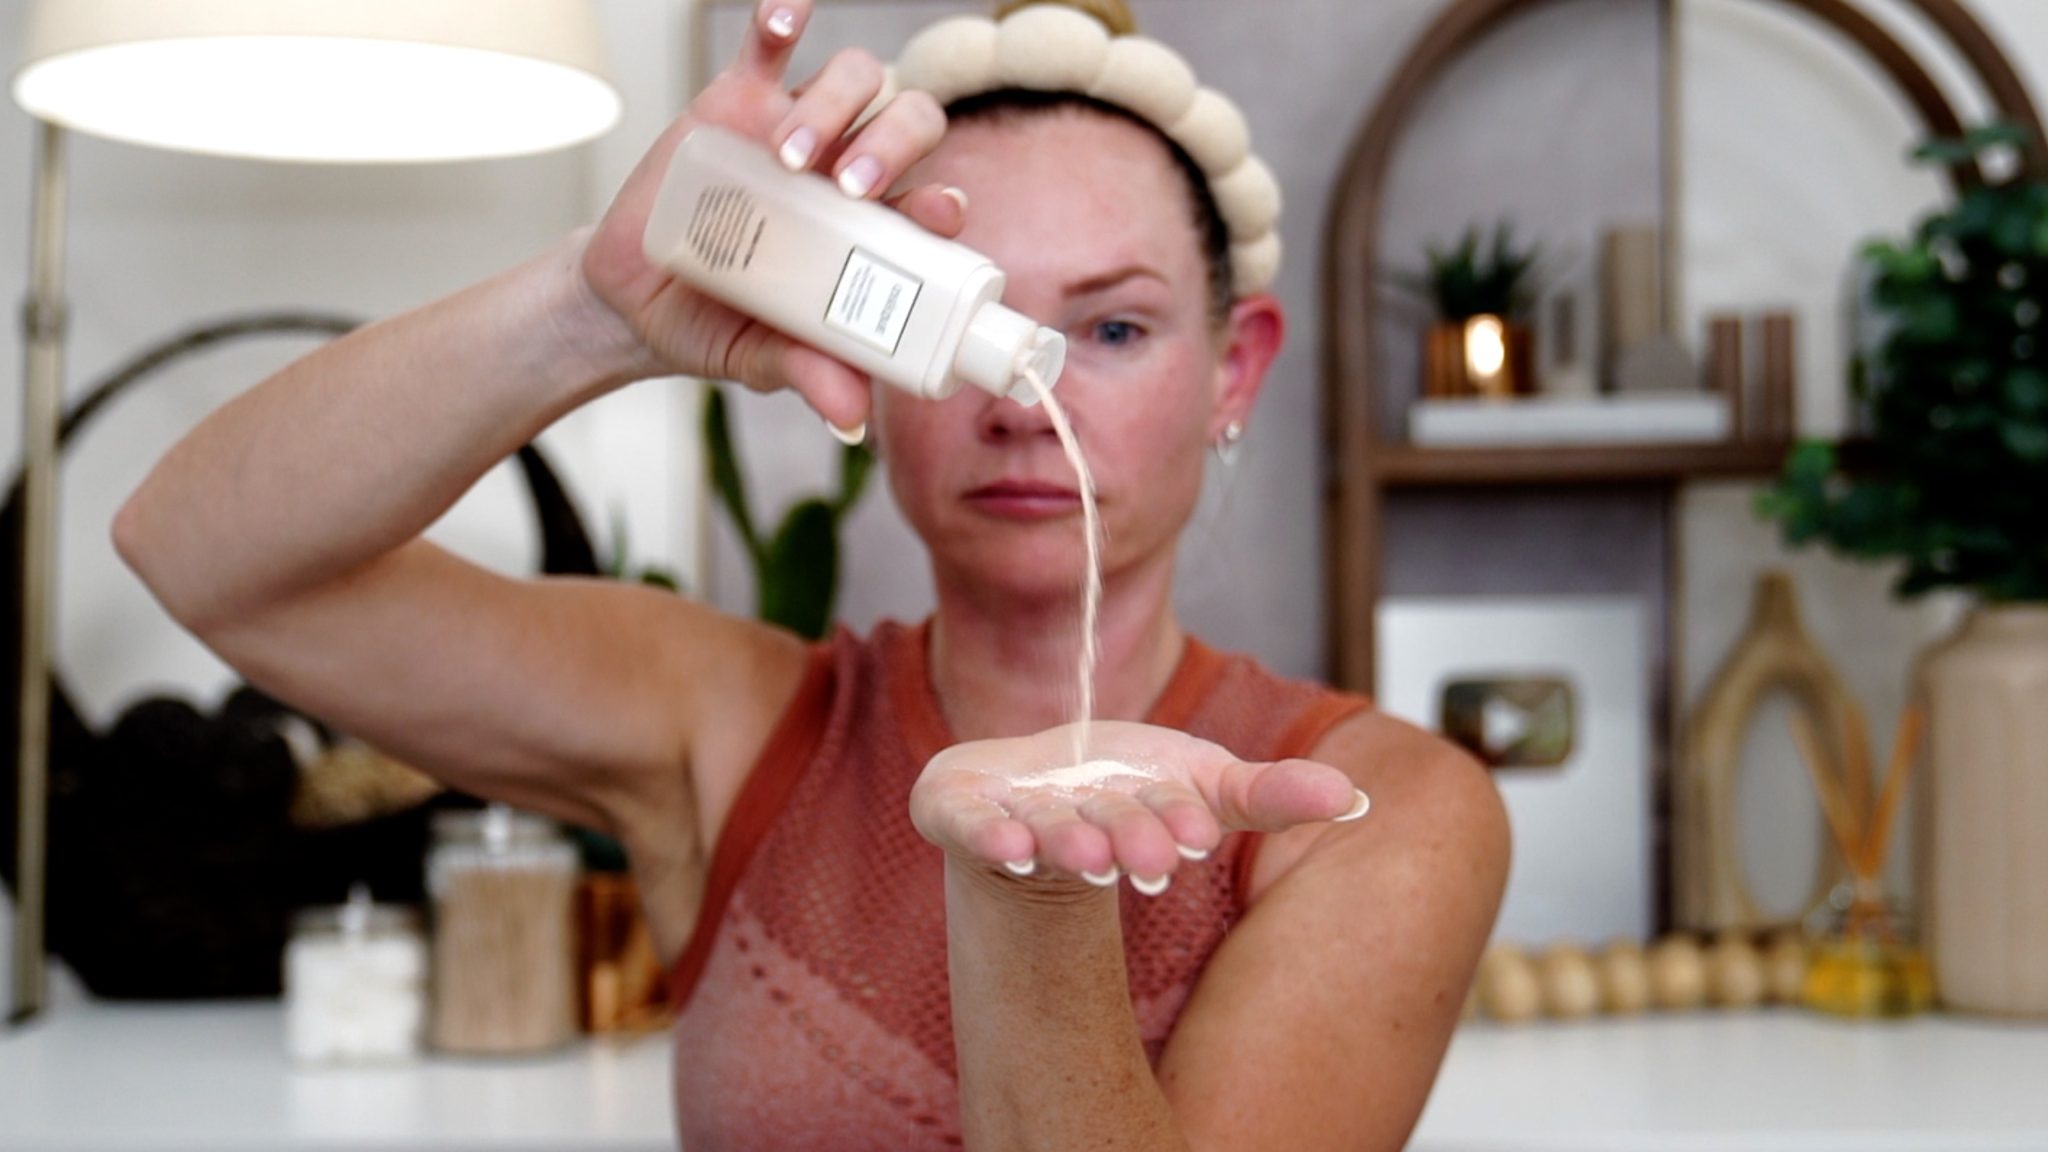
For our cleanse, we’re using an enzyme wash.
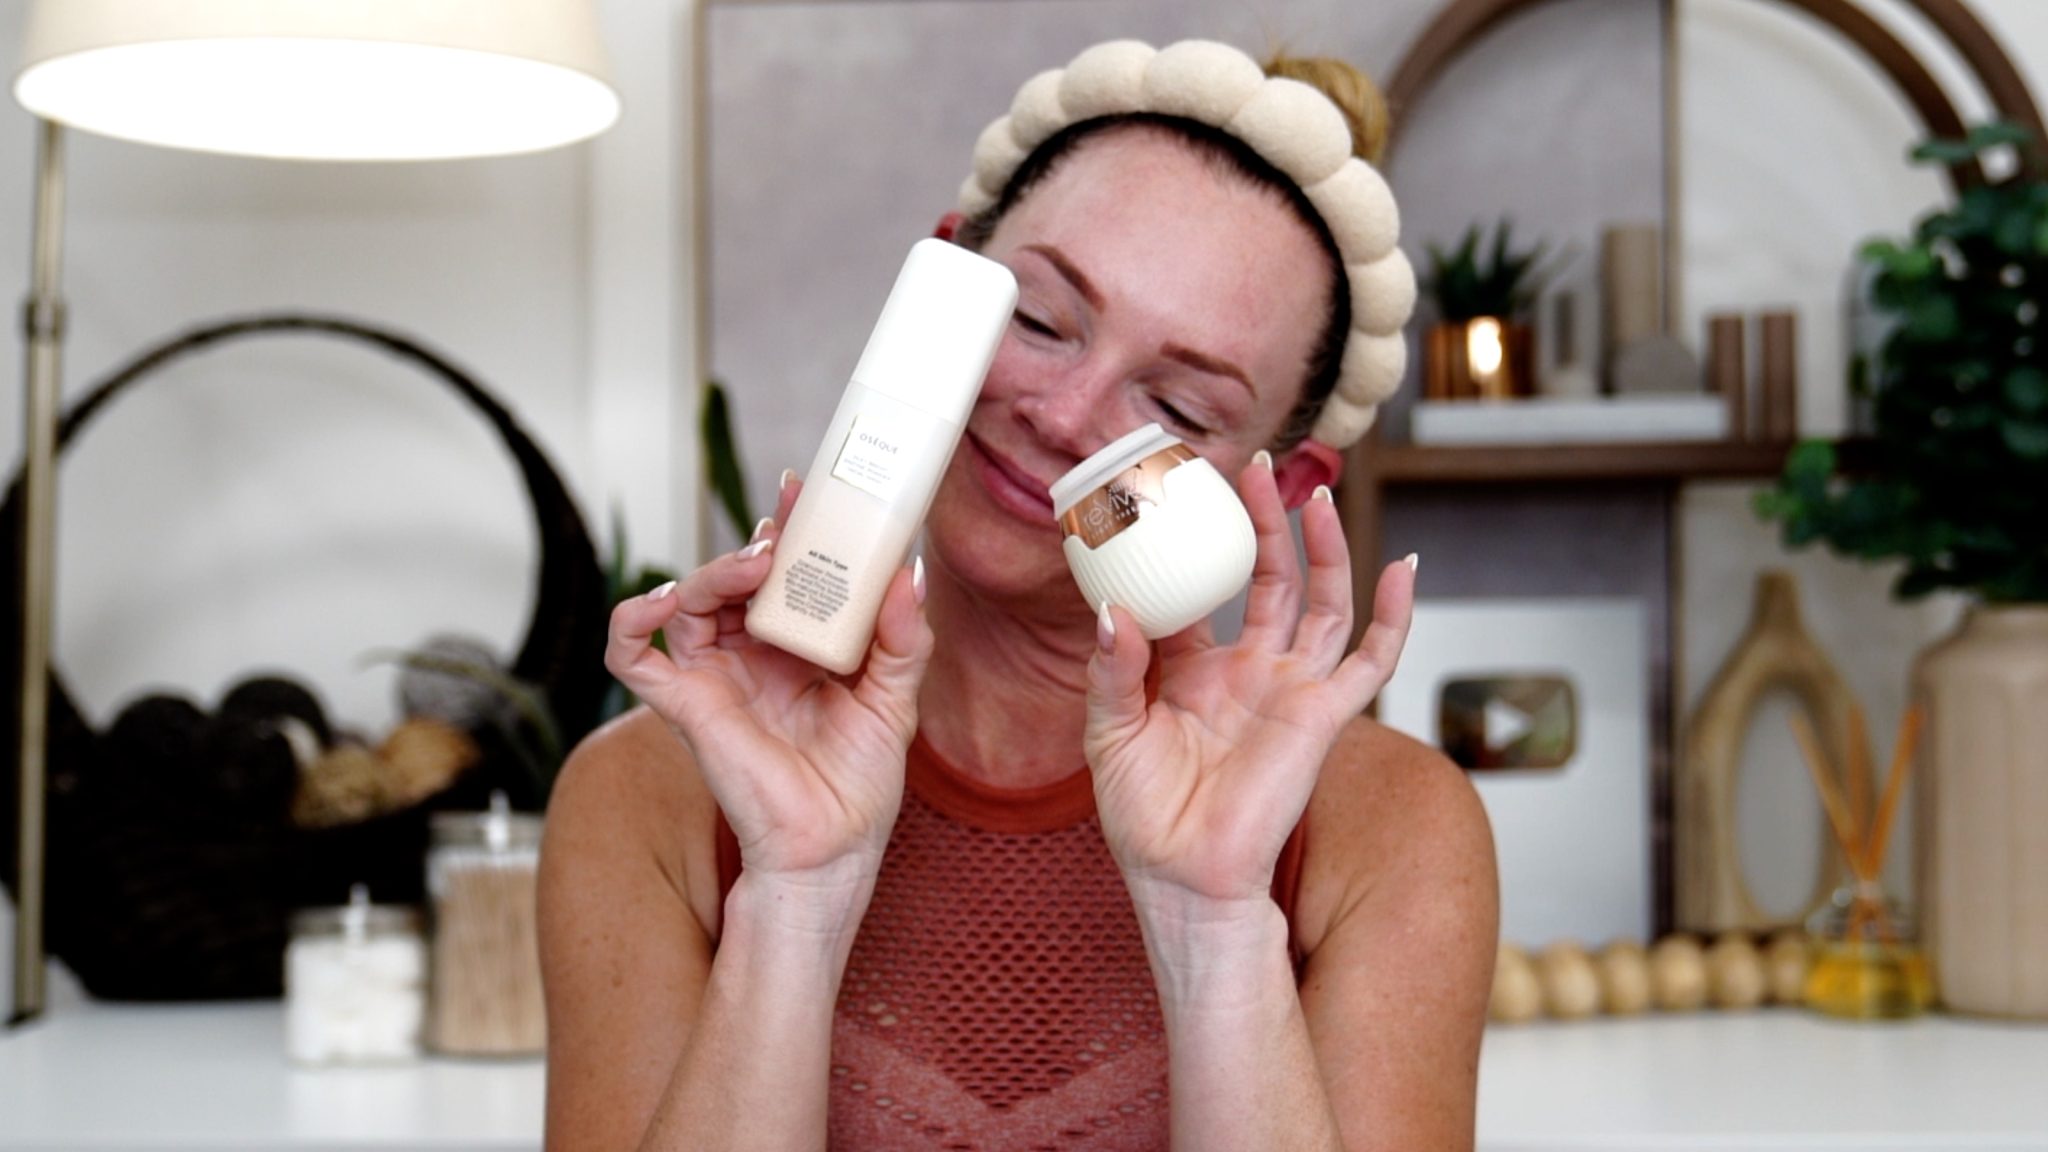
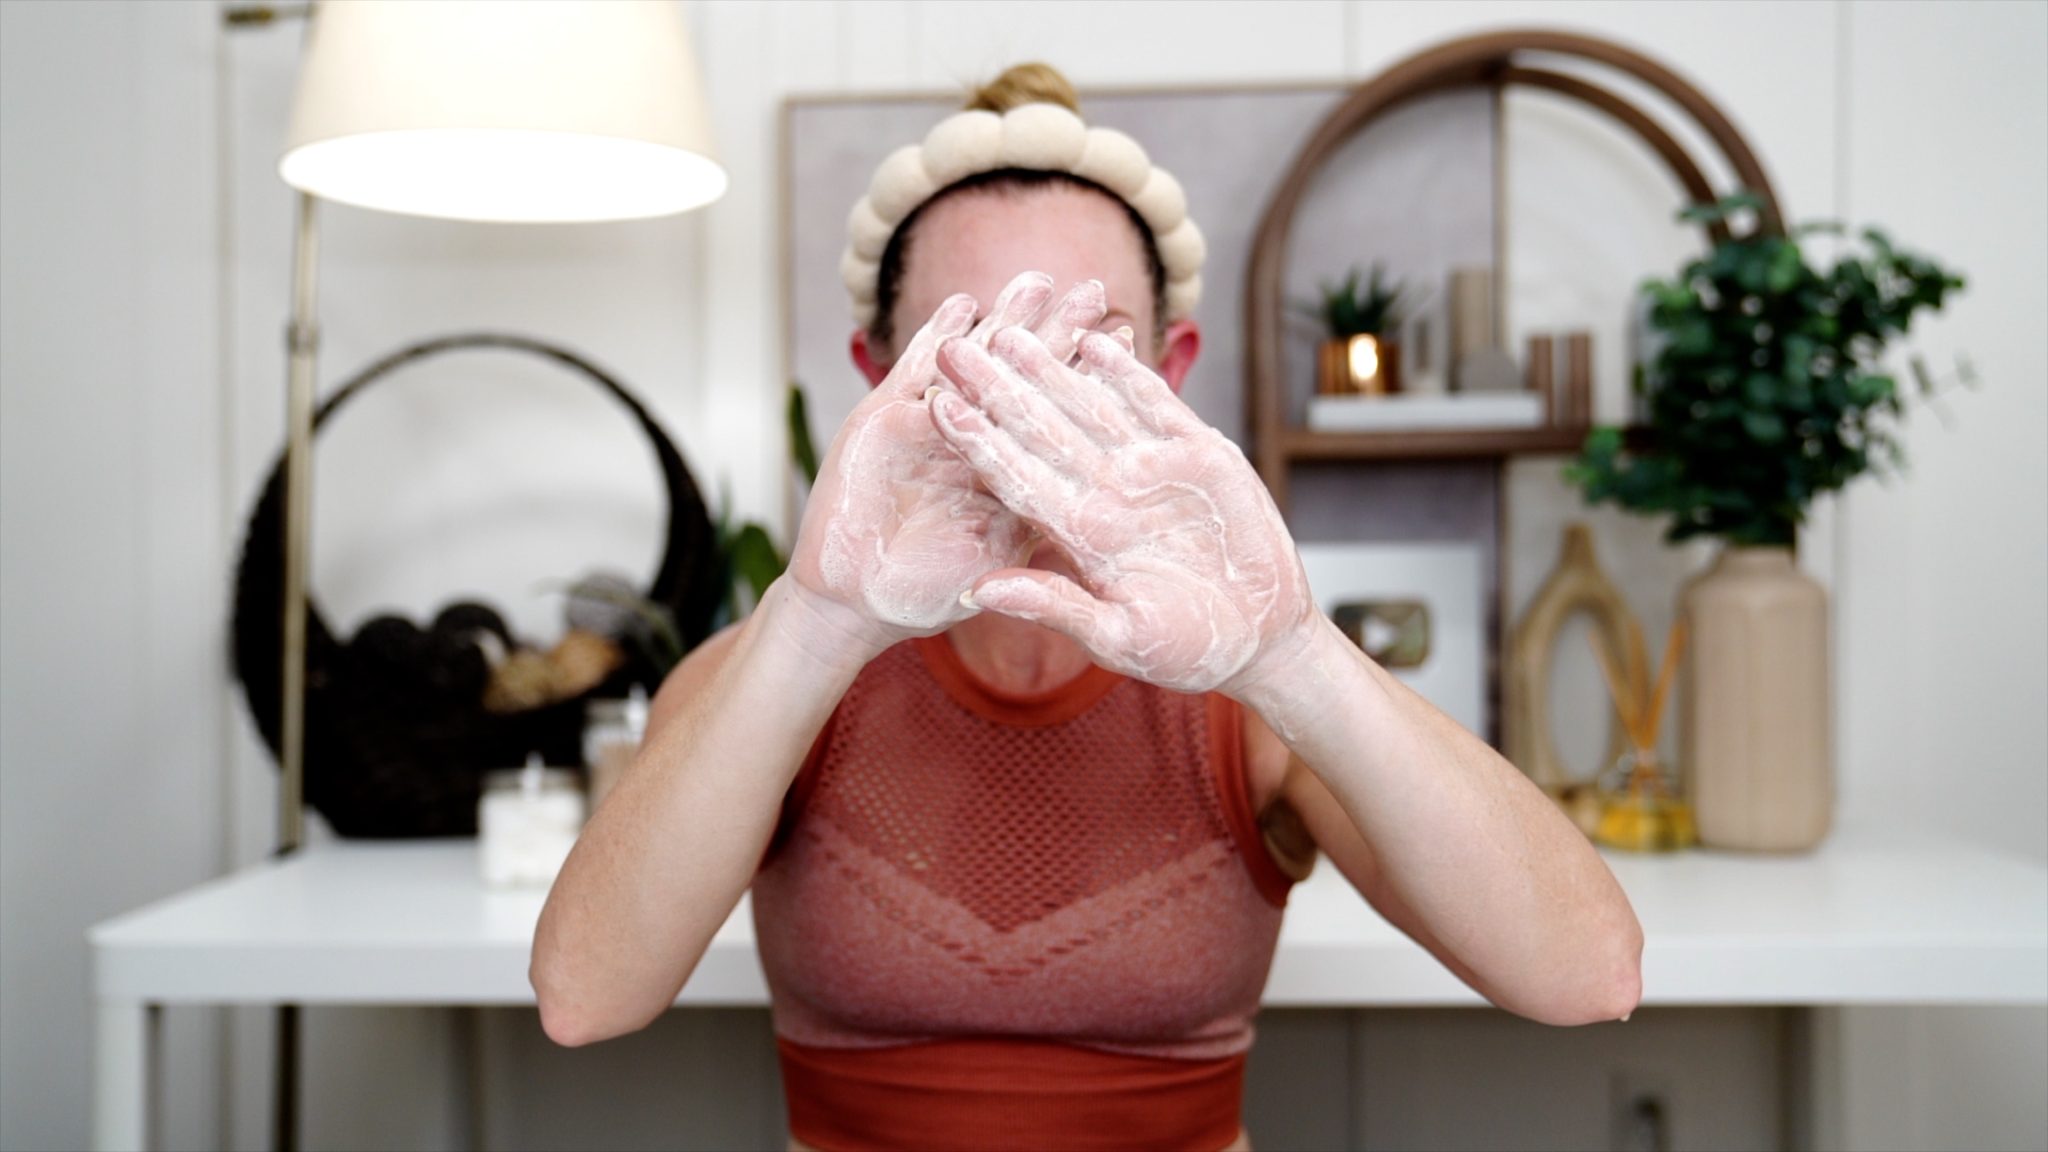
This powerhouse product deep cleanses your skin and breaks up any oil that can later clog your dermaplaning blade, ensuring a smooth and effective dermaplaning session.
Along with the enzyme wash, I’m using an electric cleansing brush to help slough off dead skin cells.
STEP 2:
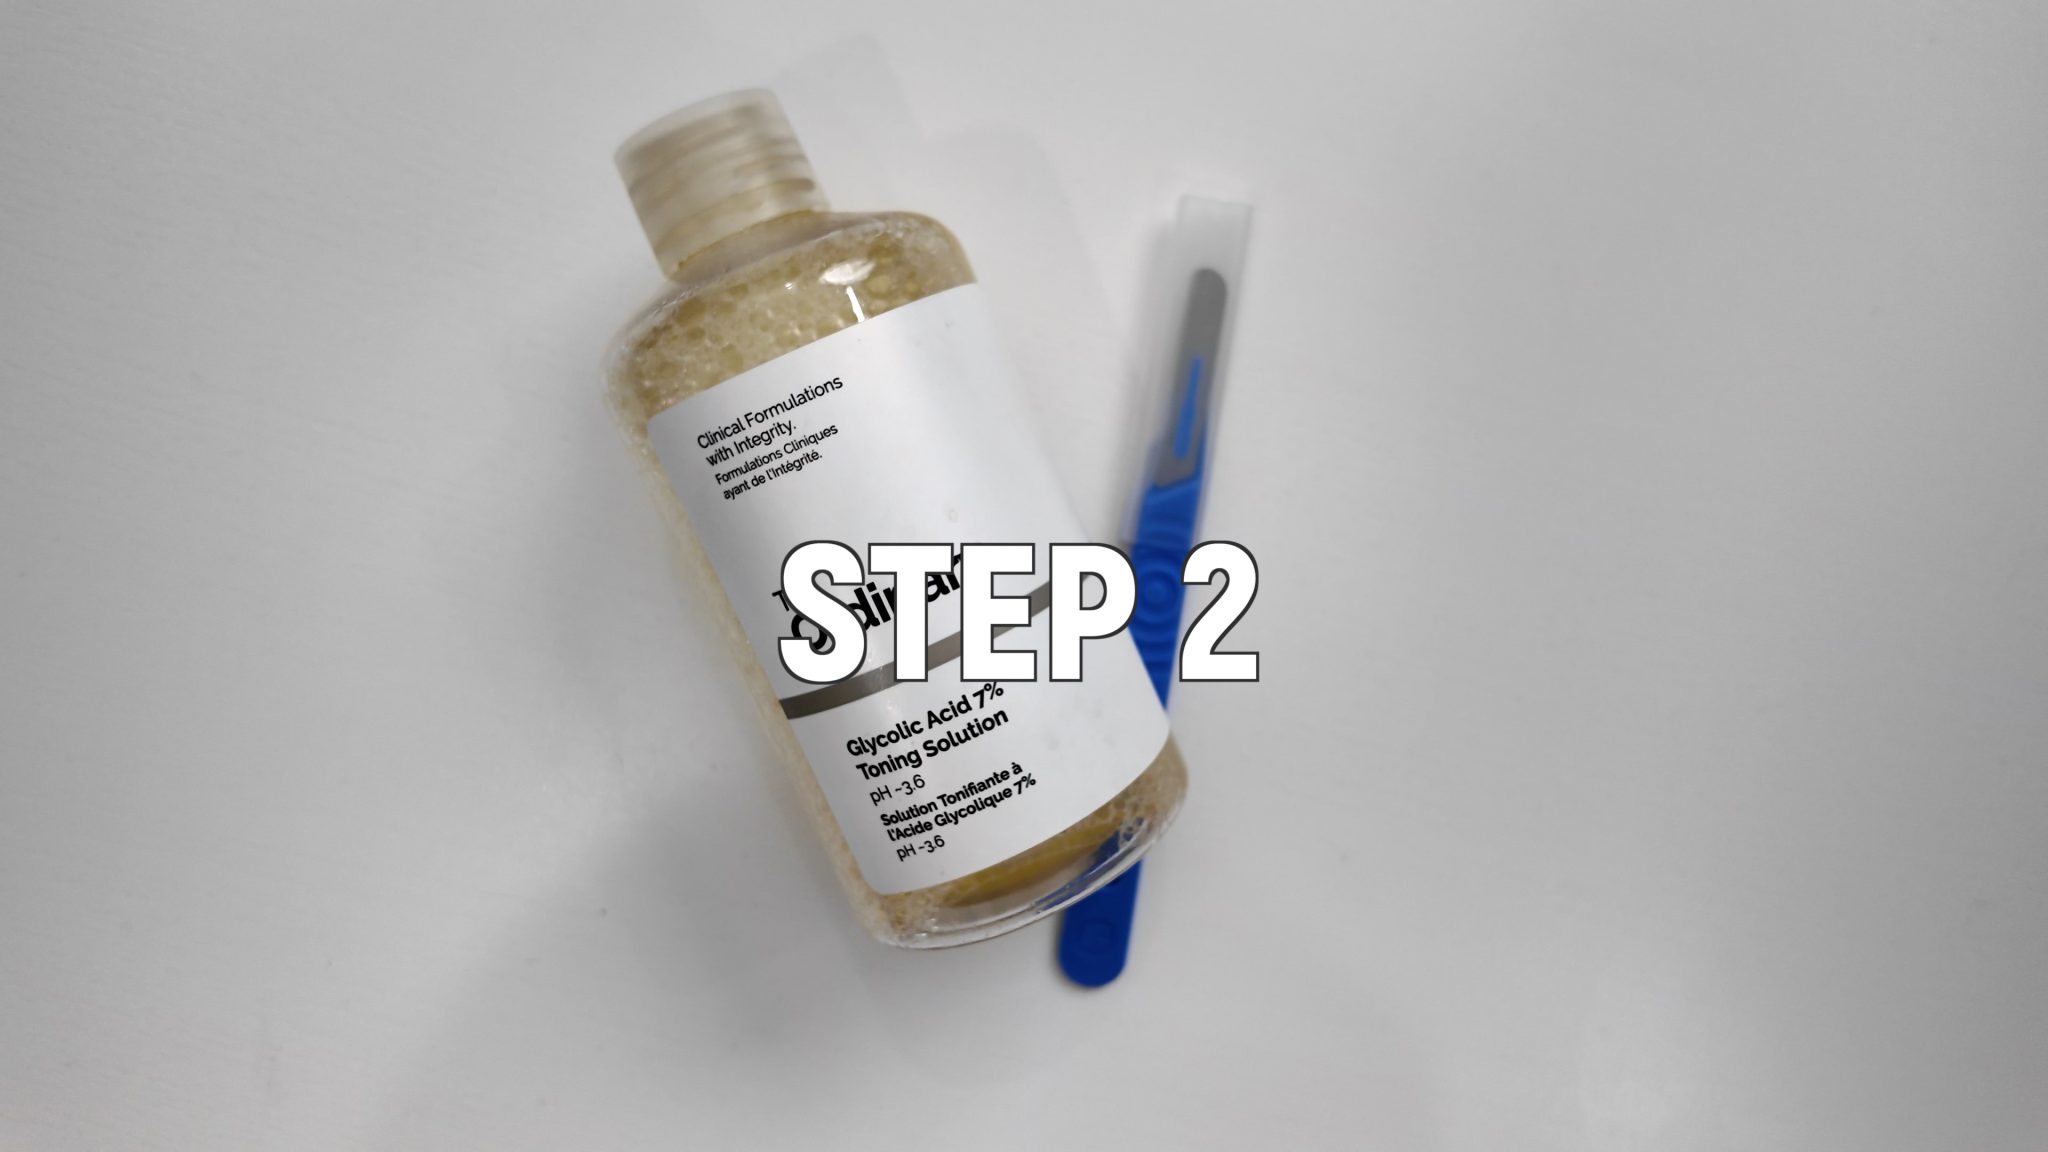
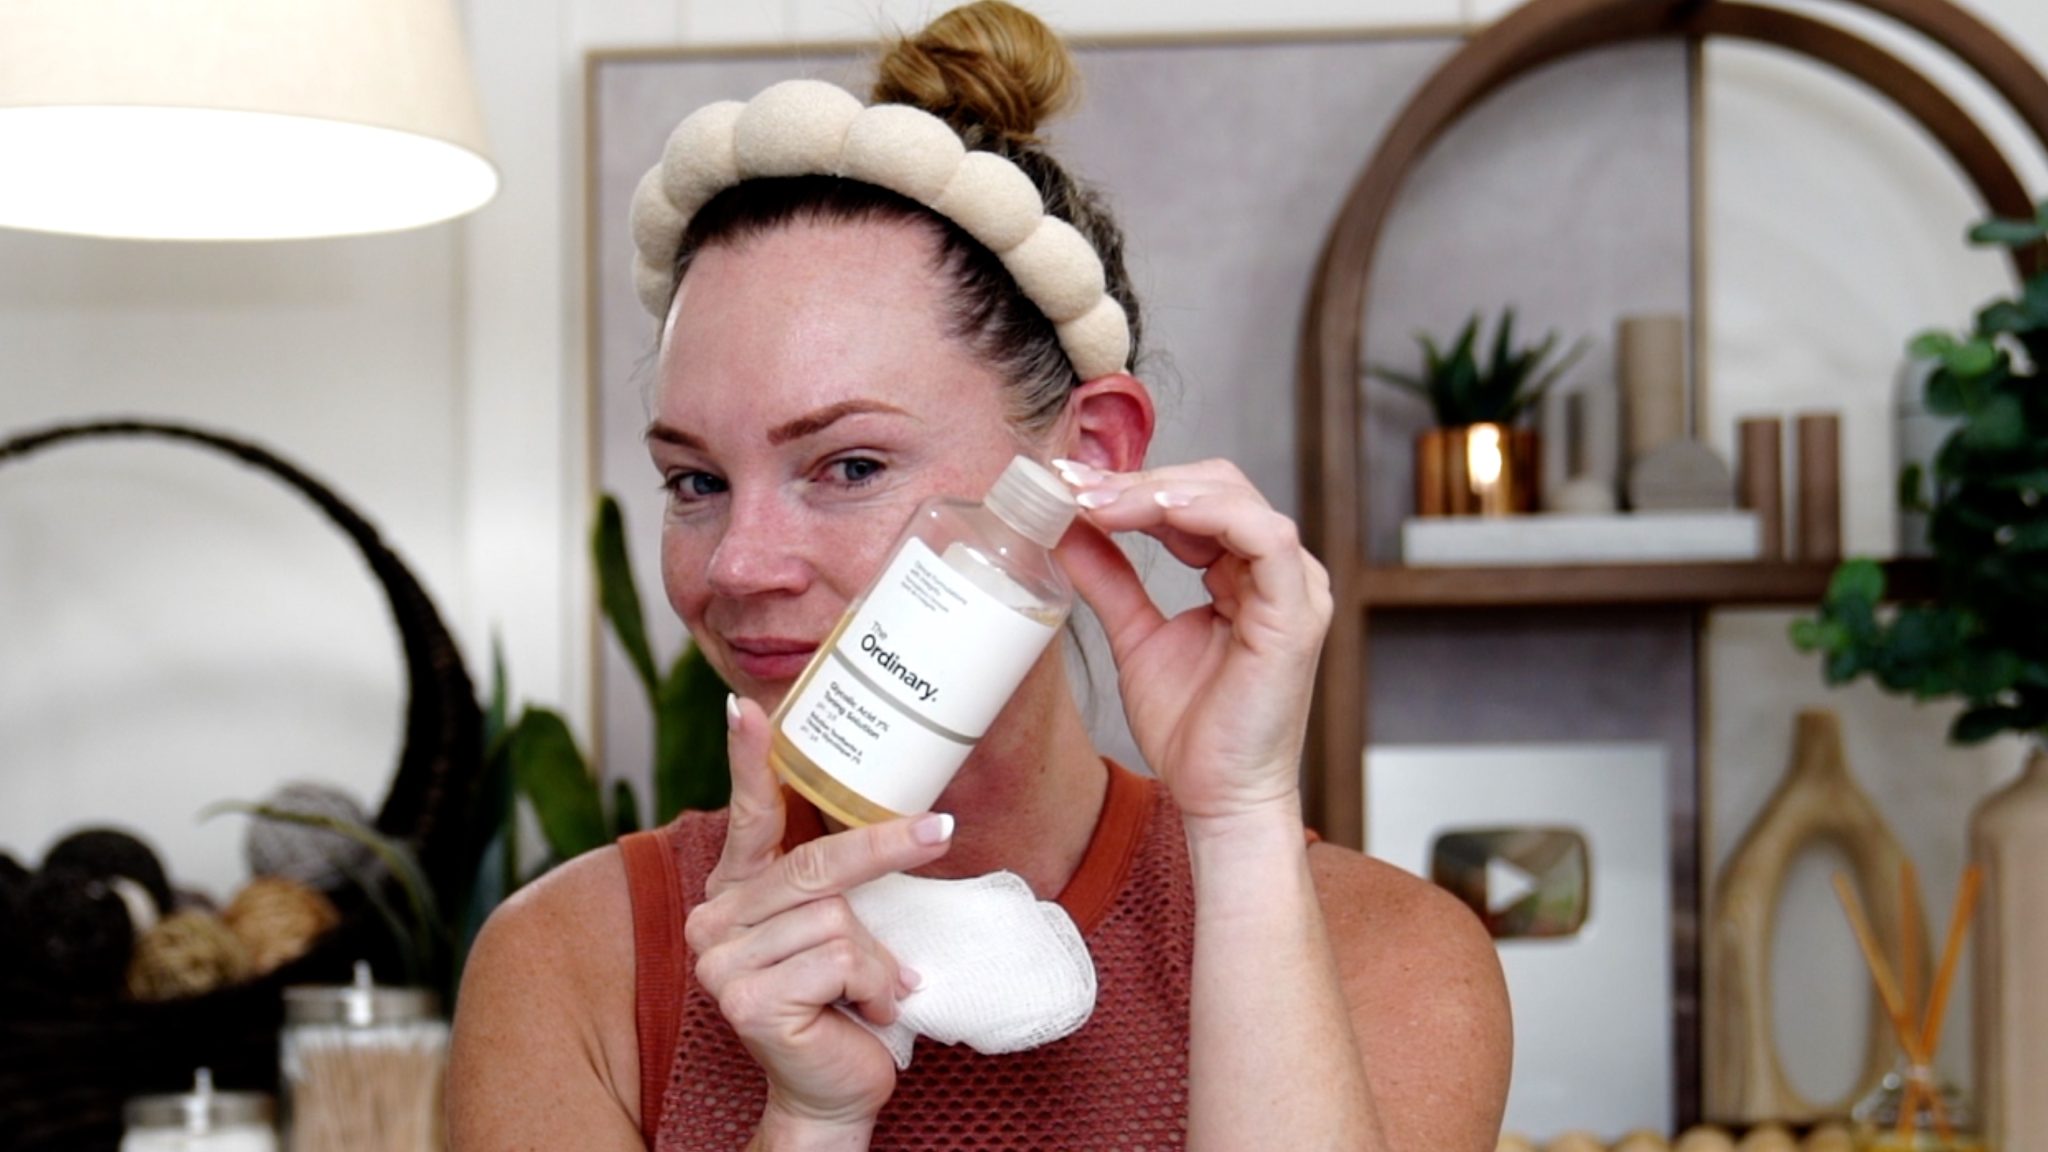
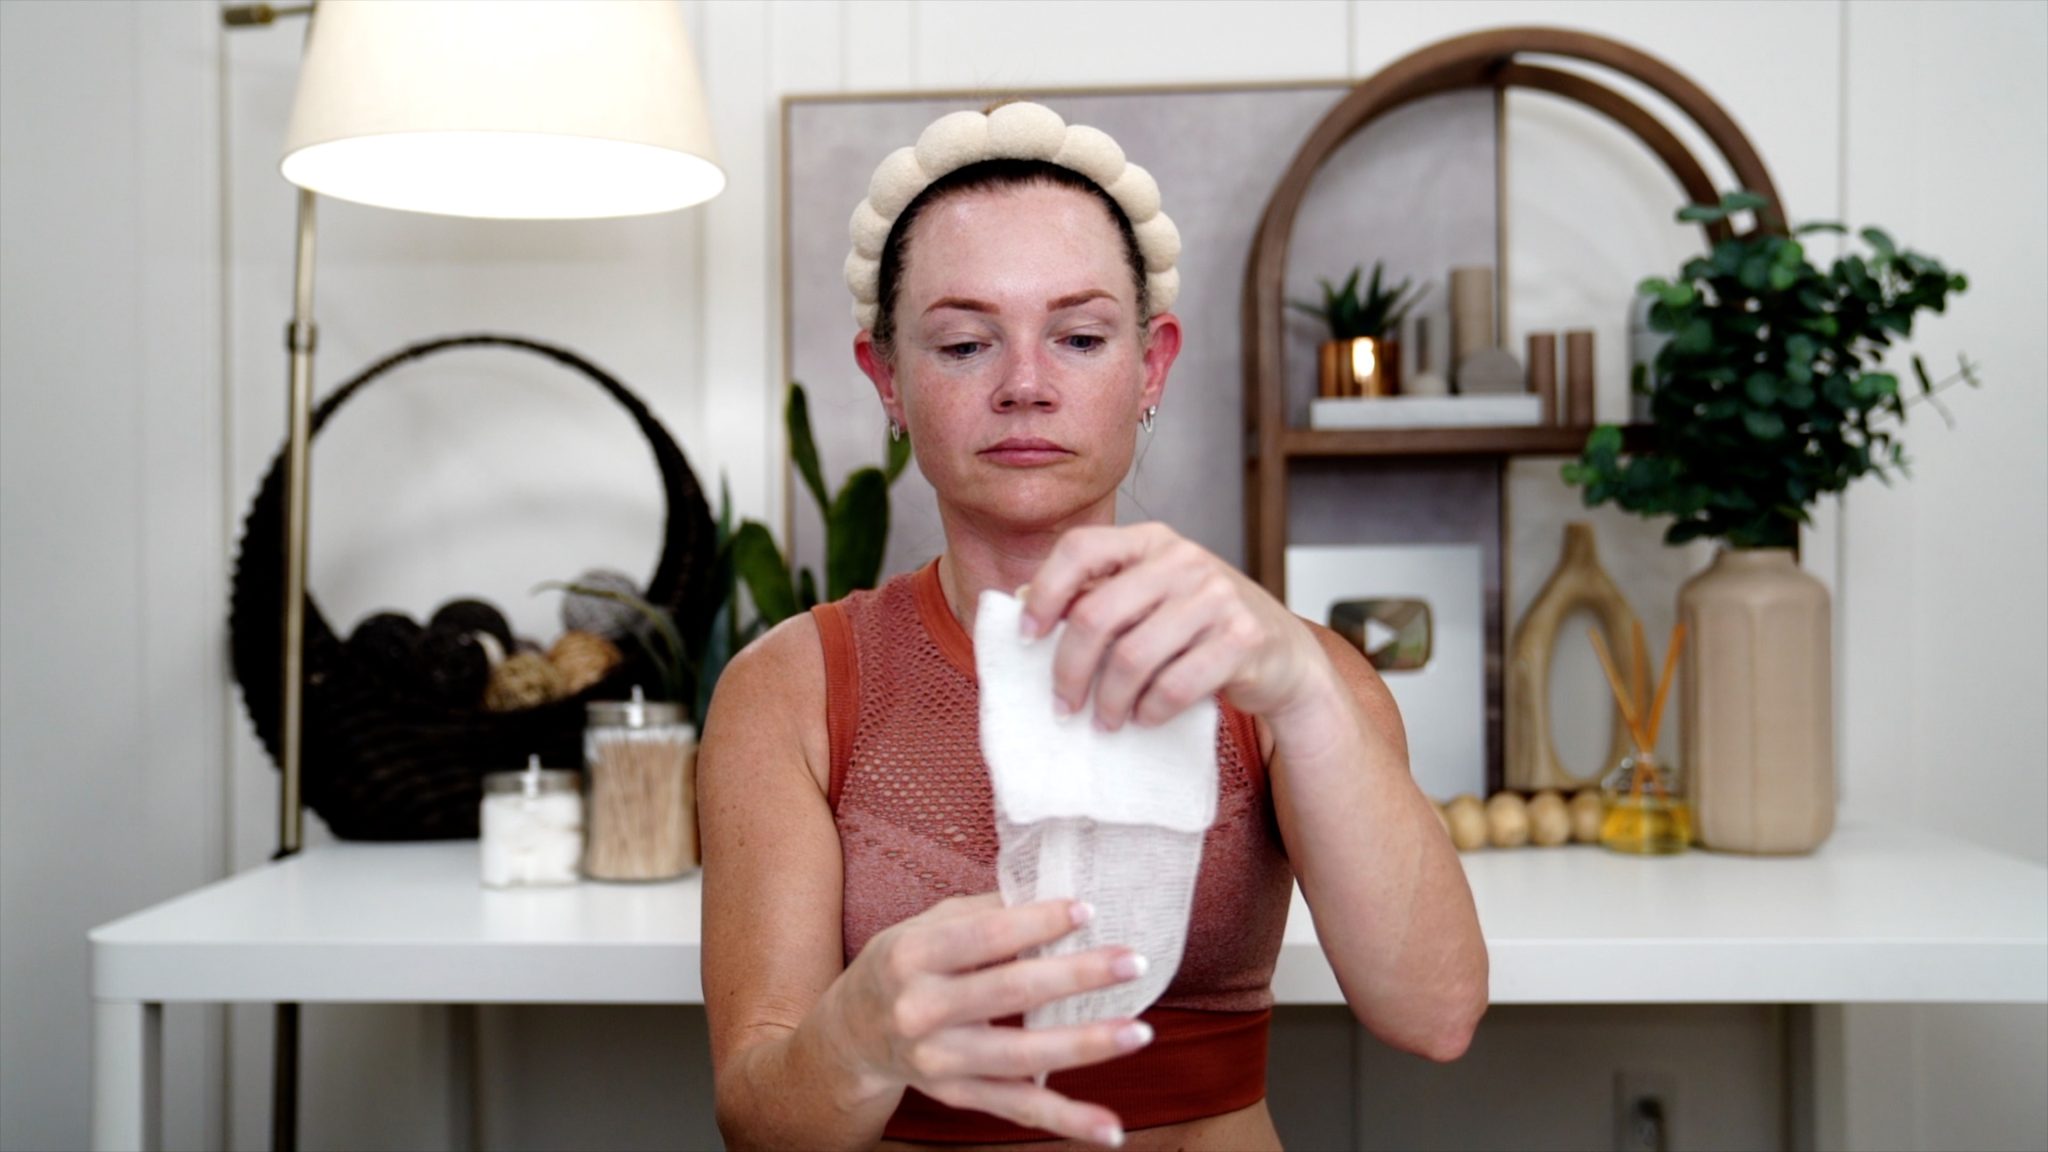
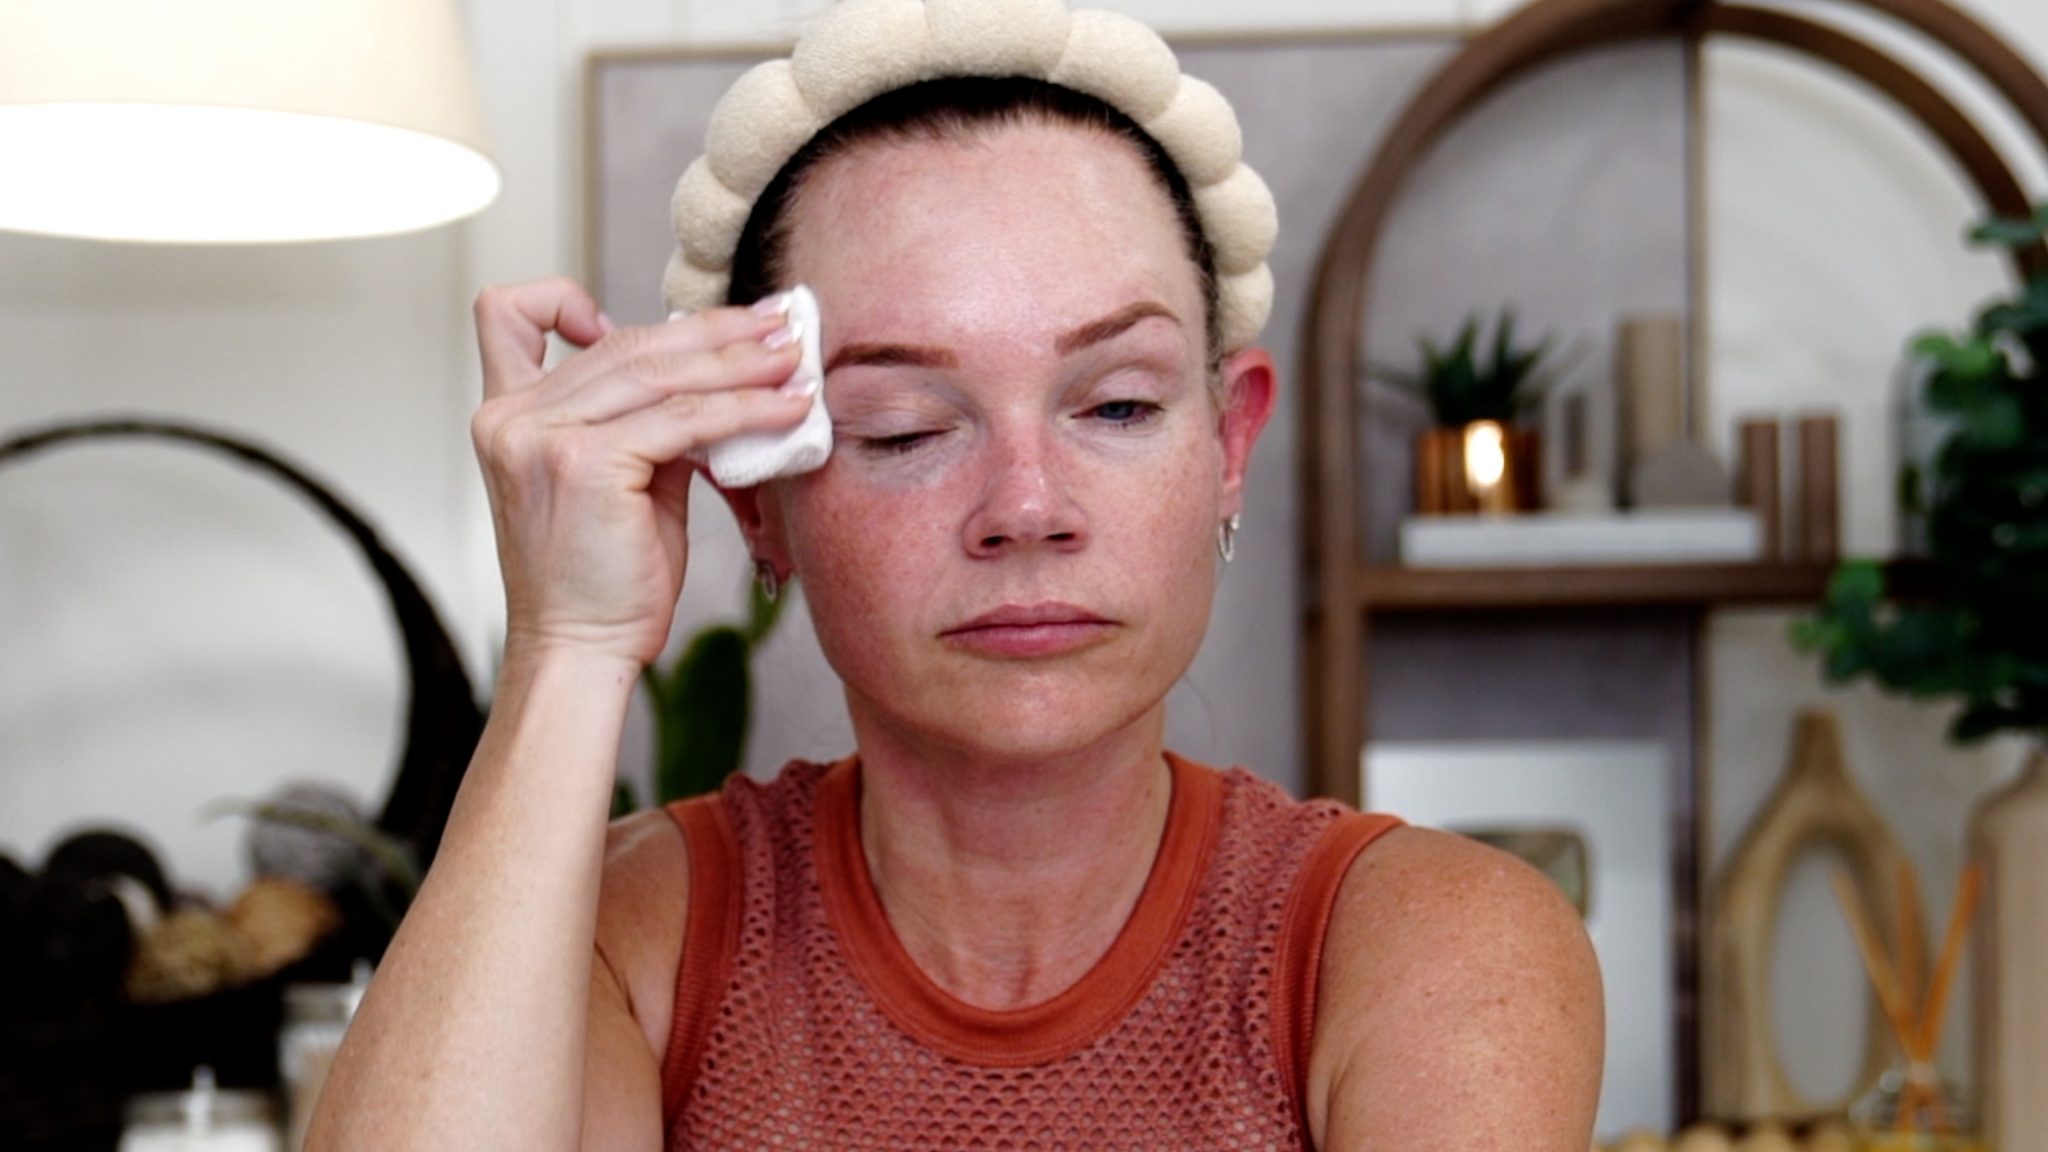
After cleansing, I use a strong acid toner to wipe and continue the degreasing.
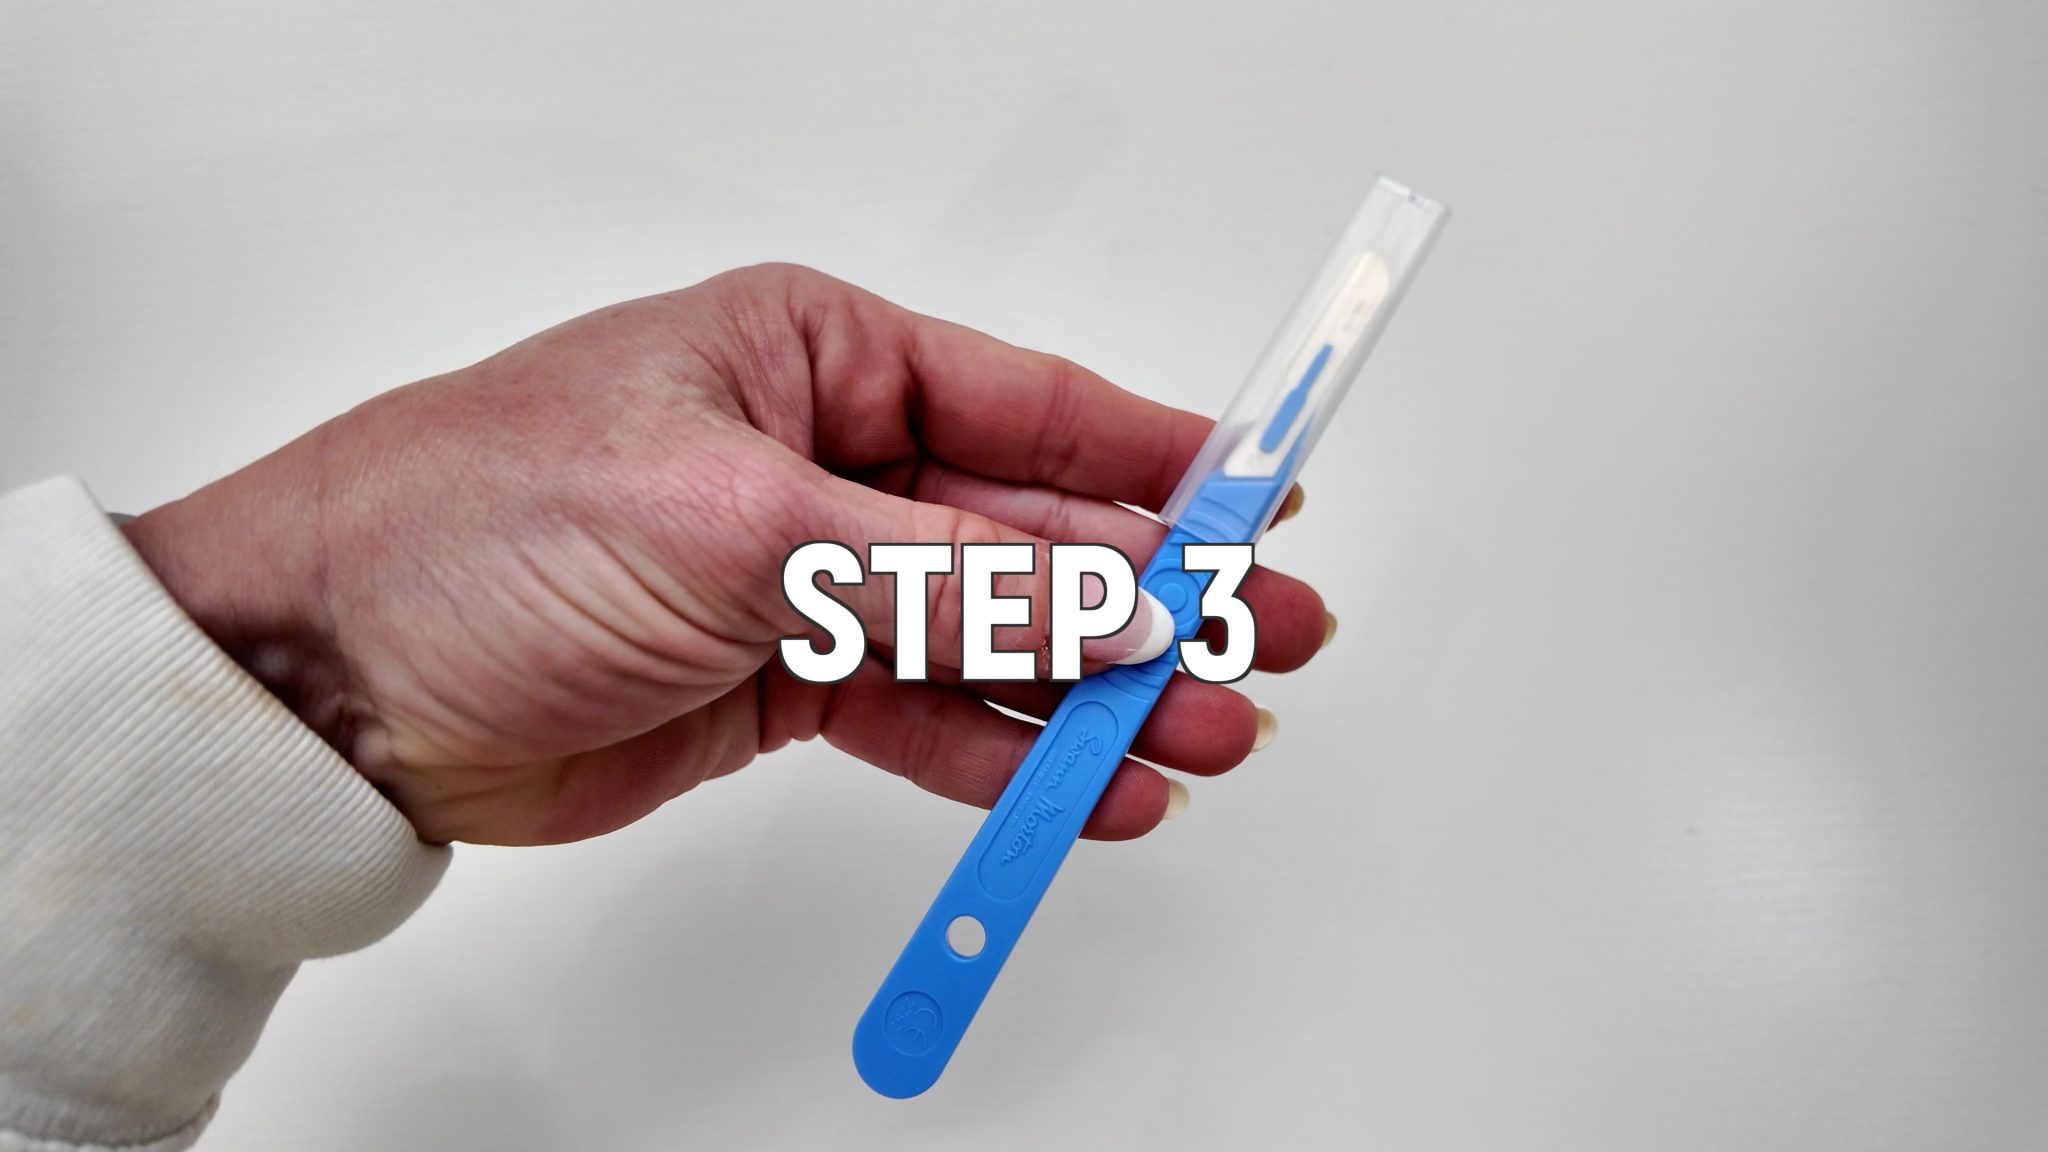
STEP 3:
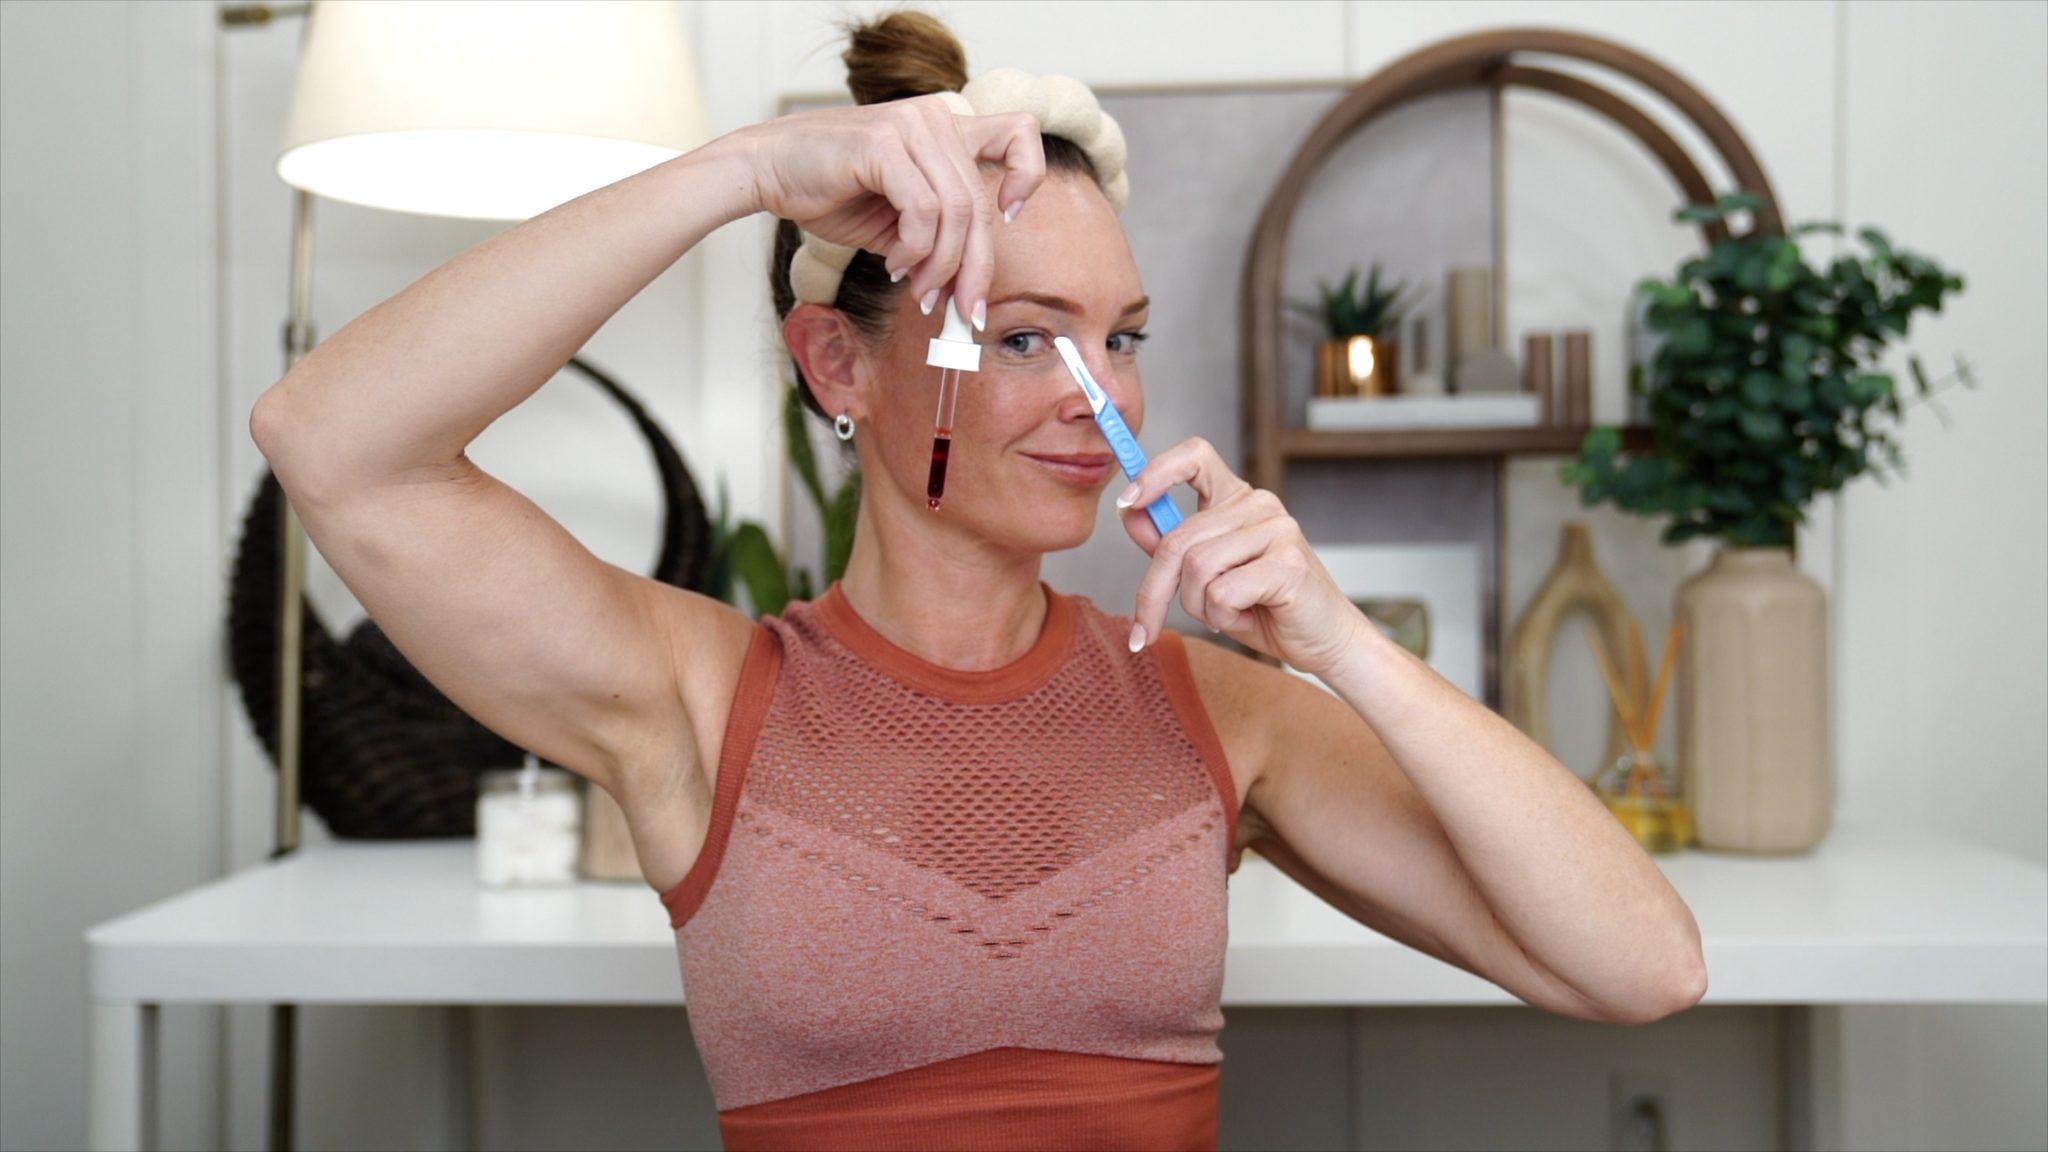
I use a disposable 10R blade from Swann-Morton. I like these scalps best for at-home dermaplaning.
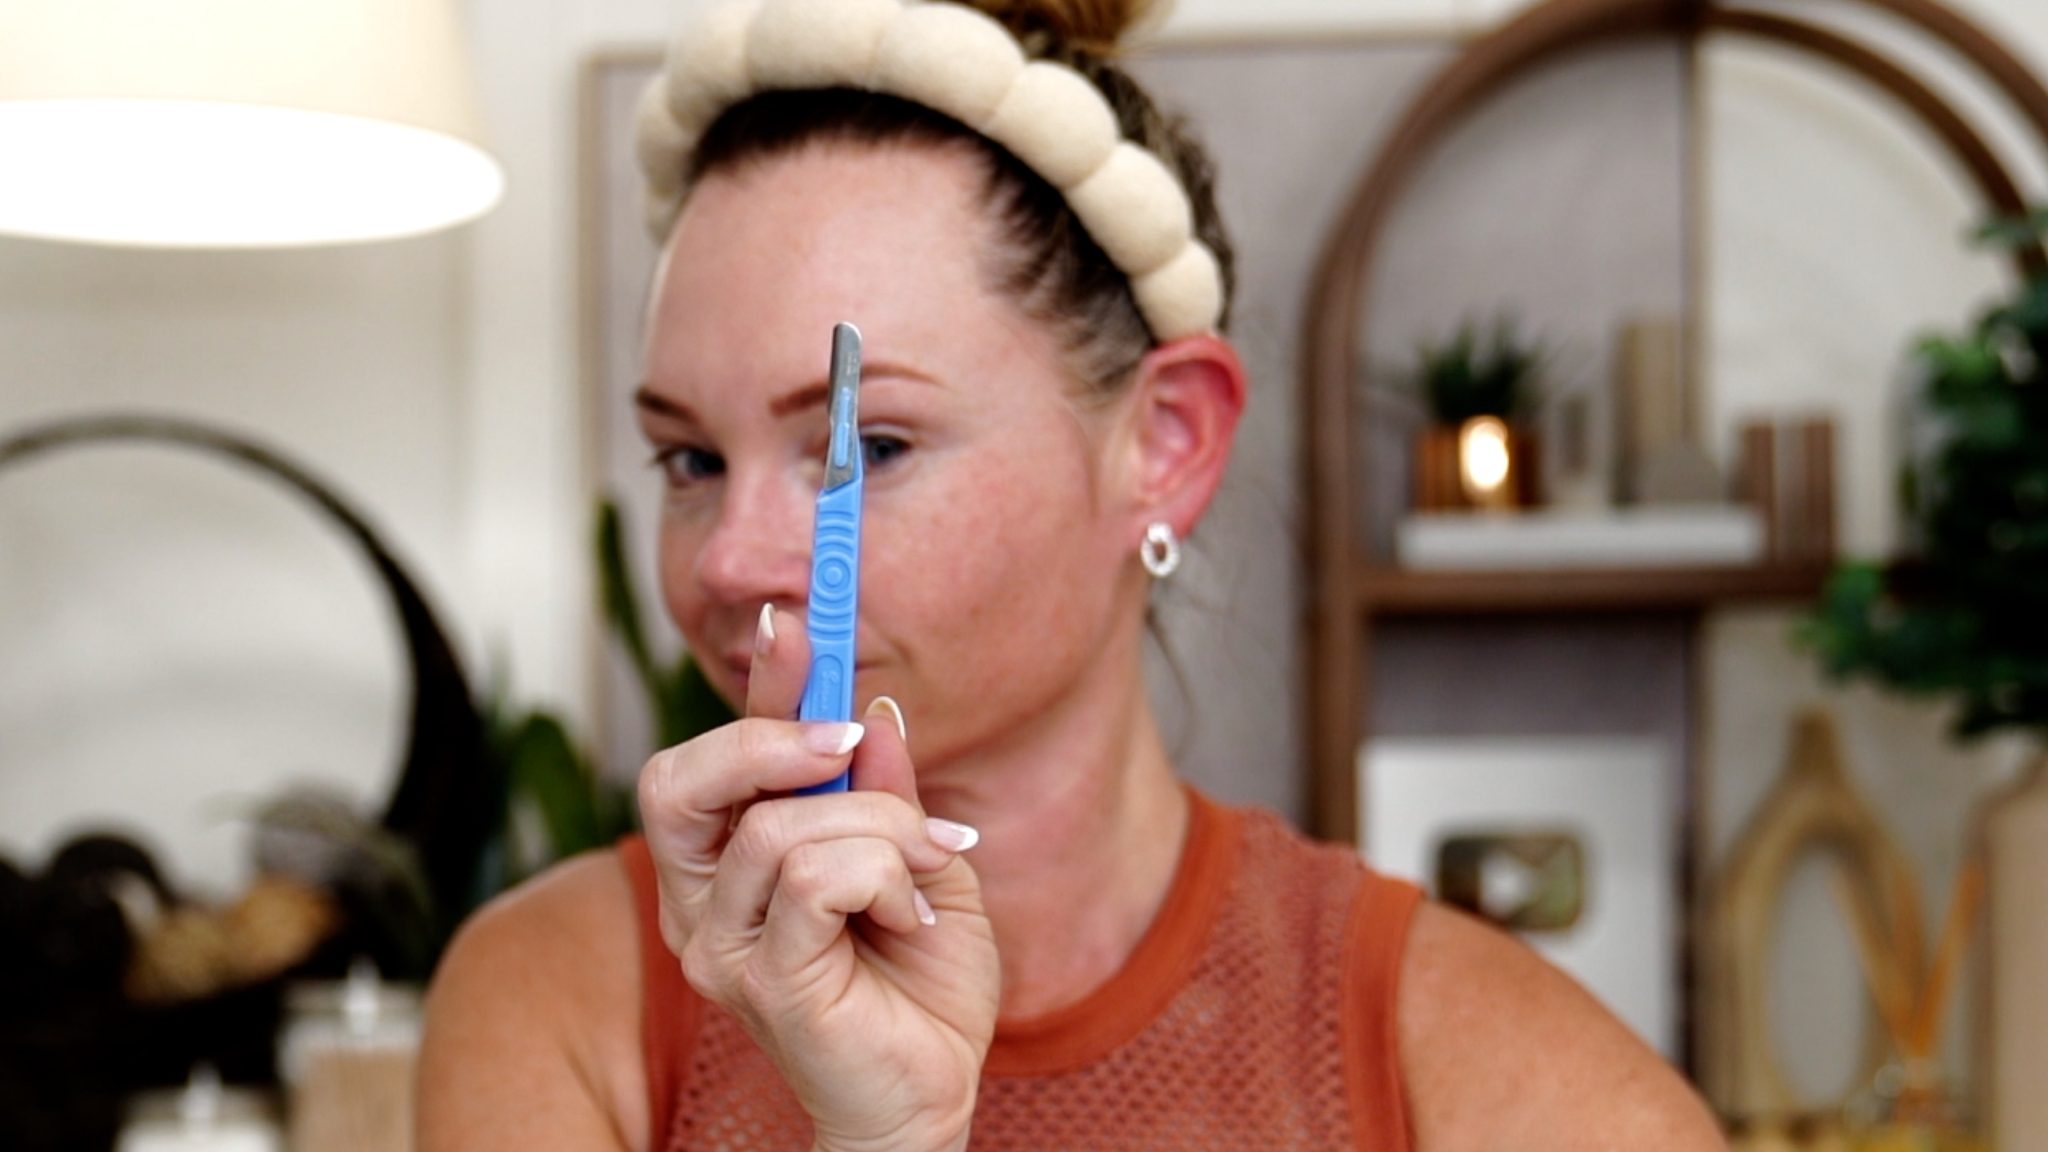
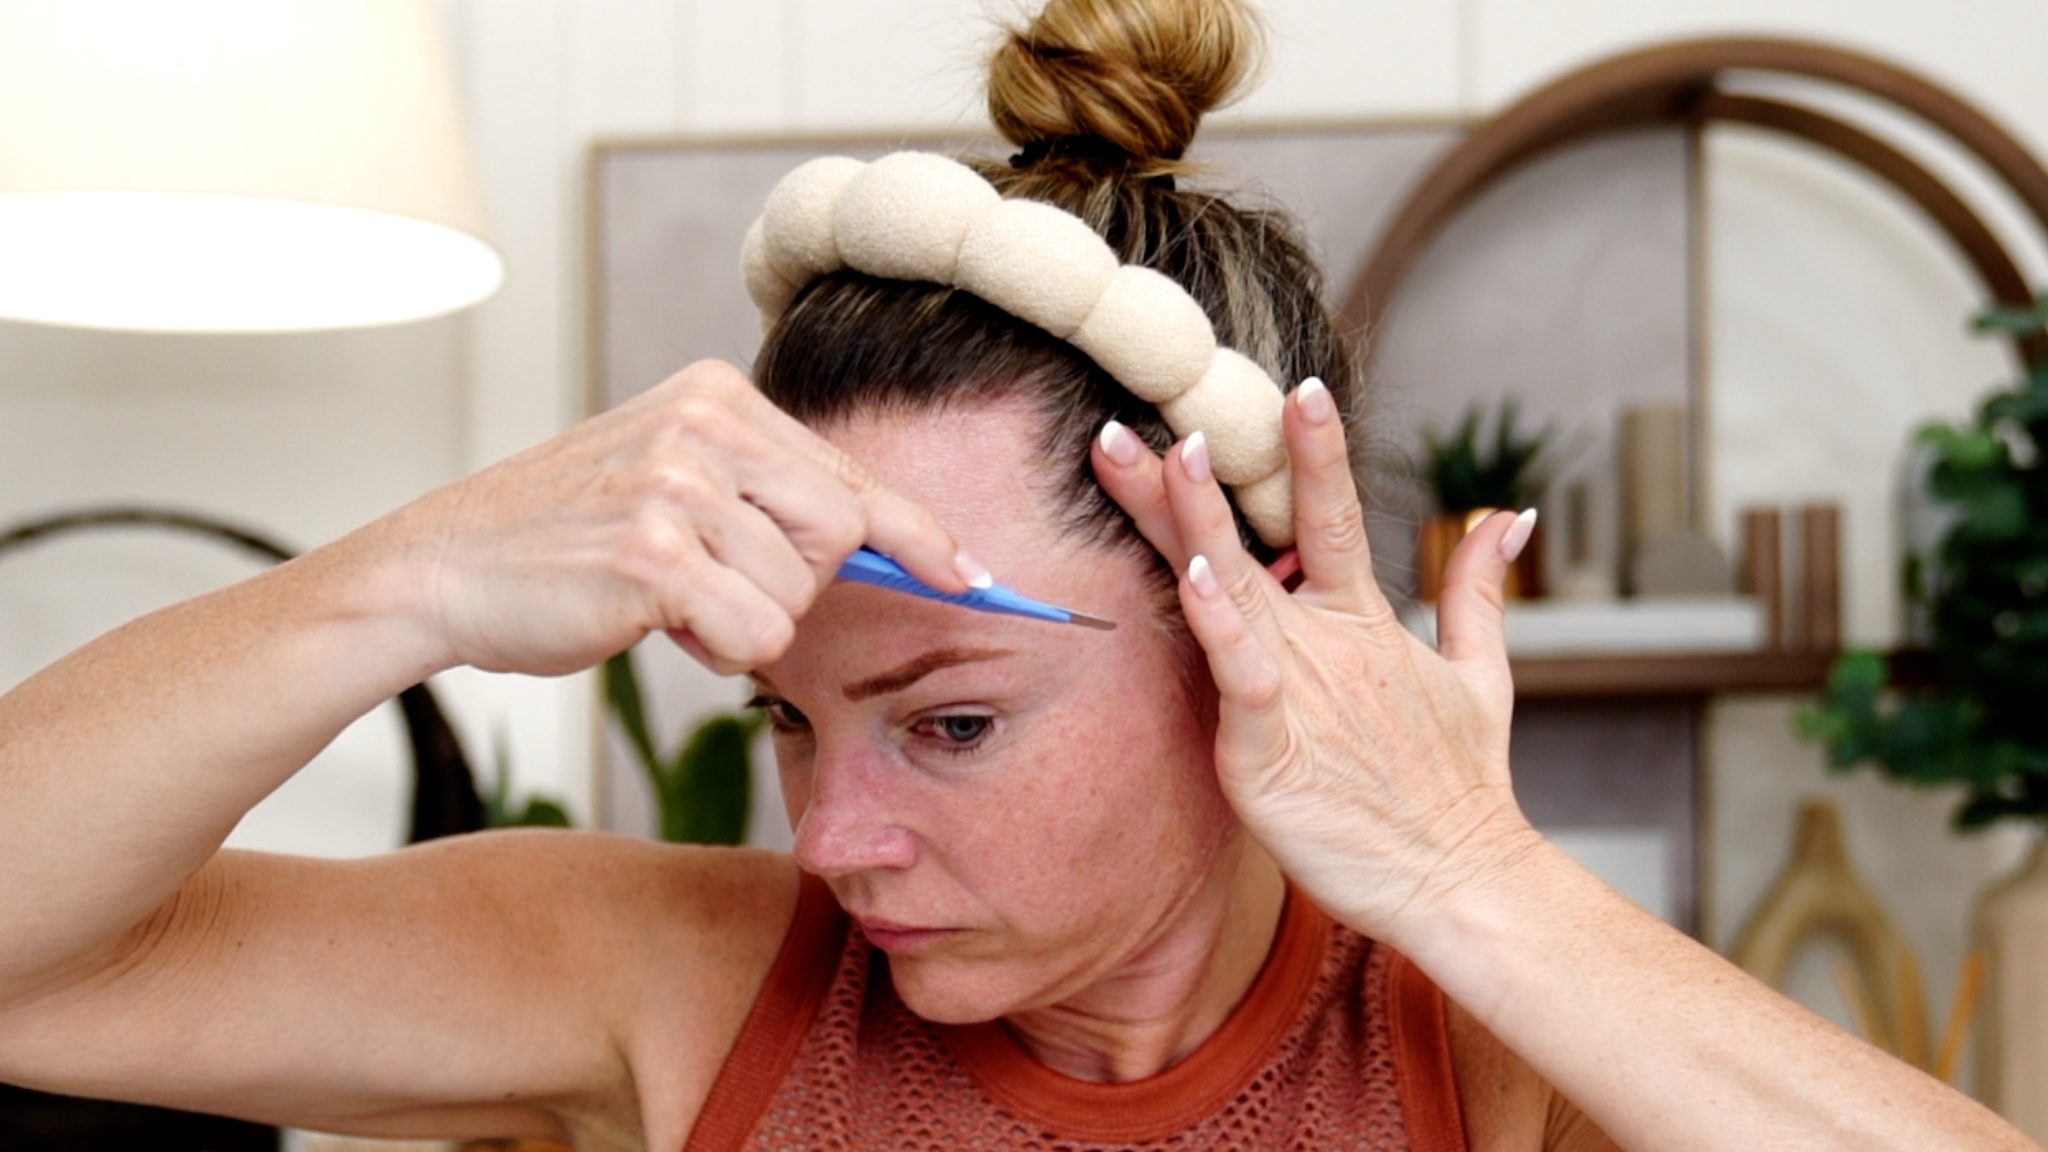
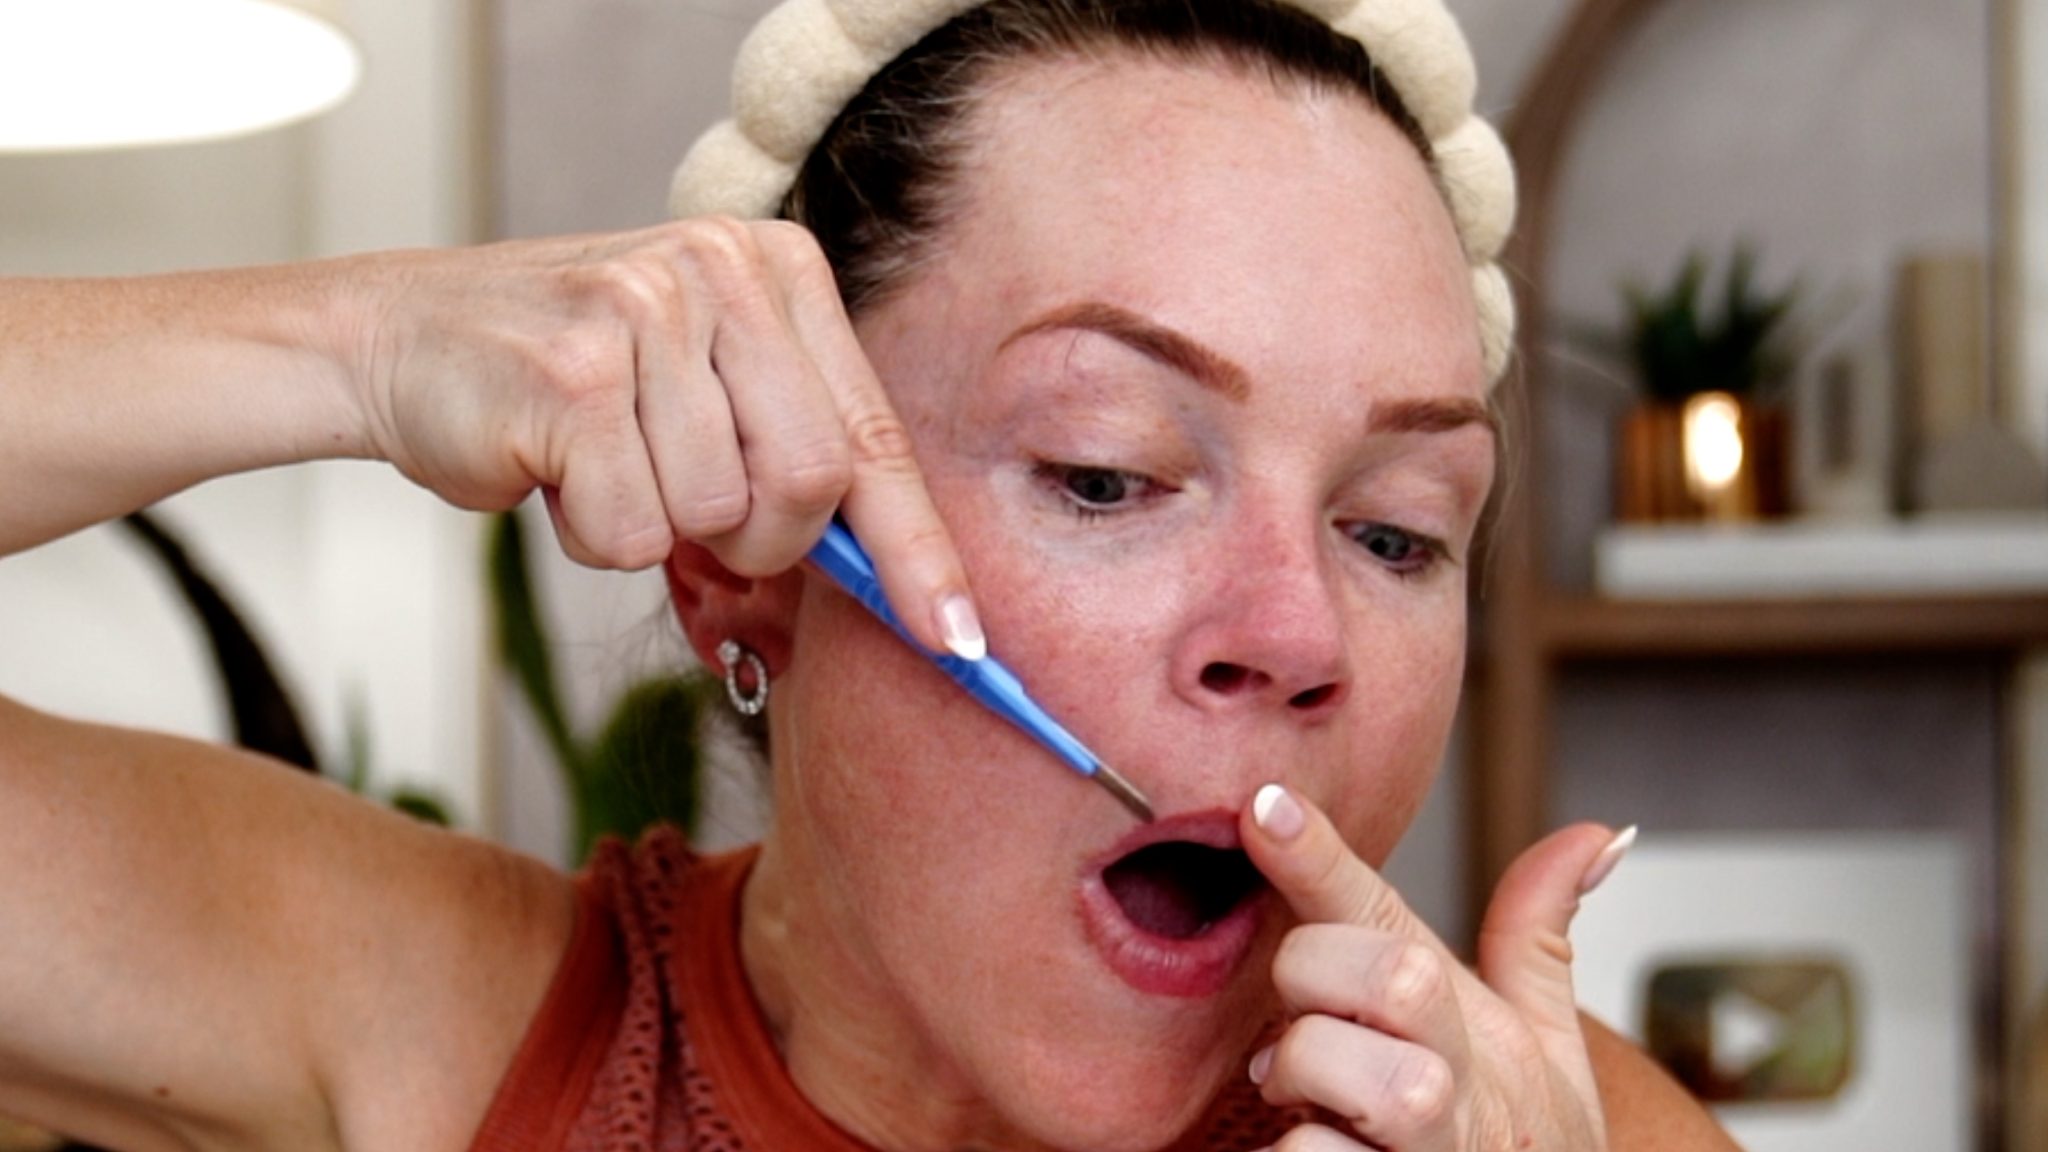
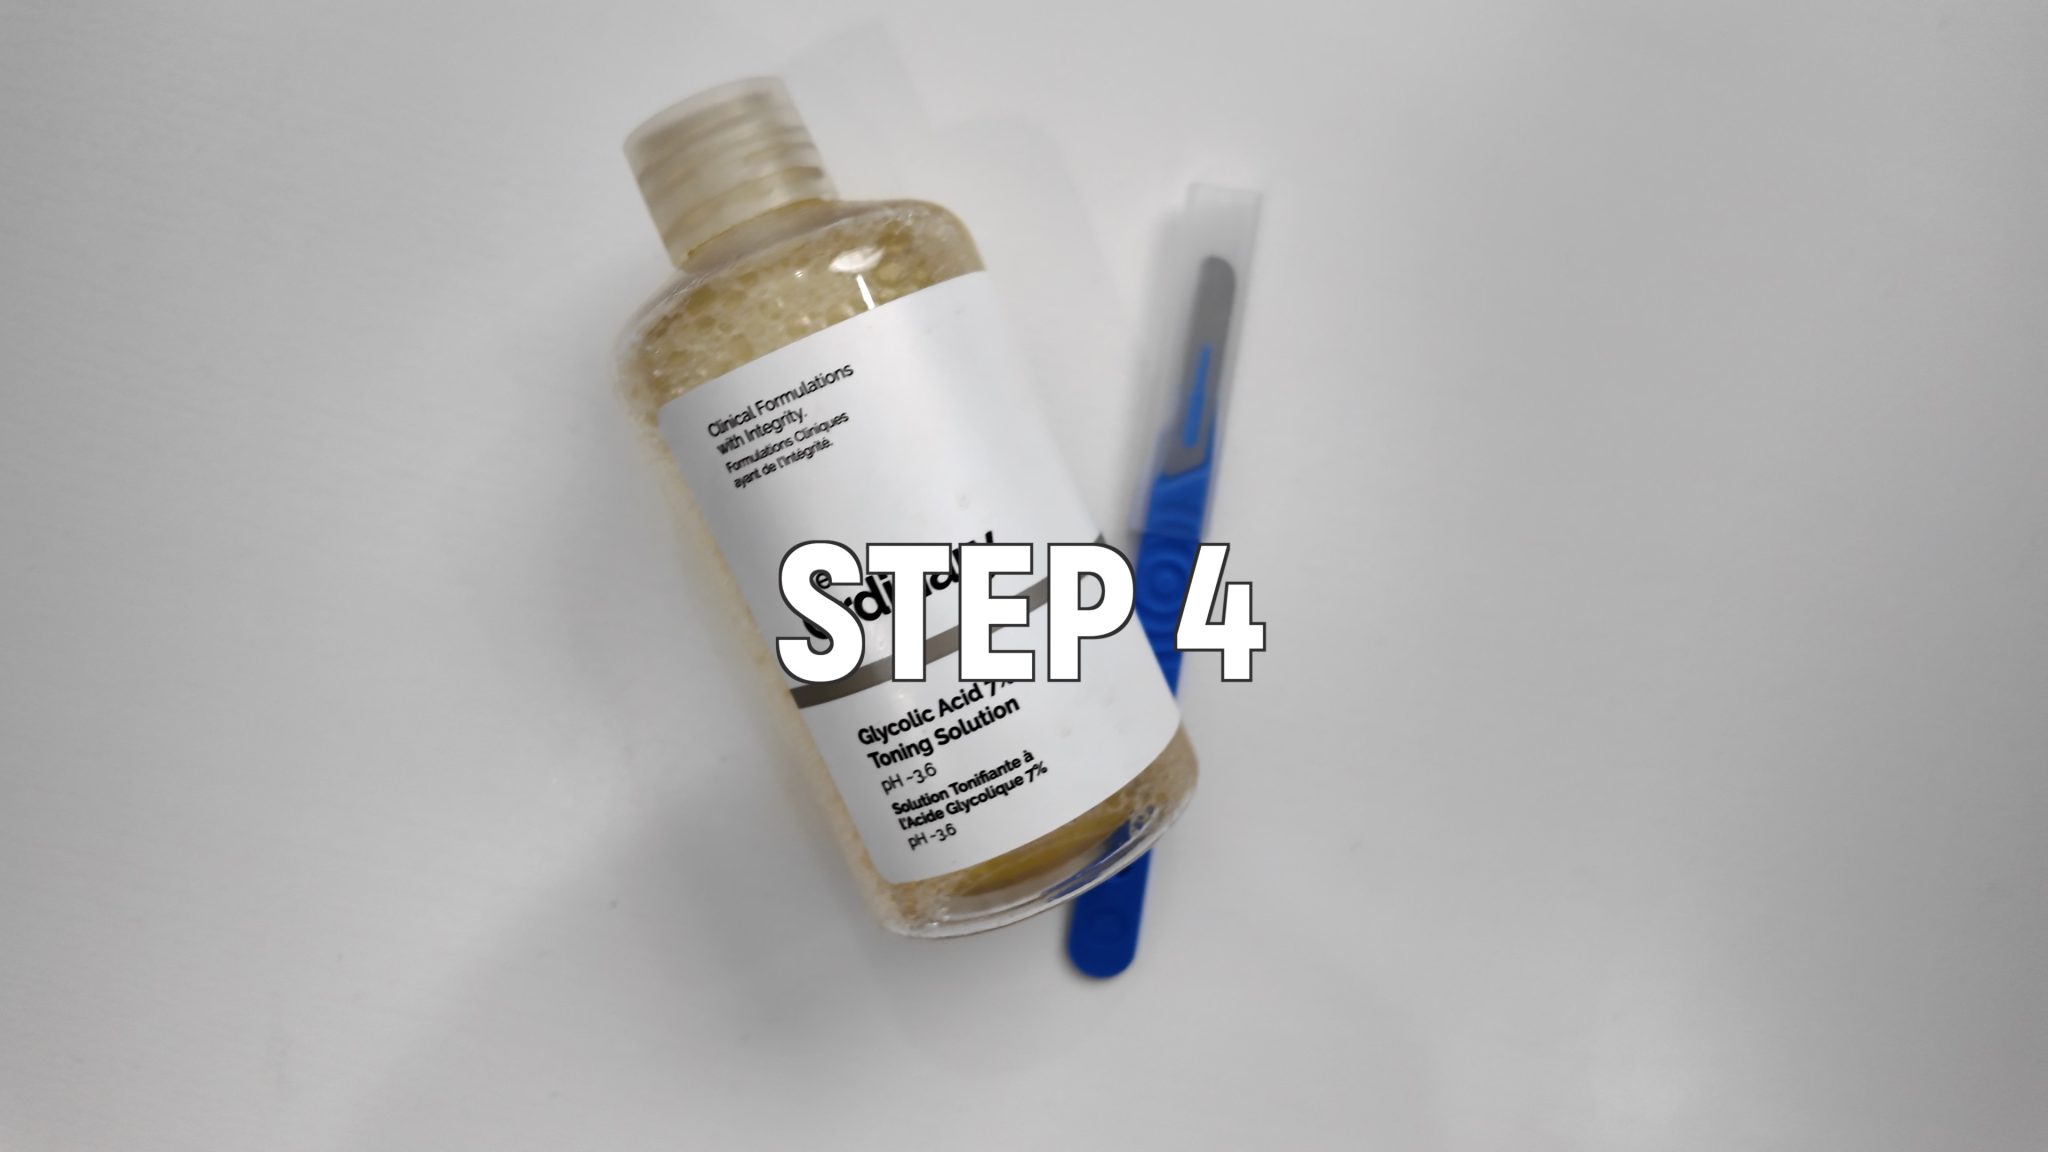
STEP 4:
I use the acid toner after dermaplaning to remove any skin and hair for a very clean and smooth surface.
After dermaplaning and removing dead skin and vellus hair, our skin is prepped to better accept our next step, which is a light acid peel.
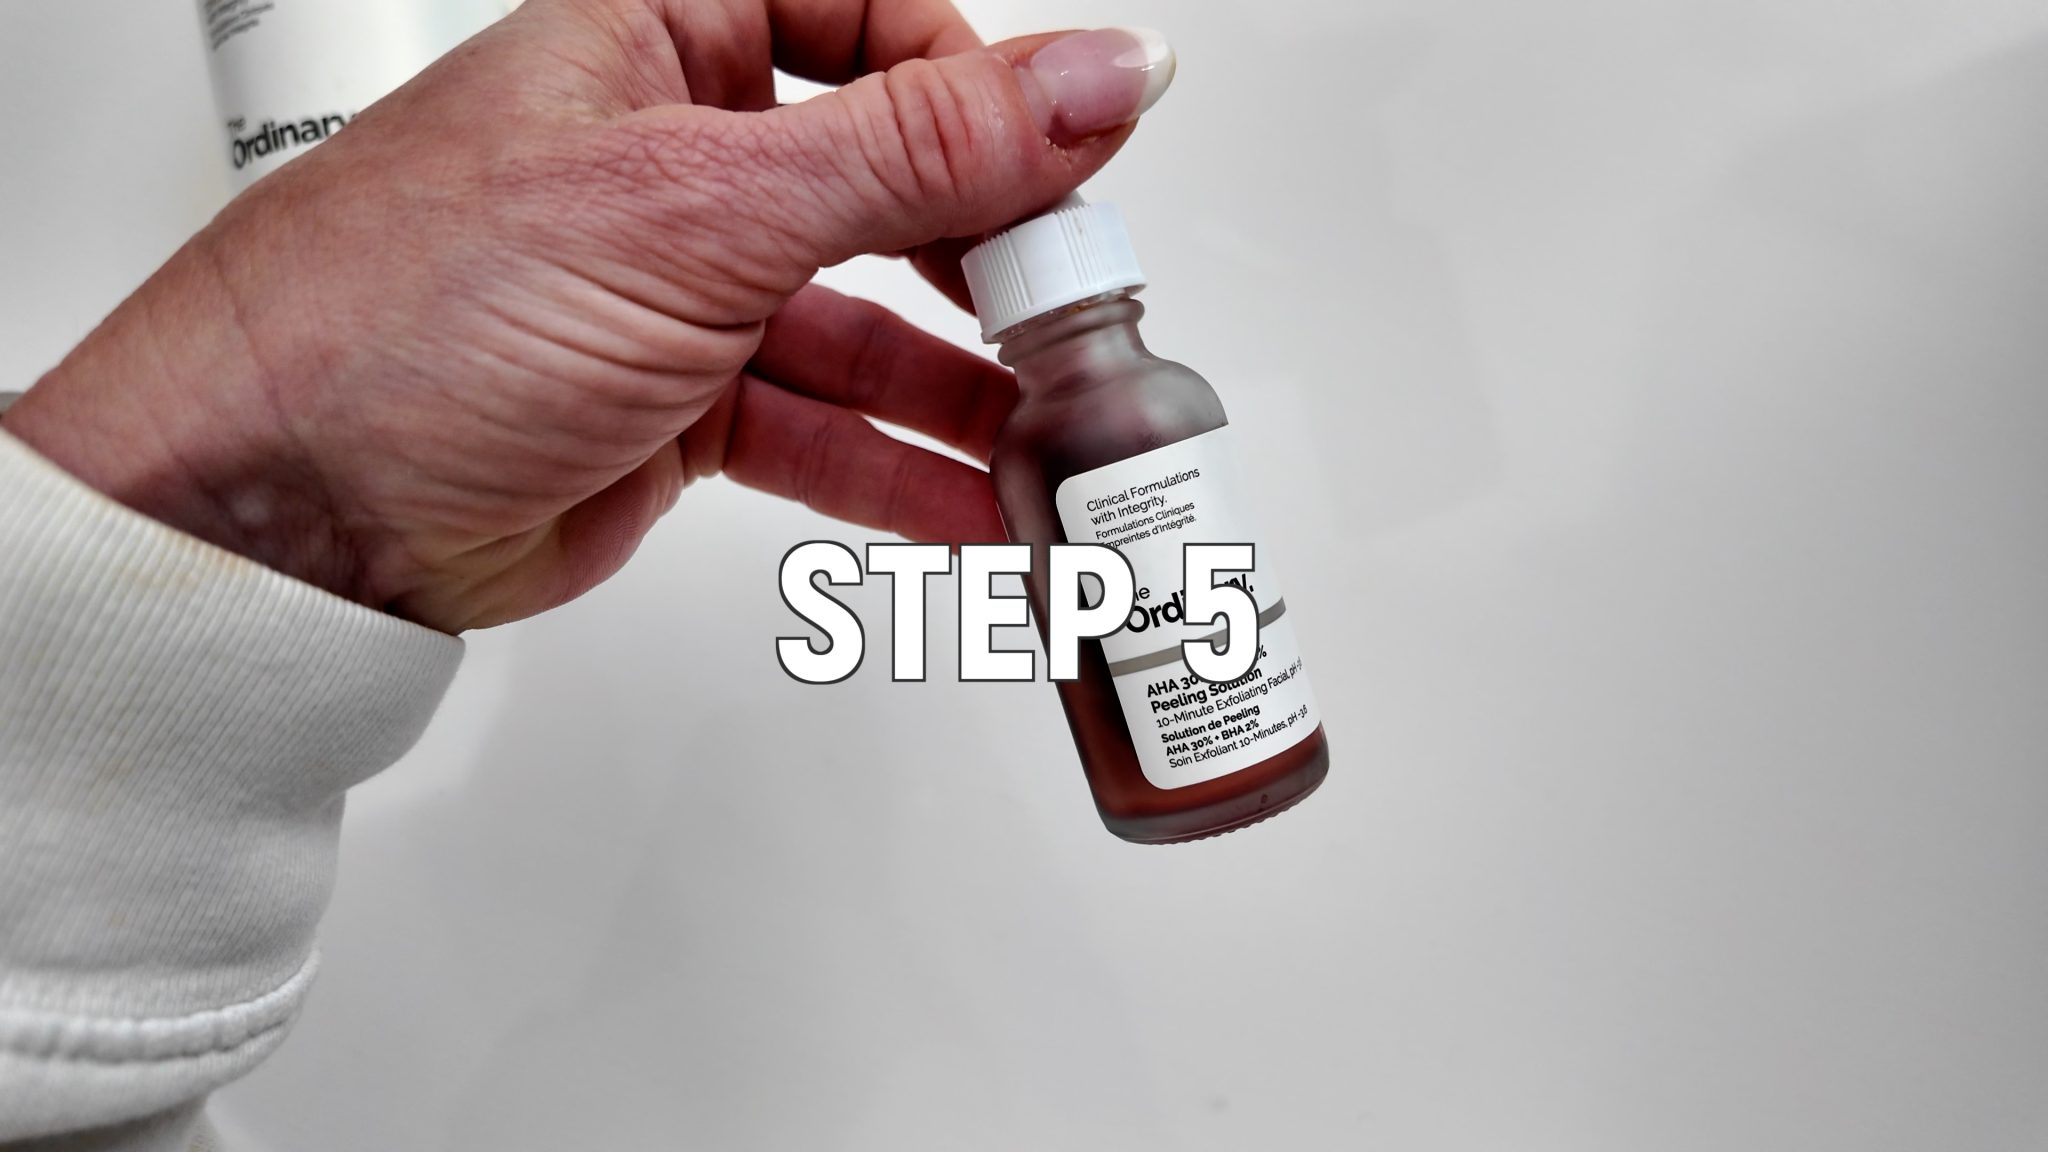
STEP 5:
I use a gentle but effective acid peel. This one combines Glycolic and Salicylic acids, which are effective at brightening skin and removing debris from pores.
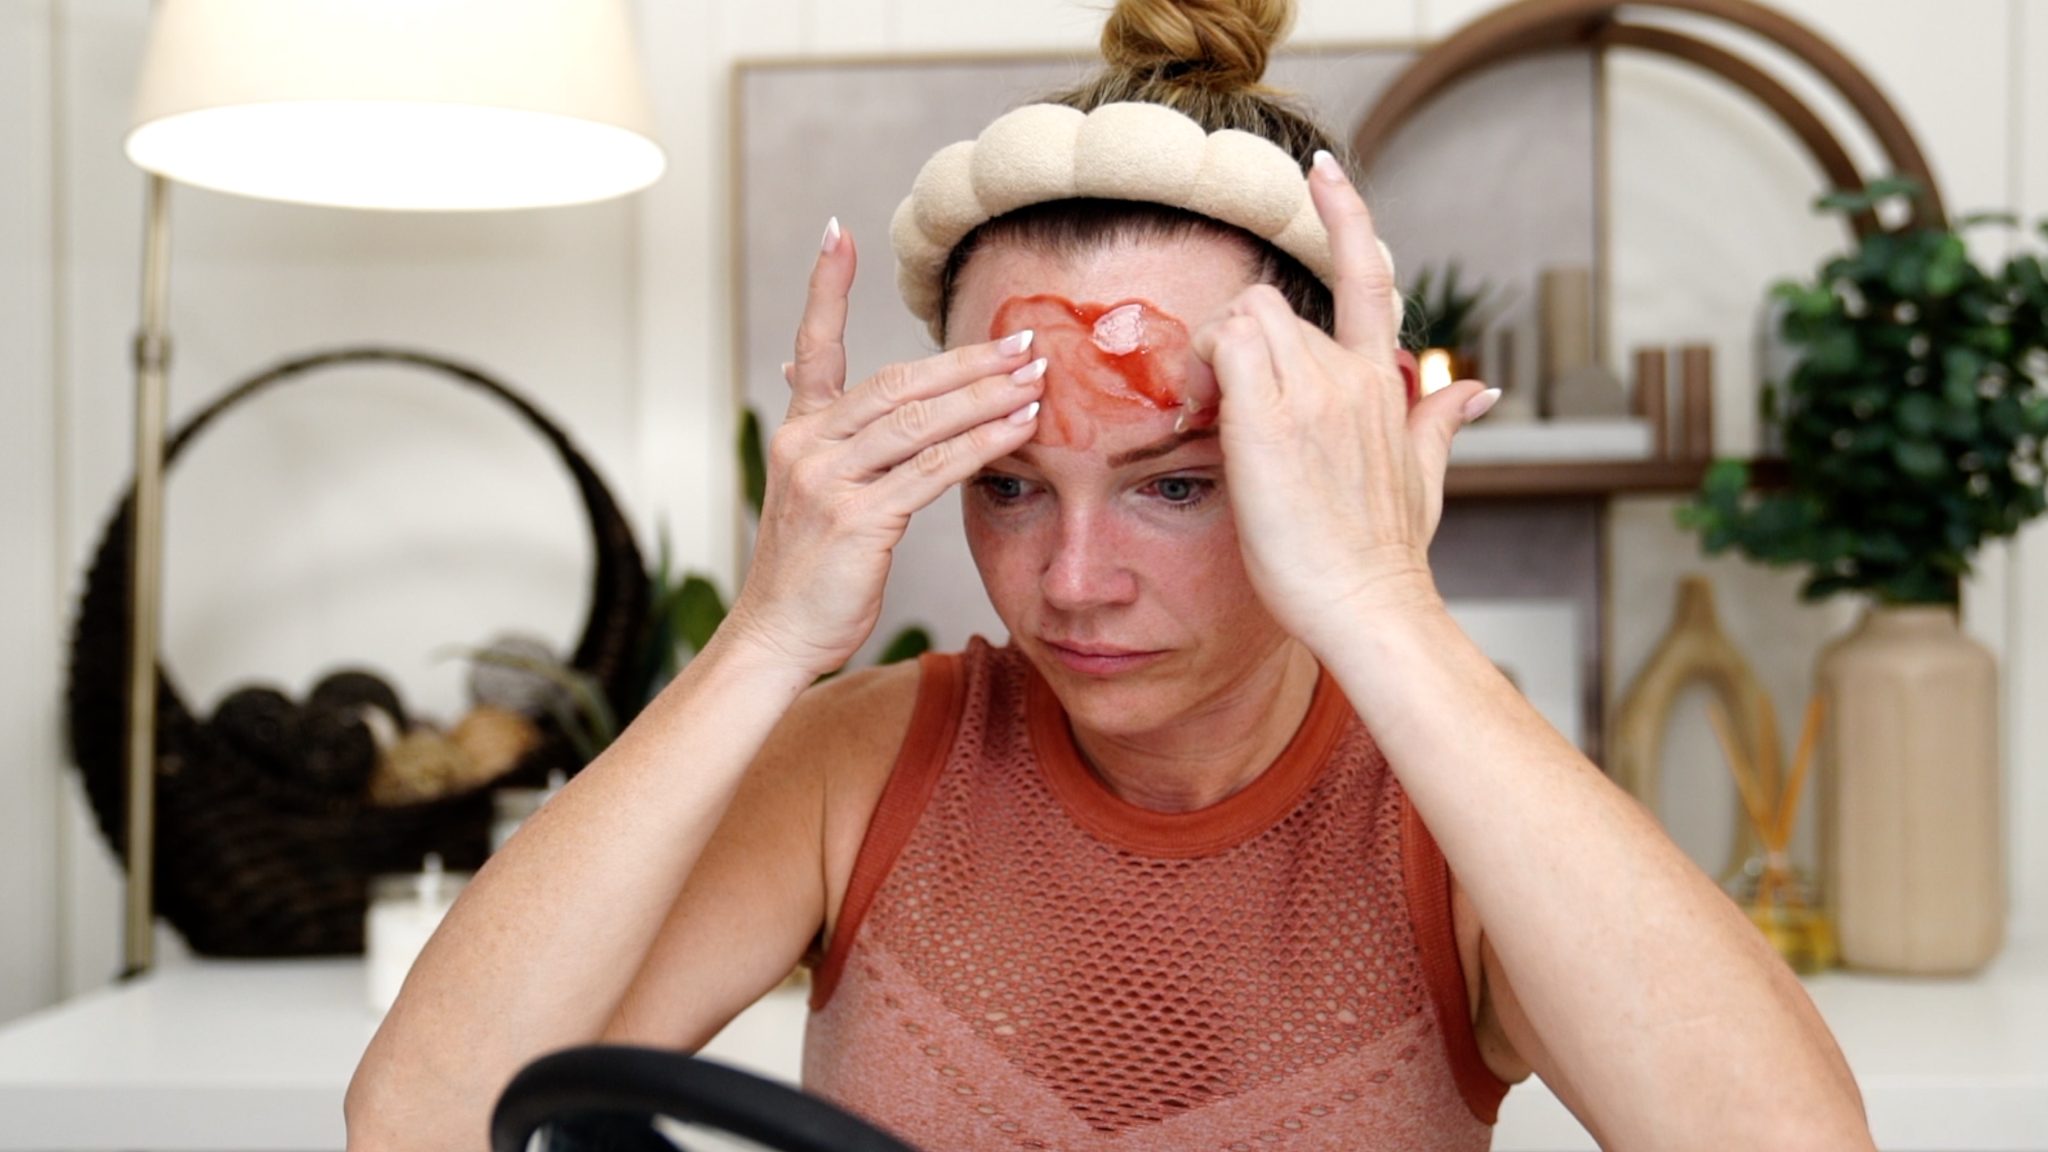
I have a video dedicated to this red acid peel here.
-Glycolic acid, or AHA, brightens and helps remove dead skin cells.
-Salicylic acid, known as BHA, is lipid soluble, meaning it can penetrate oils such as those found in pores.
AND A DIFFERENT ACID PEEL VIDEO
I have a video dedicated to different acid peels, how they work, and which acids are best for your skin.
Following the acid peel our skin is ready to receive recovery and moisture.
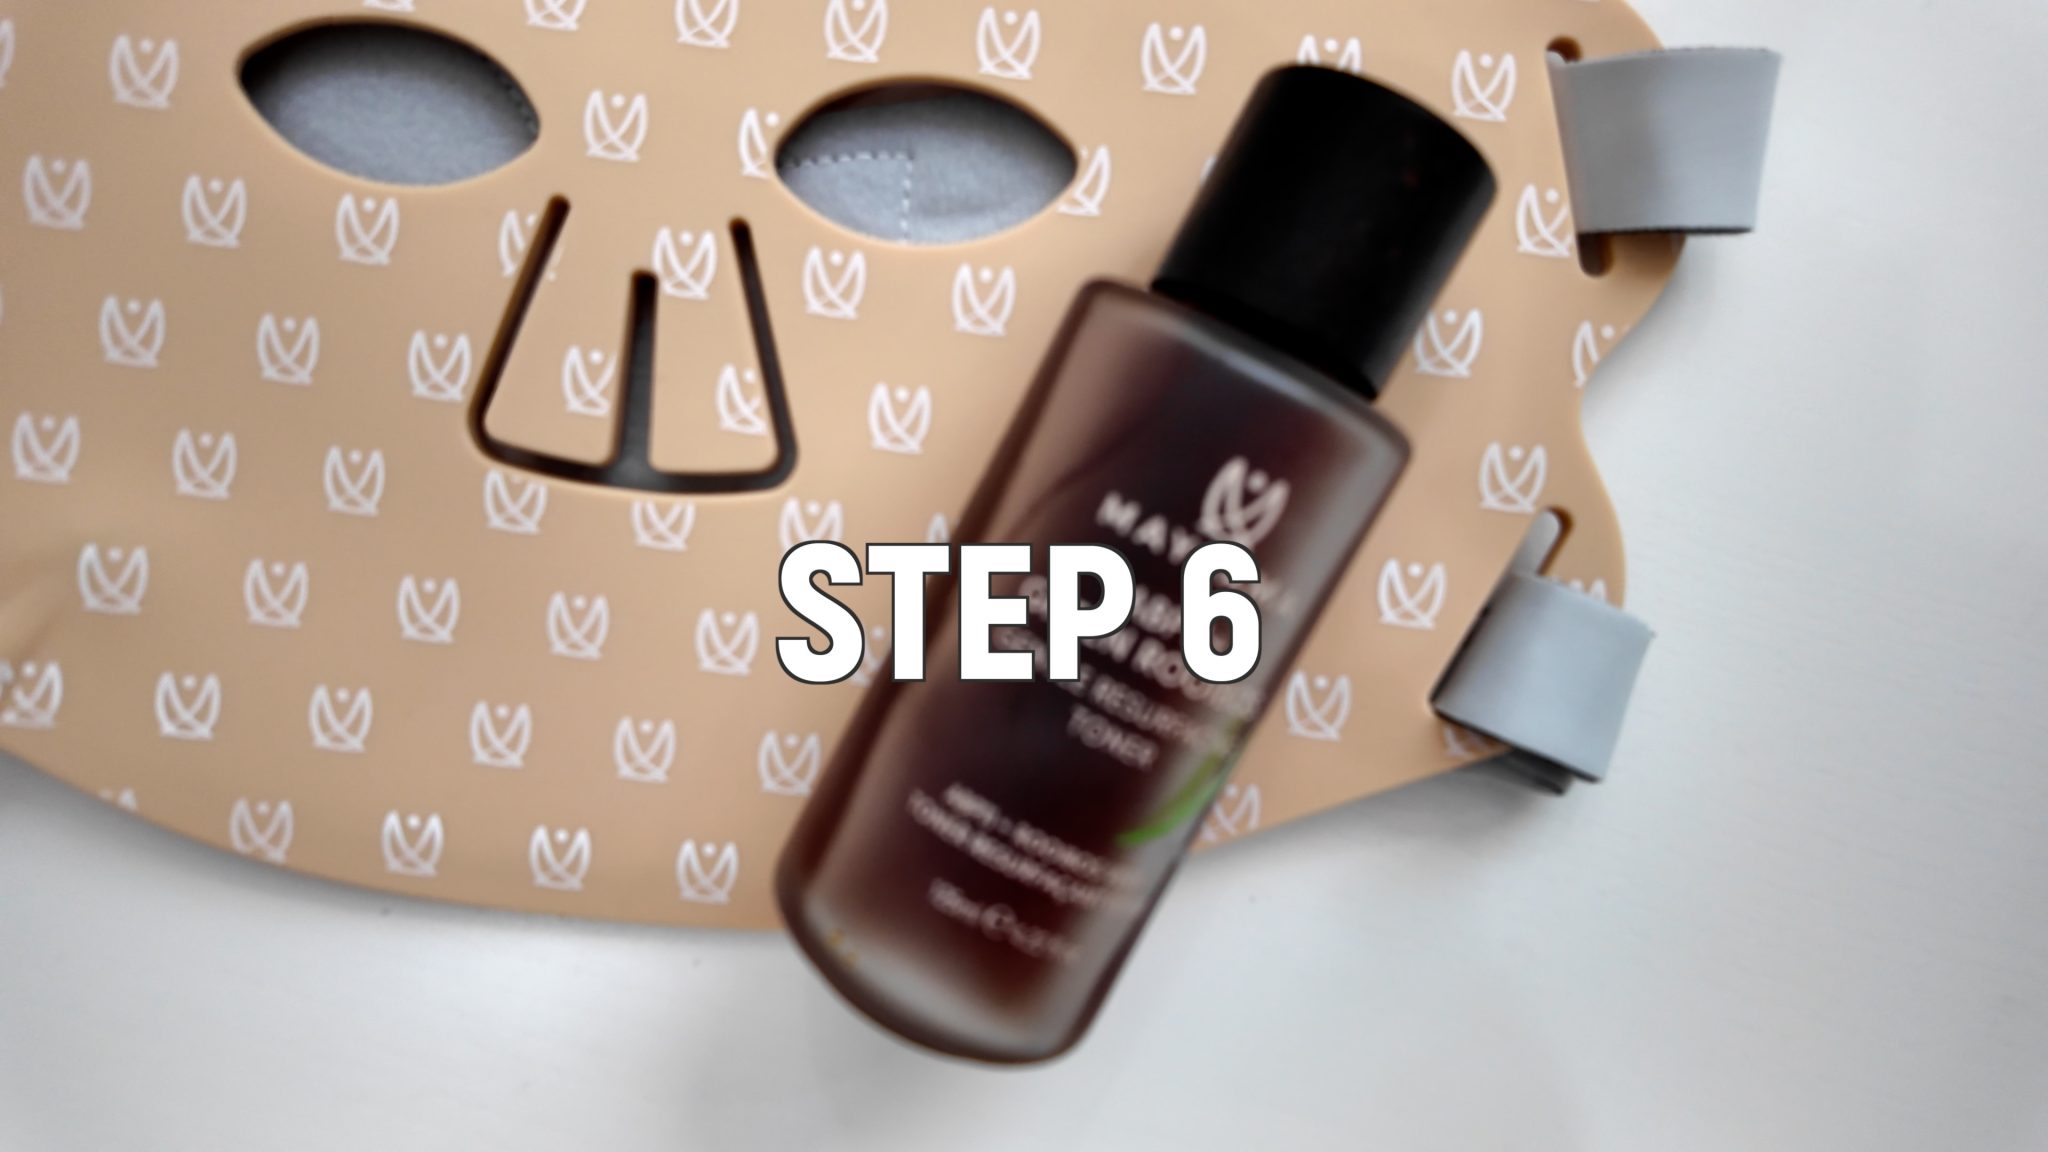
STEP 6:
I’m using a Green Rooibos toner from Masama to increase the LED penetration of the Maysama Prana mask.
MAYSAMA LED FACE MASK Code nkaos10
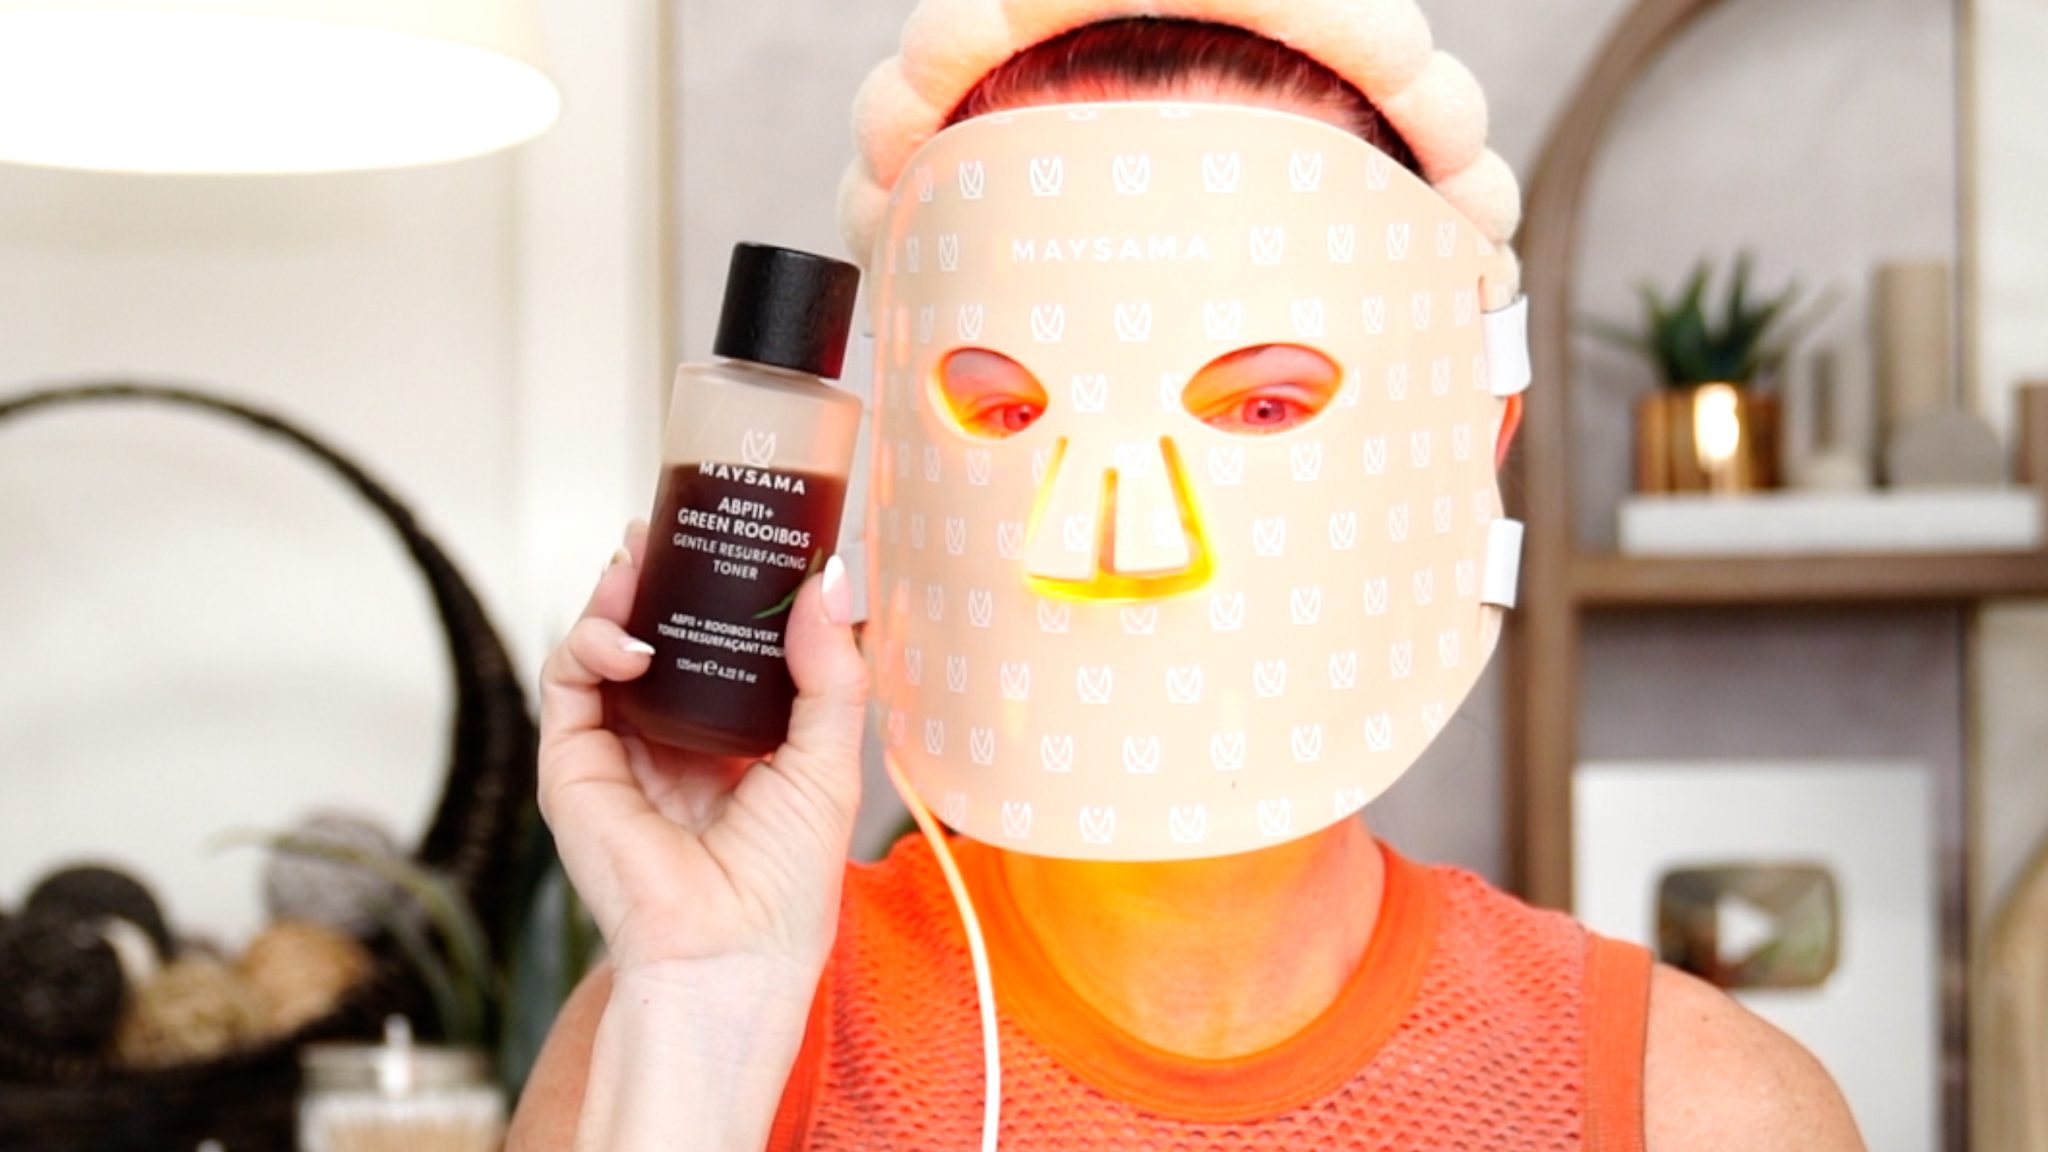
Maysama Green Rooibos Pressed Serum is proven to MORE THAN DOUBLE outcomes for skin rejuvenation when used in combination with Red LED Light treatment.
Maysama’s green rooibos extract works synergistically with red light to help improve mitochondria bioenergetics.
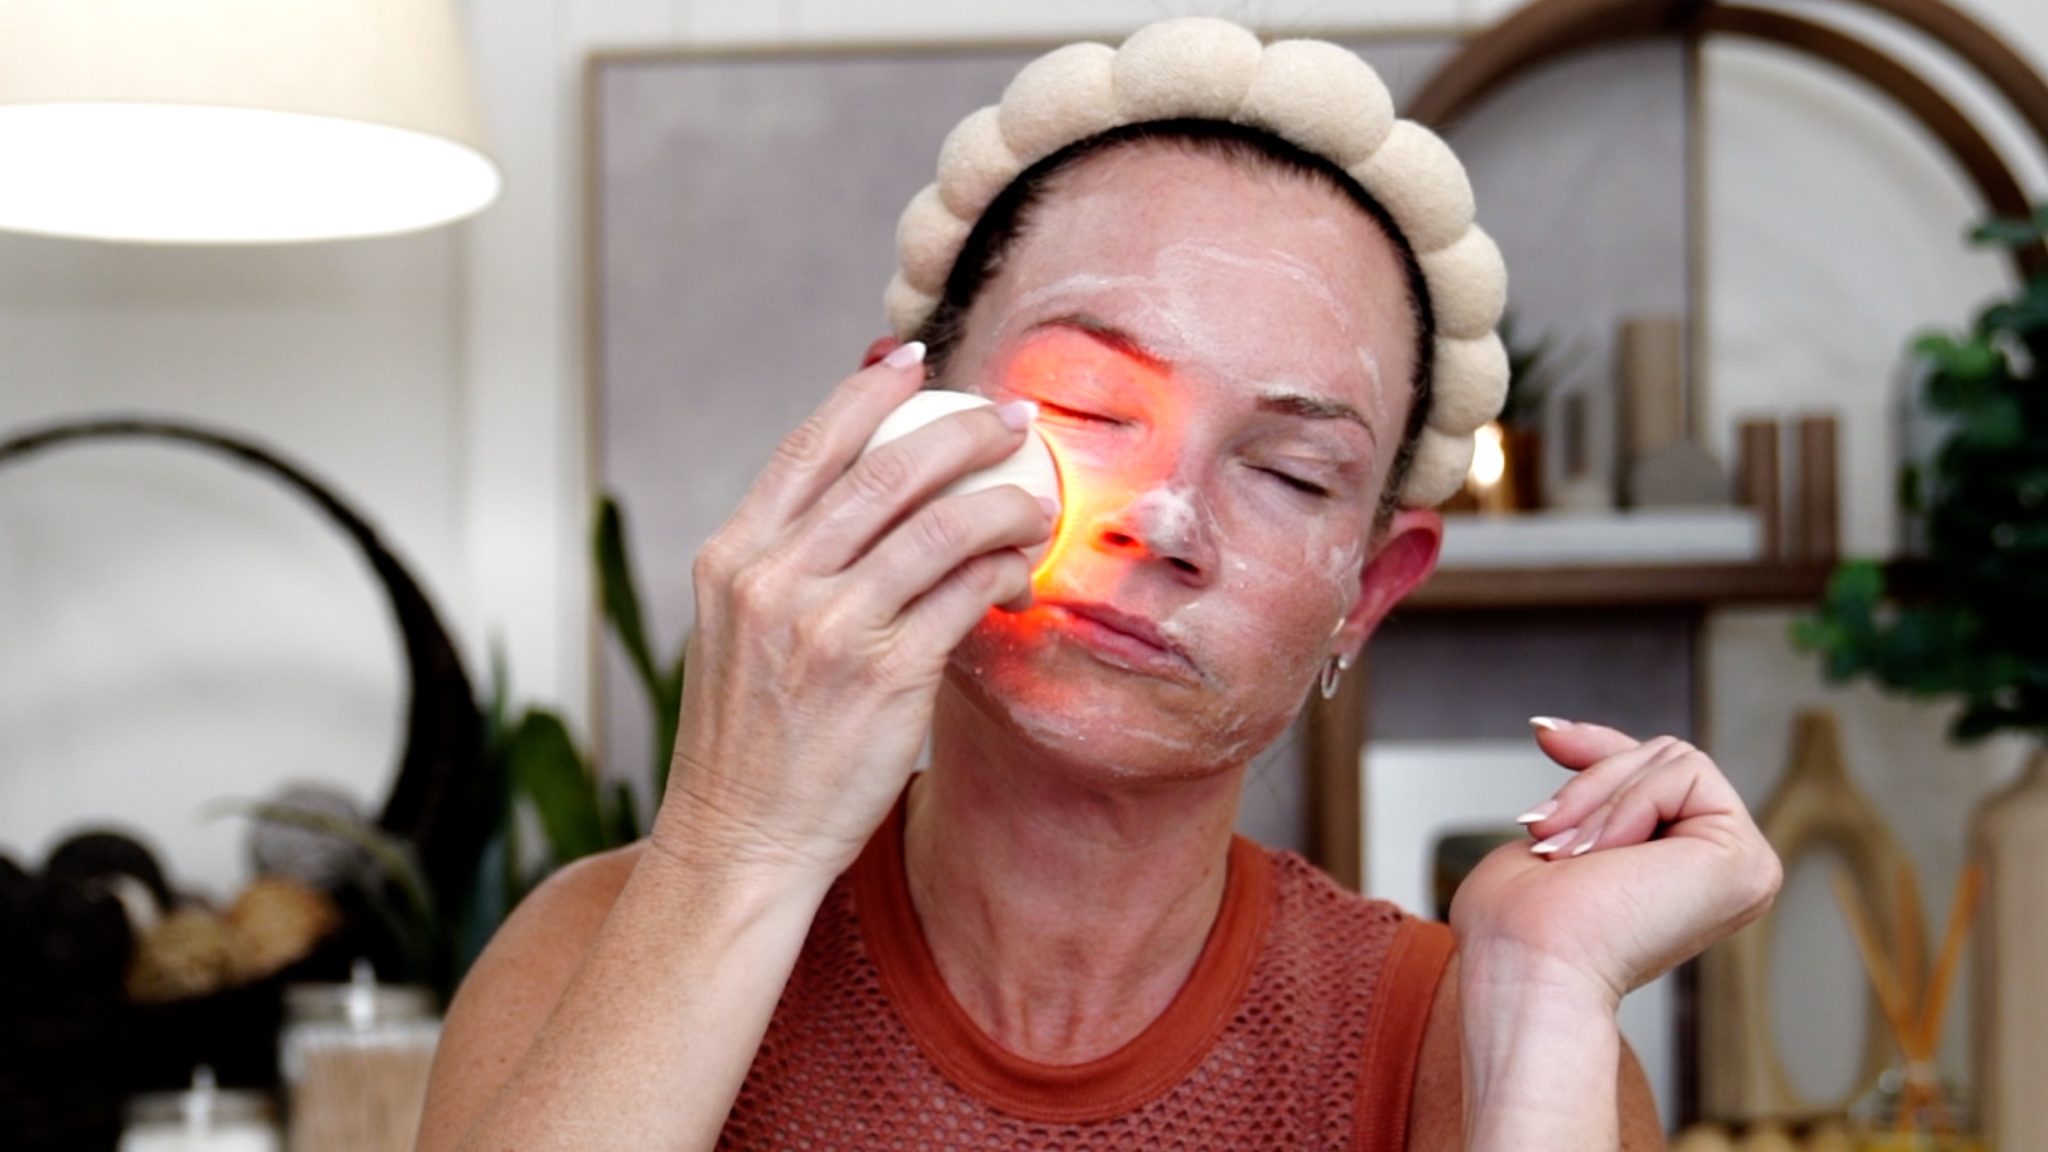
I let the toner absorb into my skin, and then I put on my red LED mask. This mask has three modes, and I’m using the Red + Near-infrared setting.
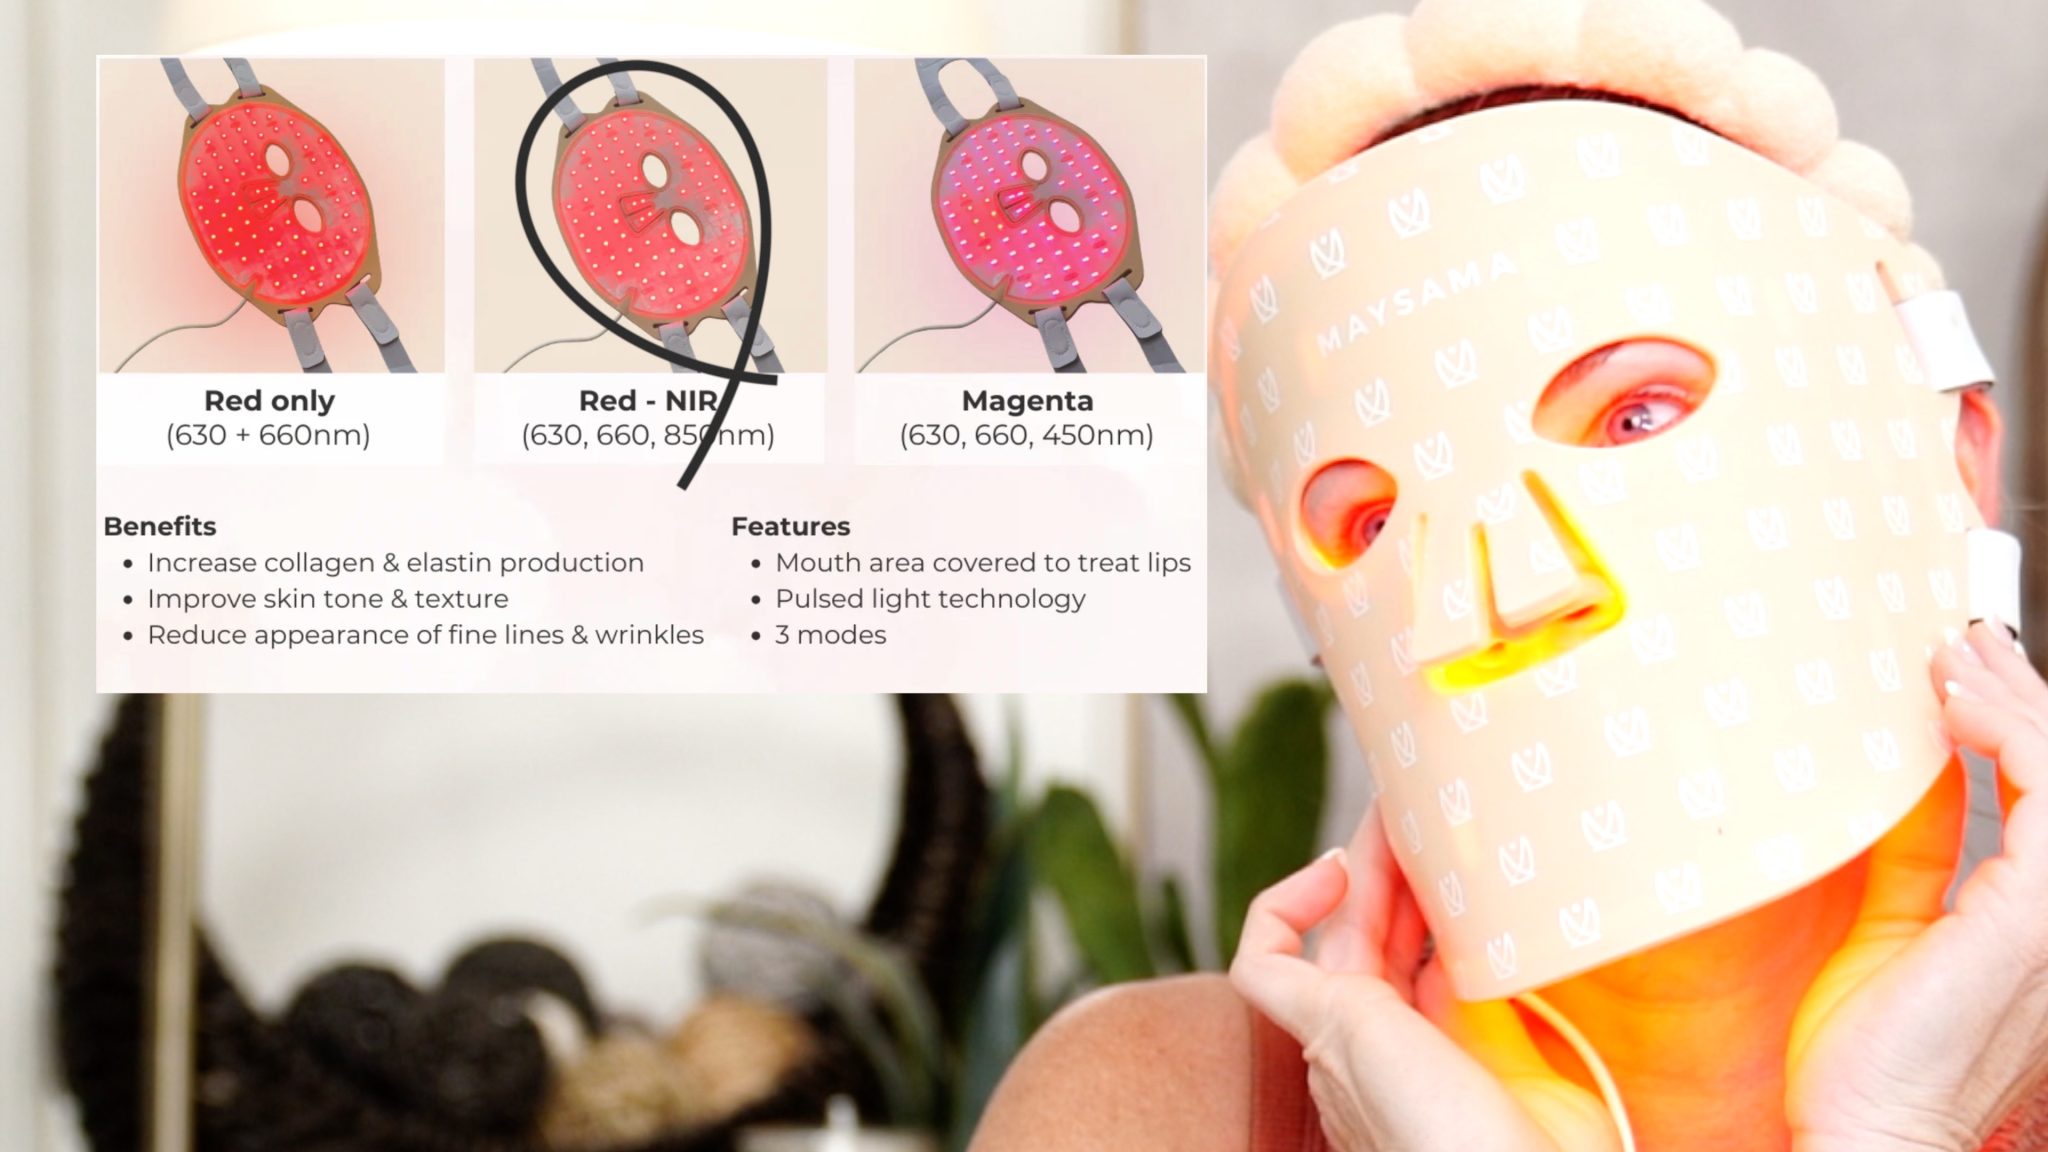
Red + NIR: Red Light and near-Infrared Wavelengths have distinct but complementary actions on dermal fibroblast cells, increasing fibroblast proliferation and aiding the maturation of fibroblasts to secrete collagen for pro-aging benefits. Near-infrared penetrates deeper into the skin than red light, with additional anti-inflammatory benefits.
This combo of Green Rooibos with Red LED is documented to improve elasticity by 55%, decrease wrinkles and erythema by 30%, and decrease pigmentation by 23%.
If you are going to use Red LED light, you should get the most impact possible, and this combination appears to be highly successful.
Having less build-up on your skin helps this light be even more effective.
STEP 7:
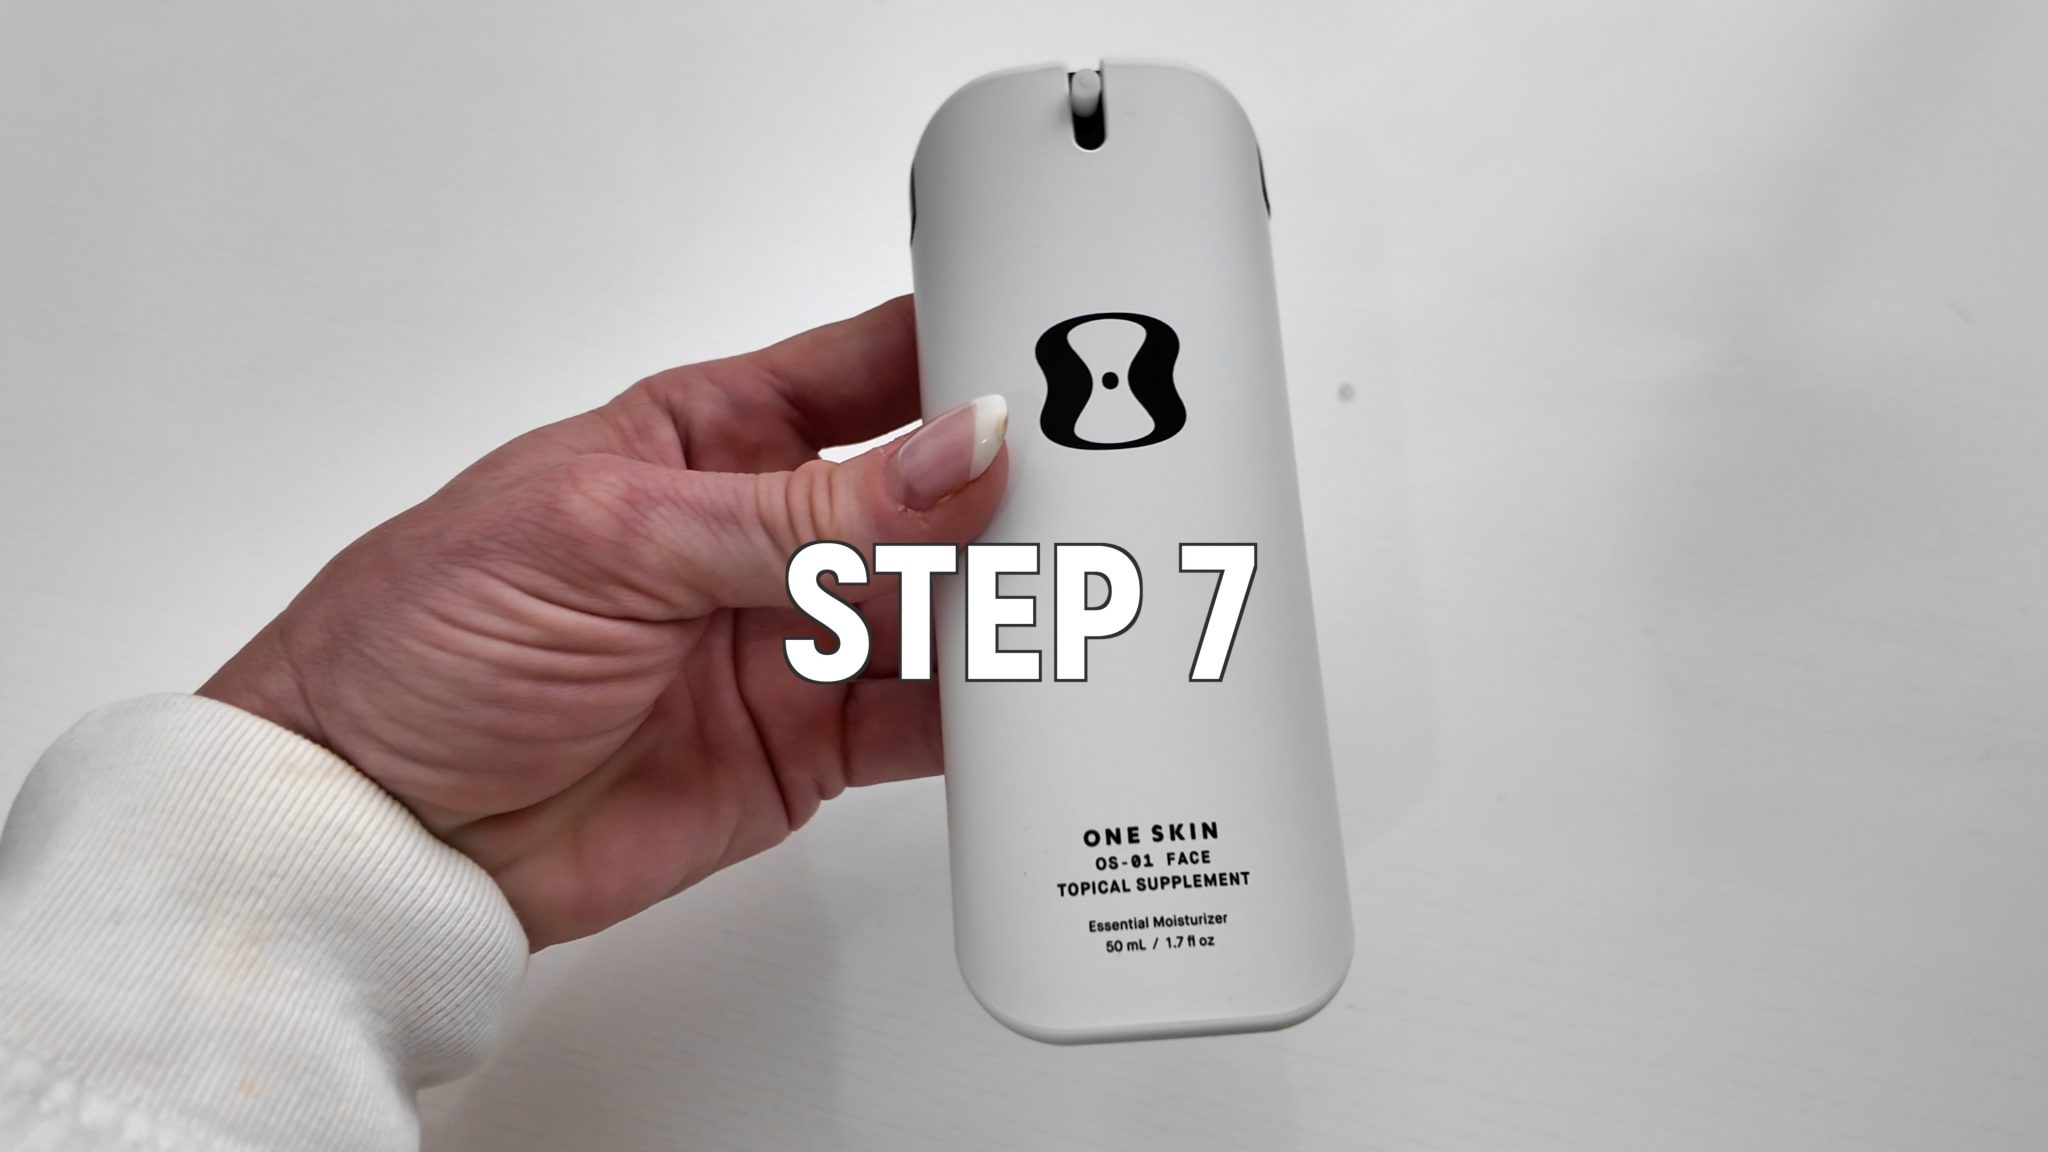
It’s time to hydrate. I’m starting with the One Skin topical supplement. This is formulated with a peptide called OS-01. It’s the first ingredient scientifically proven to reverse skin’s biological age at the molecular level. As we age, we build up senescent cells. These cells no longer work properly, causing us to look older.
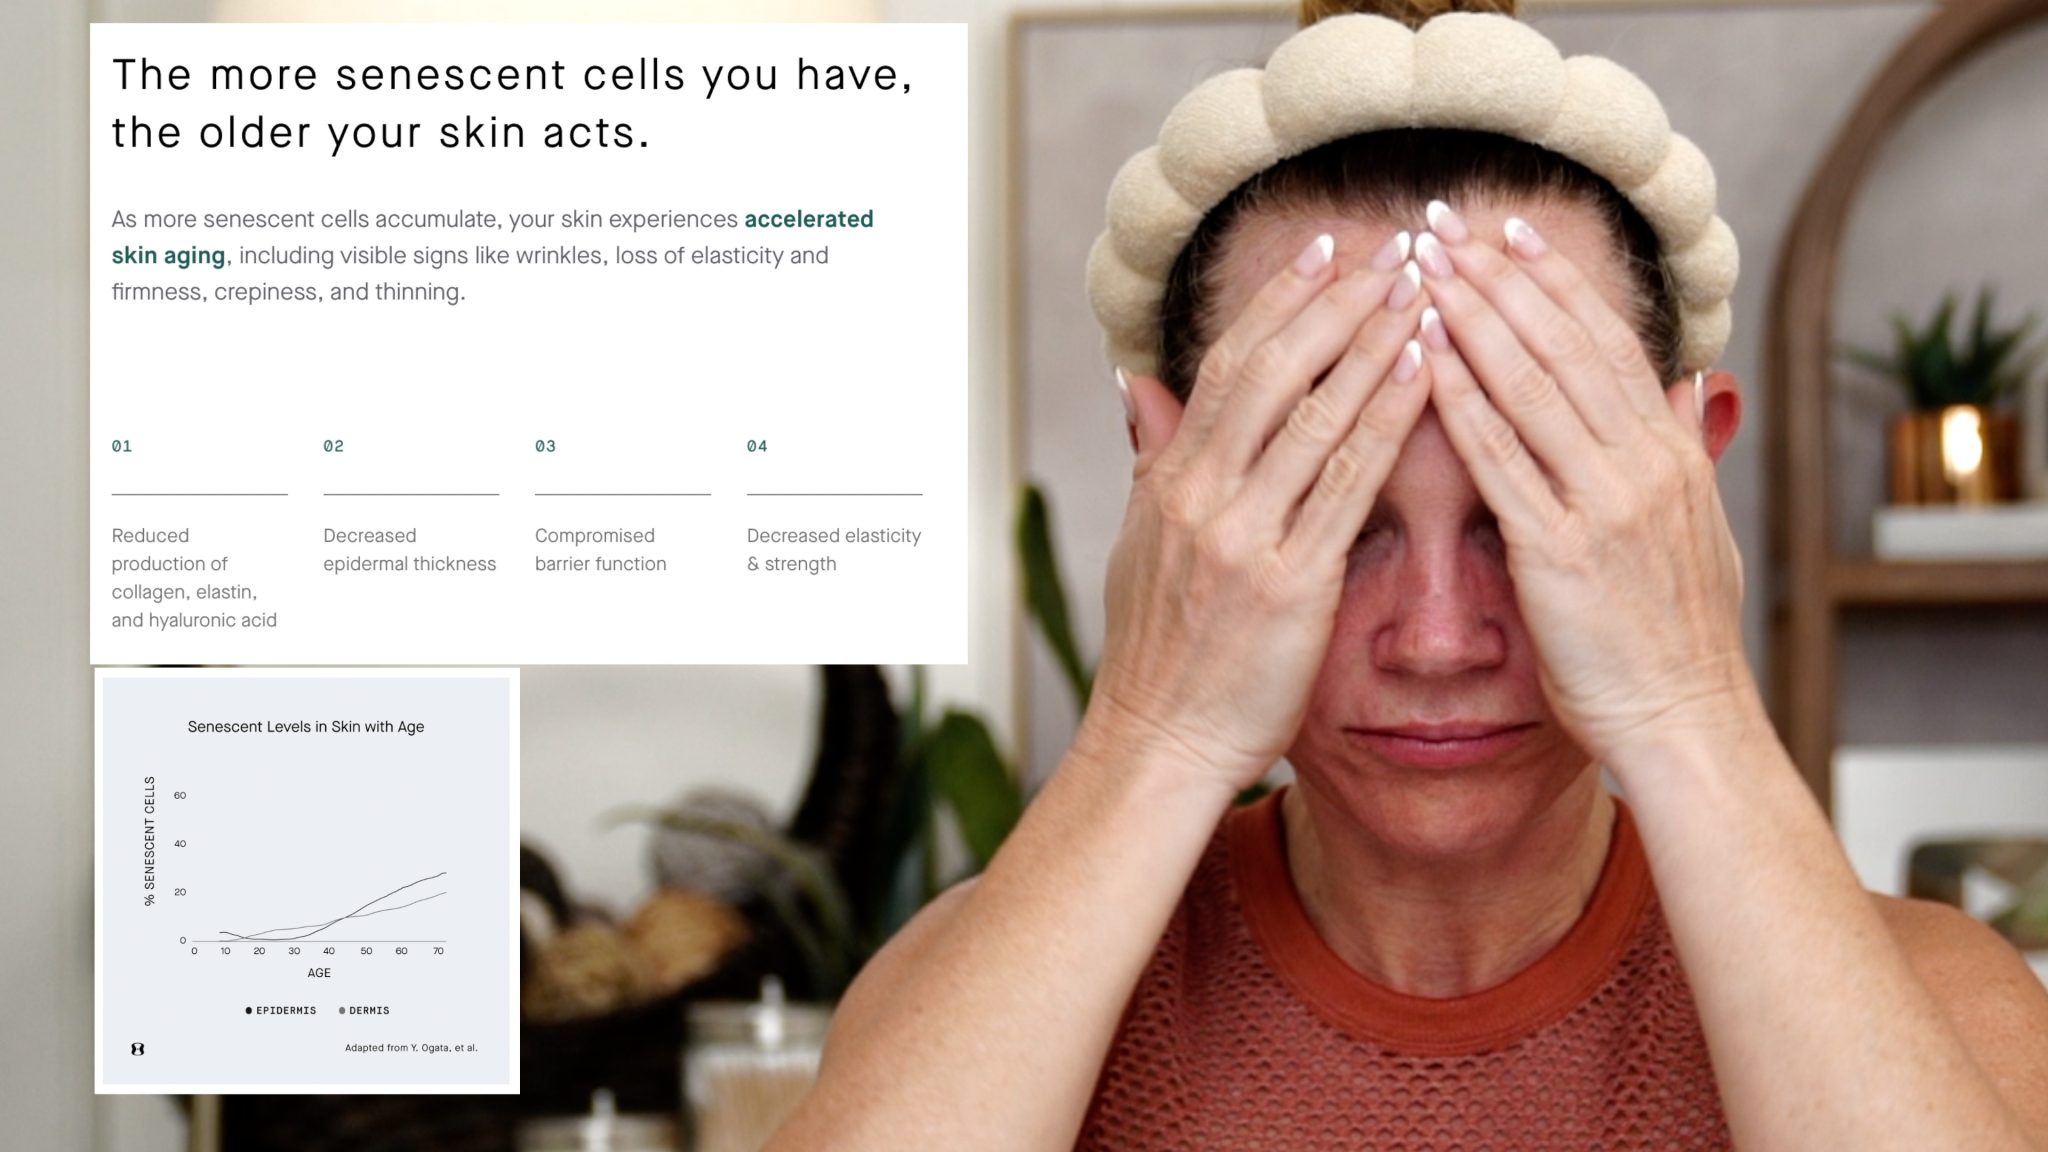
The OS-01 Peptide repairs cellular pathways, promotes key markers associated with collagen production, reduces melanin deposits, and enhances epidermal thickness.
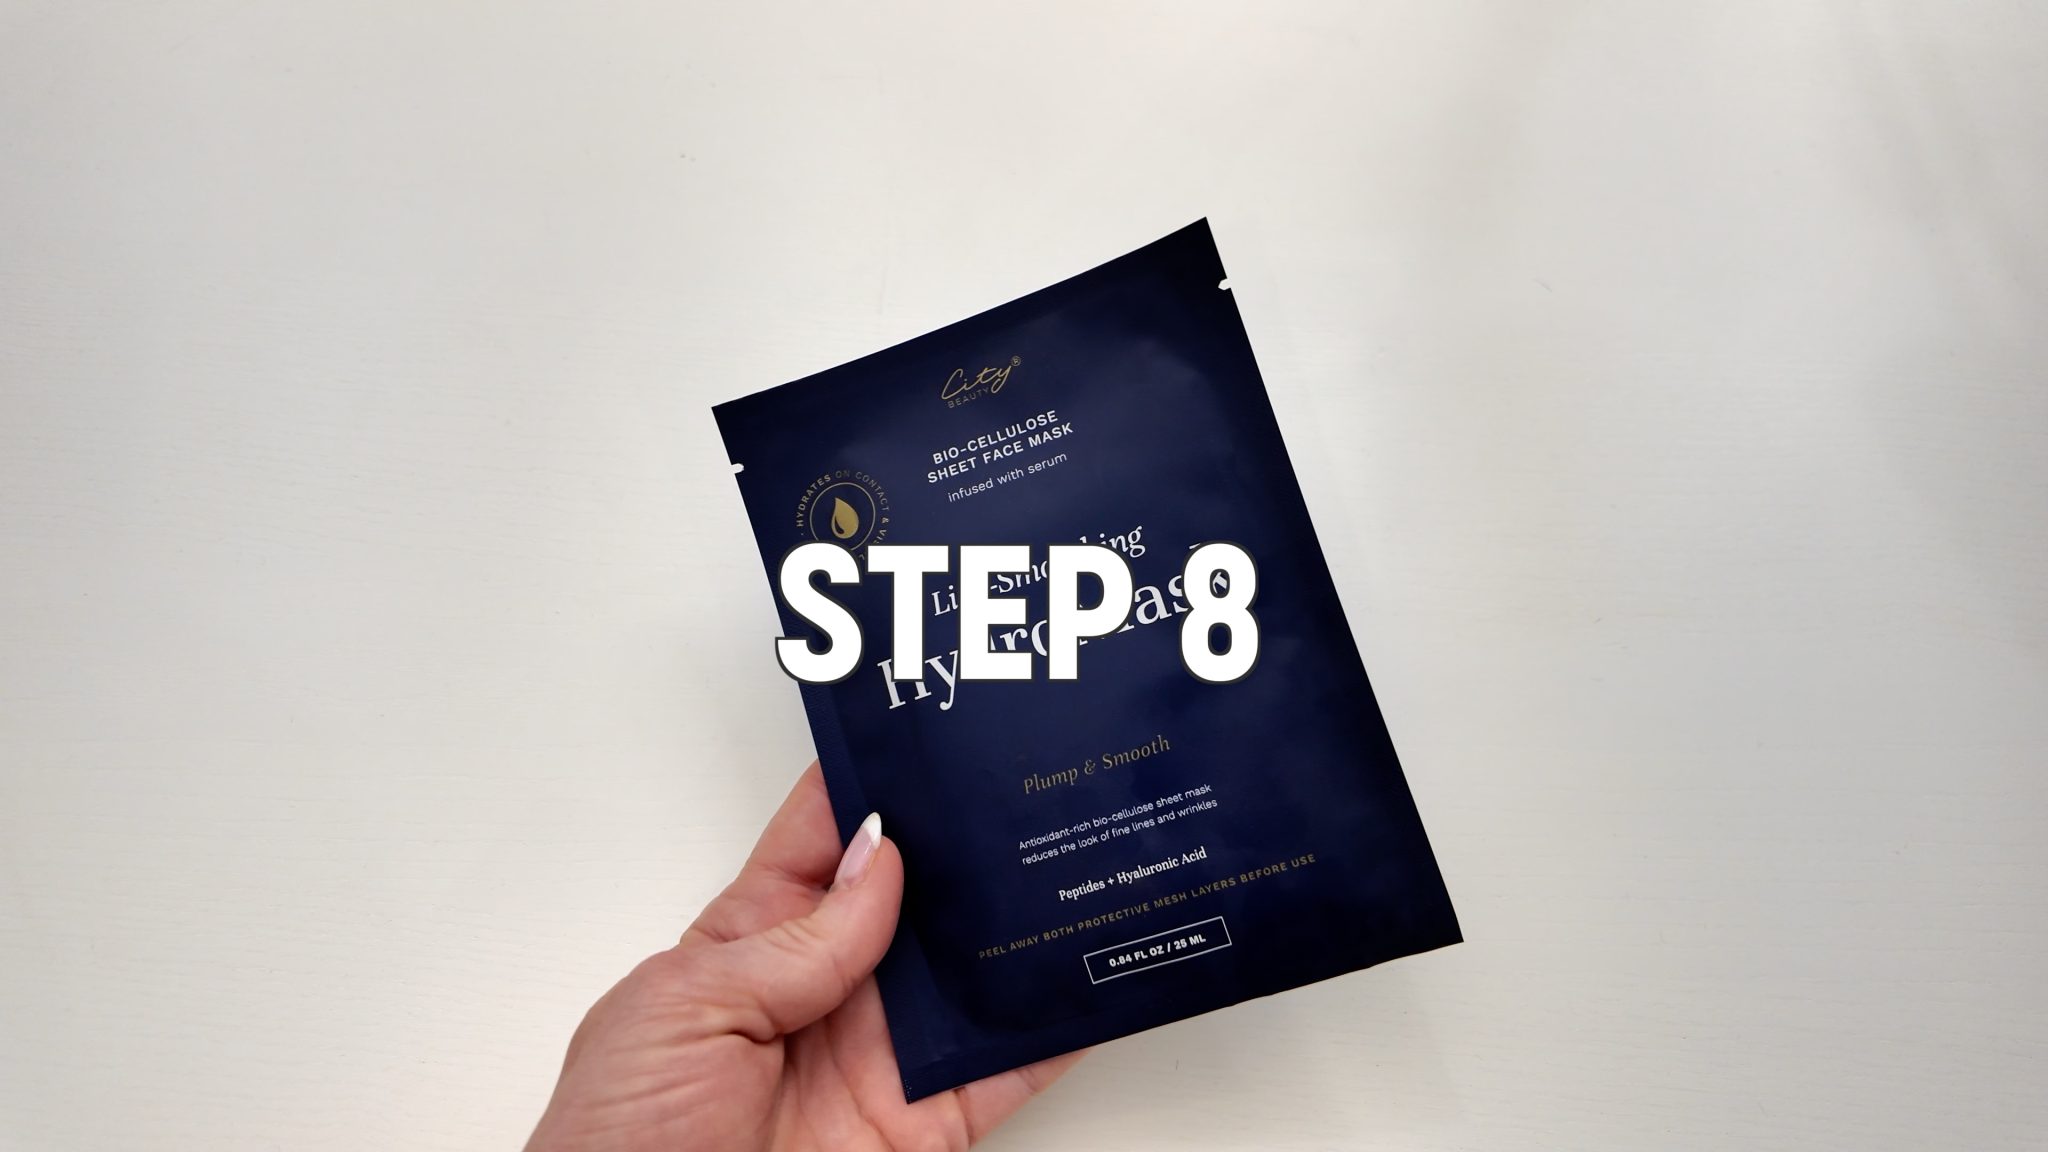
STEP 8:
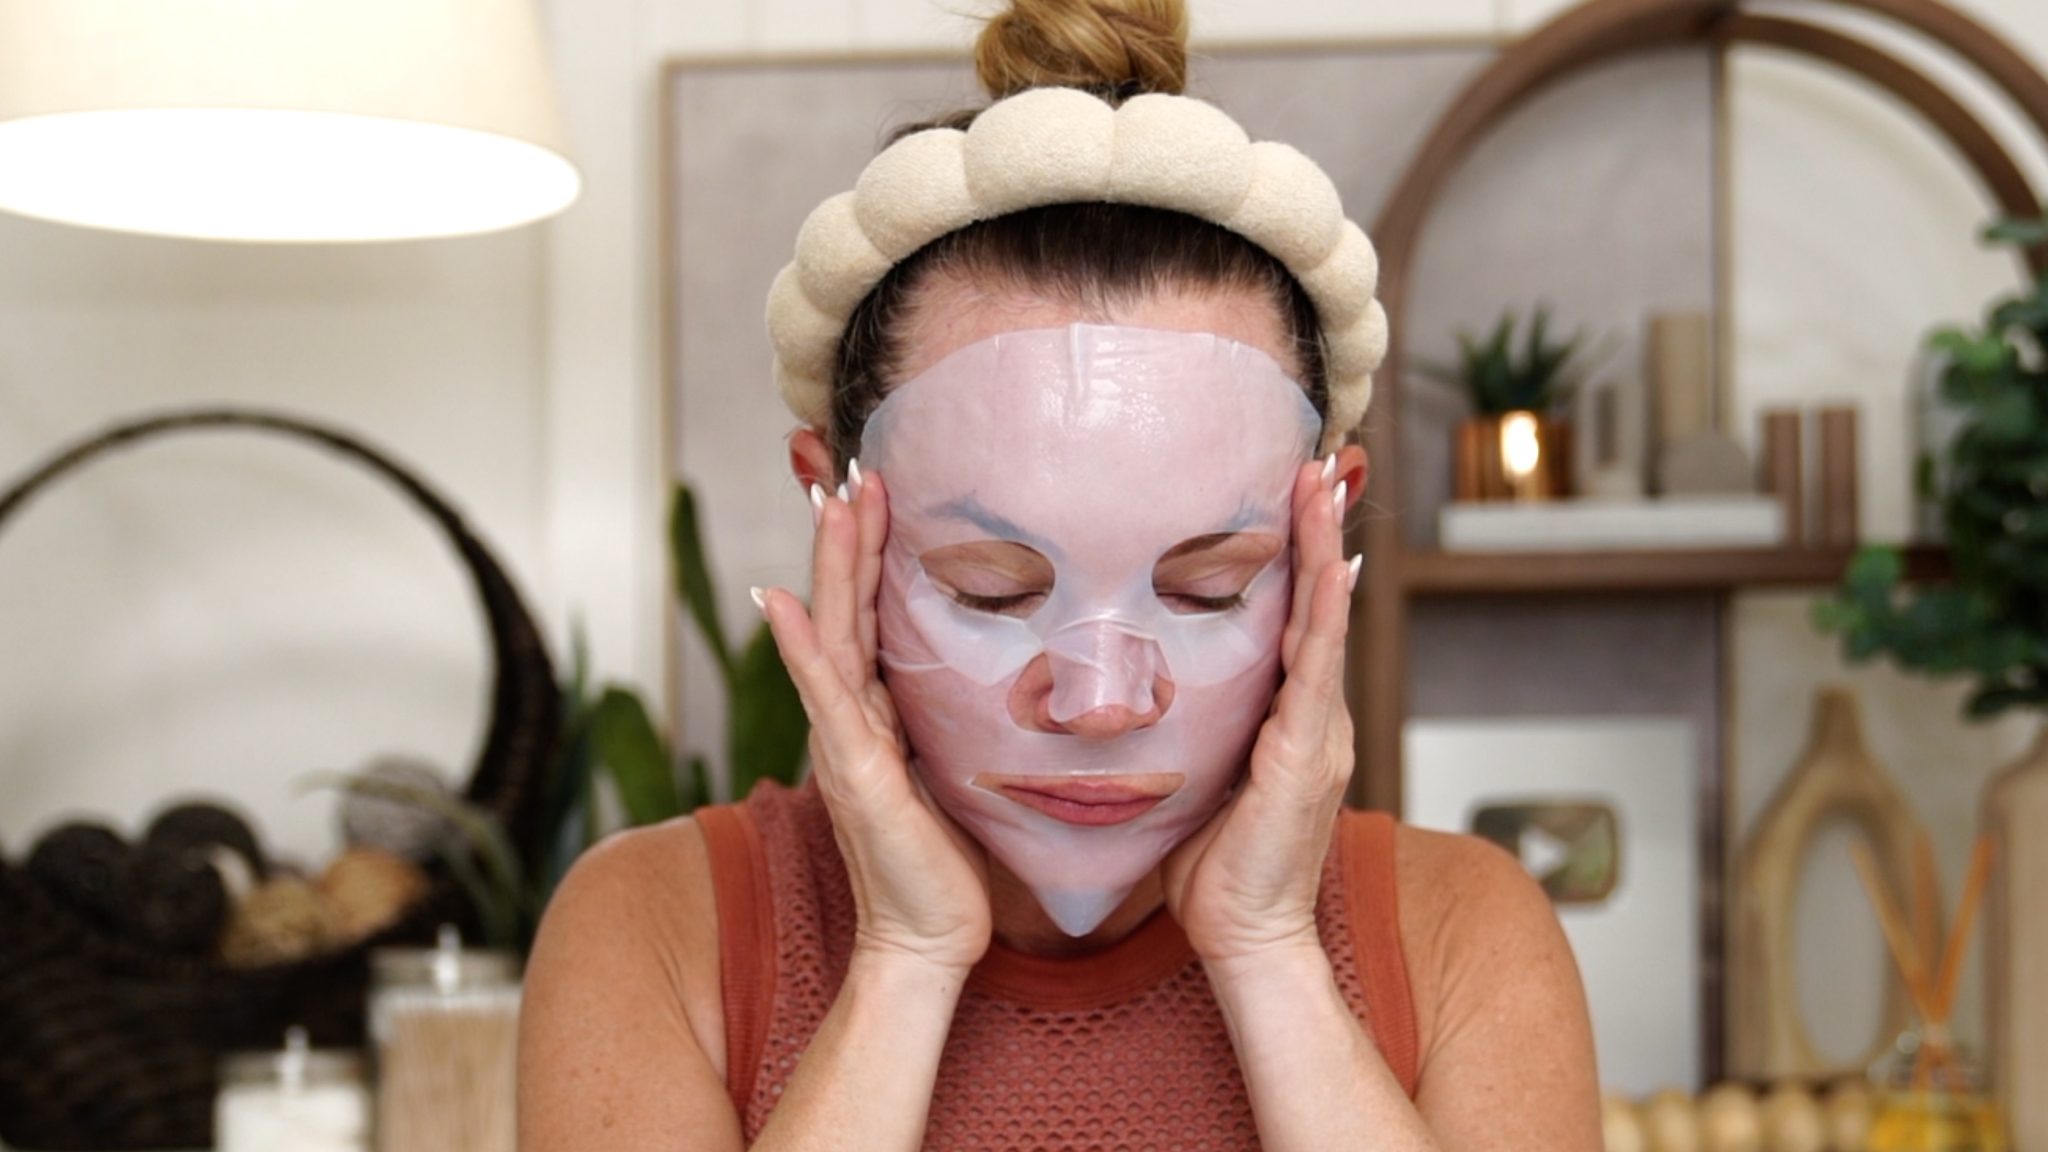
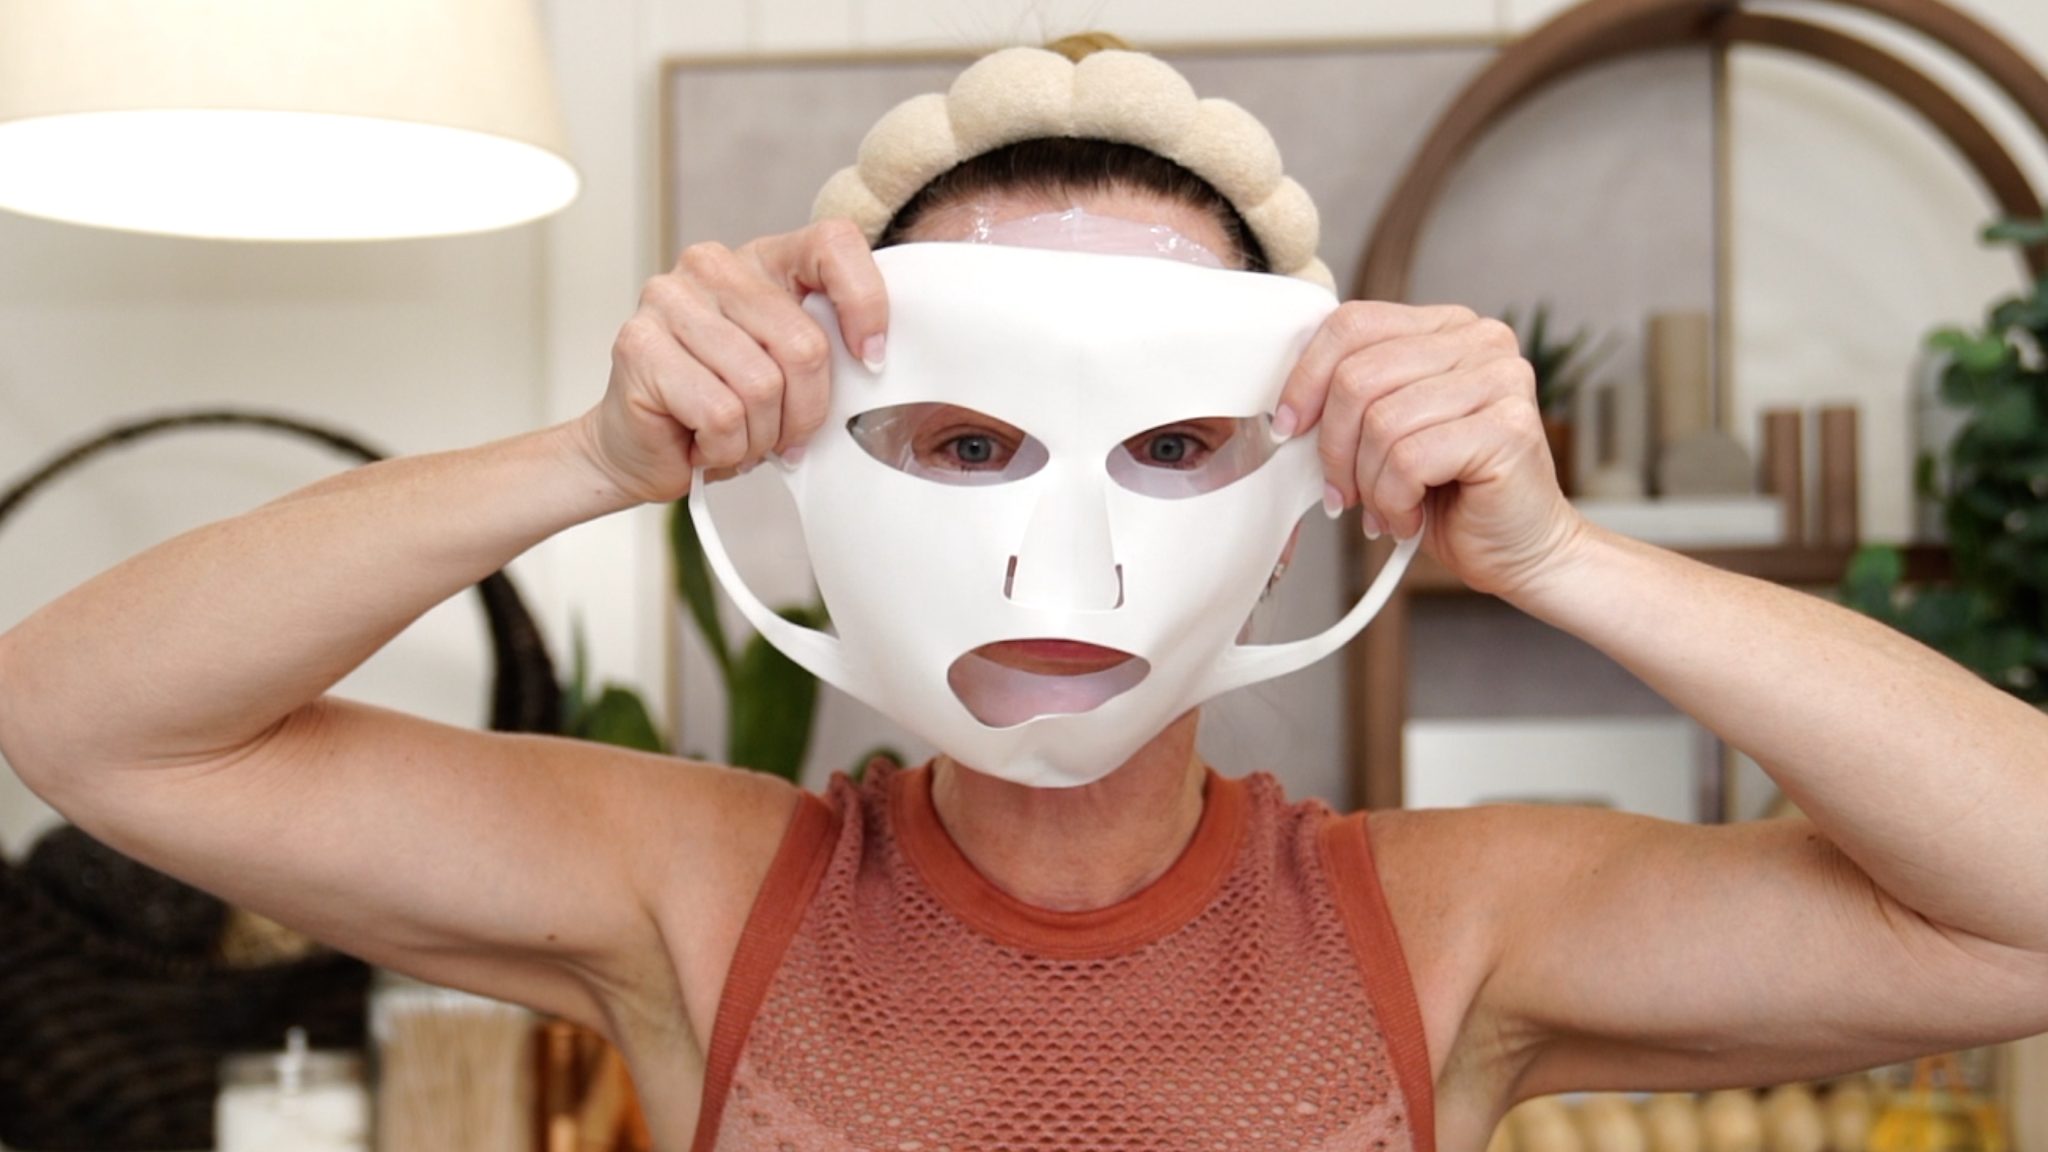
I’m layering on a biocellulos peptide sheet mask to hydrate and push in hydration. I place a sheet mask cover to ensure hydration moves into my skin and not into the atmosphere. CITY BEAUTY Hydromask
STEP 9:
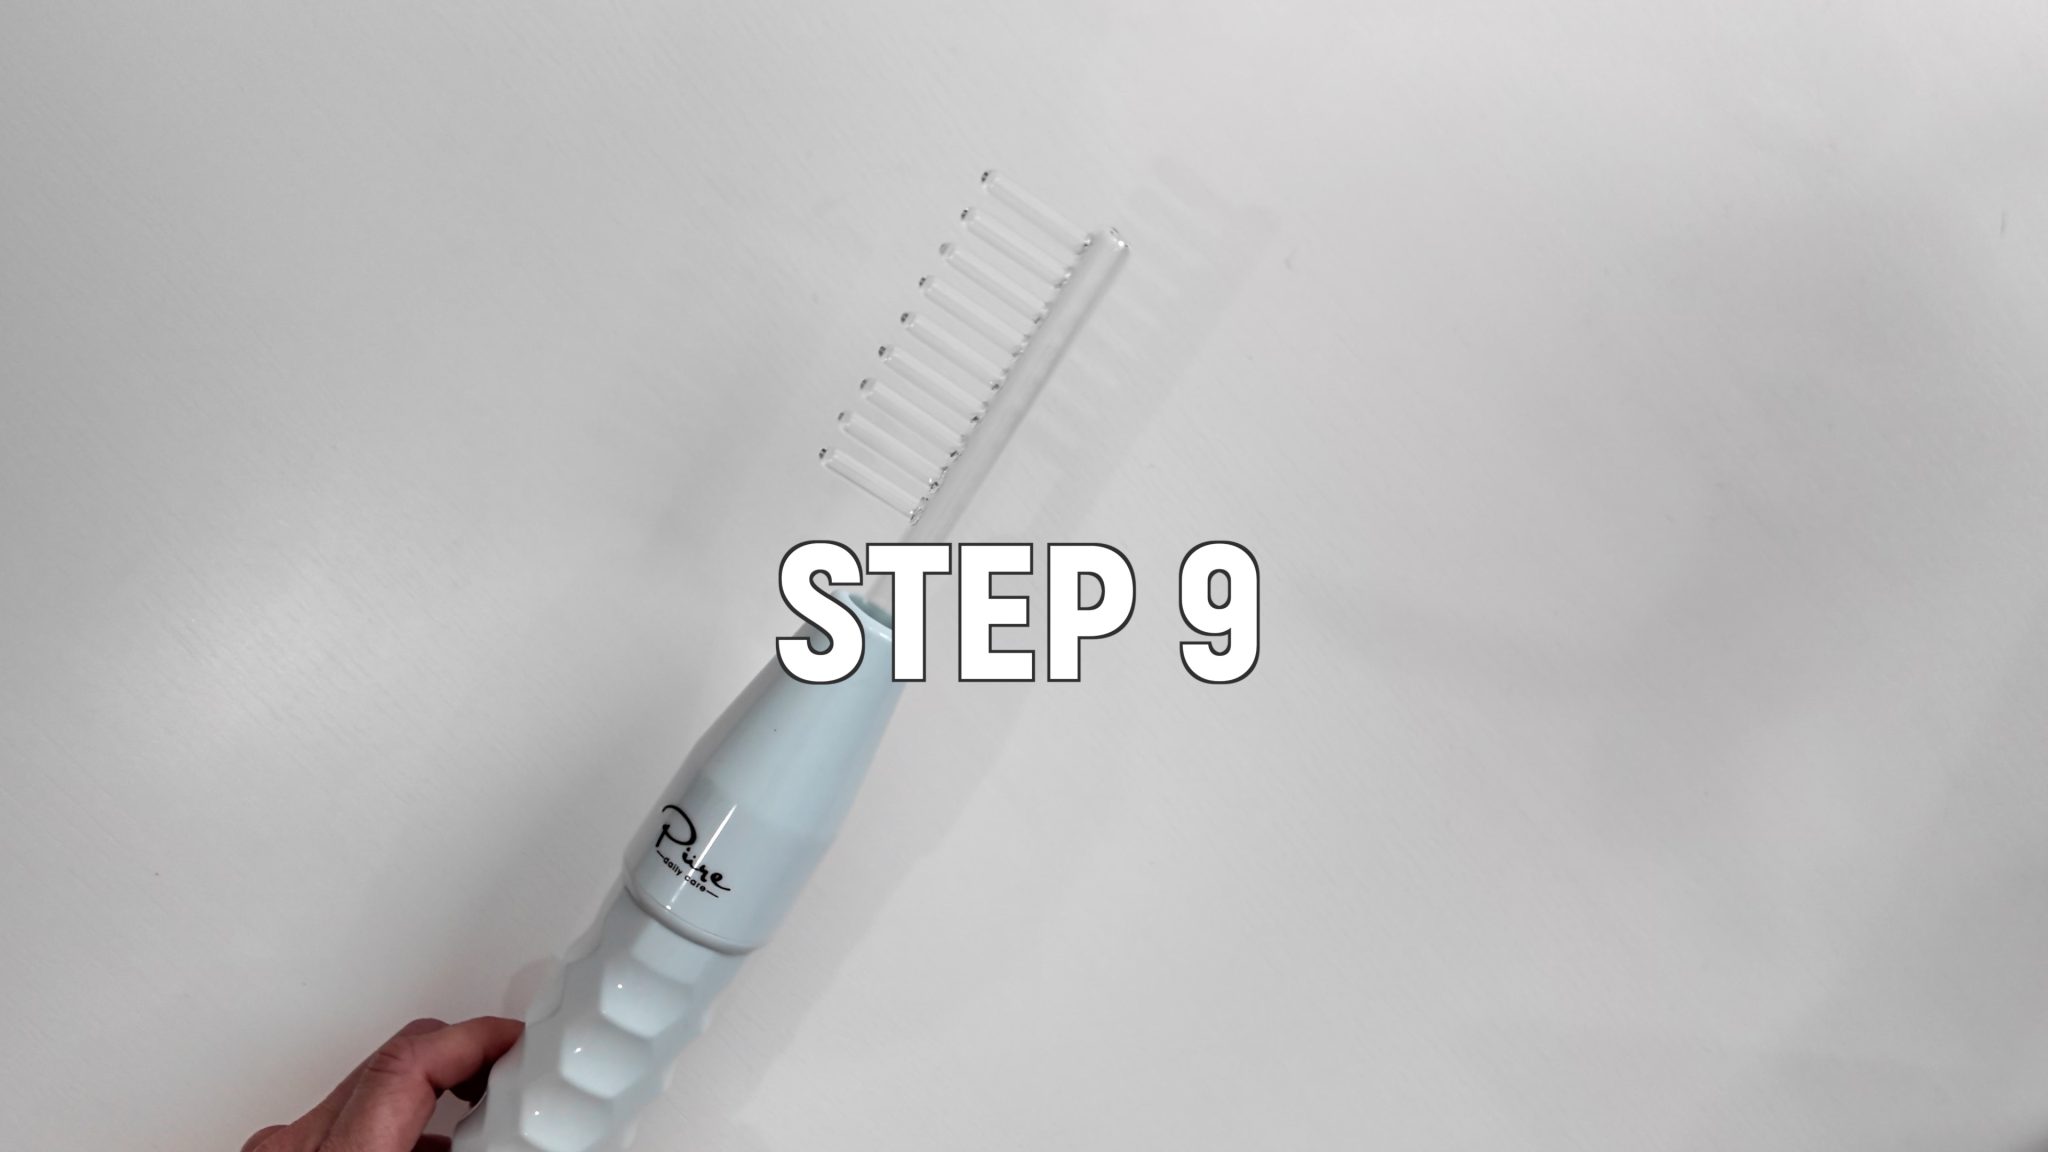
I like to multitask. While my face receives hydration, I’m treating my scalp for stronger hair growth.
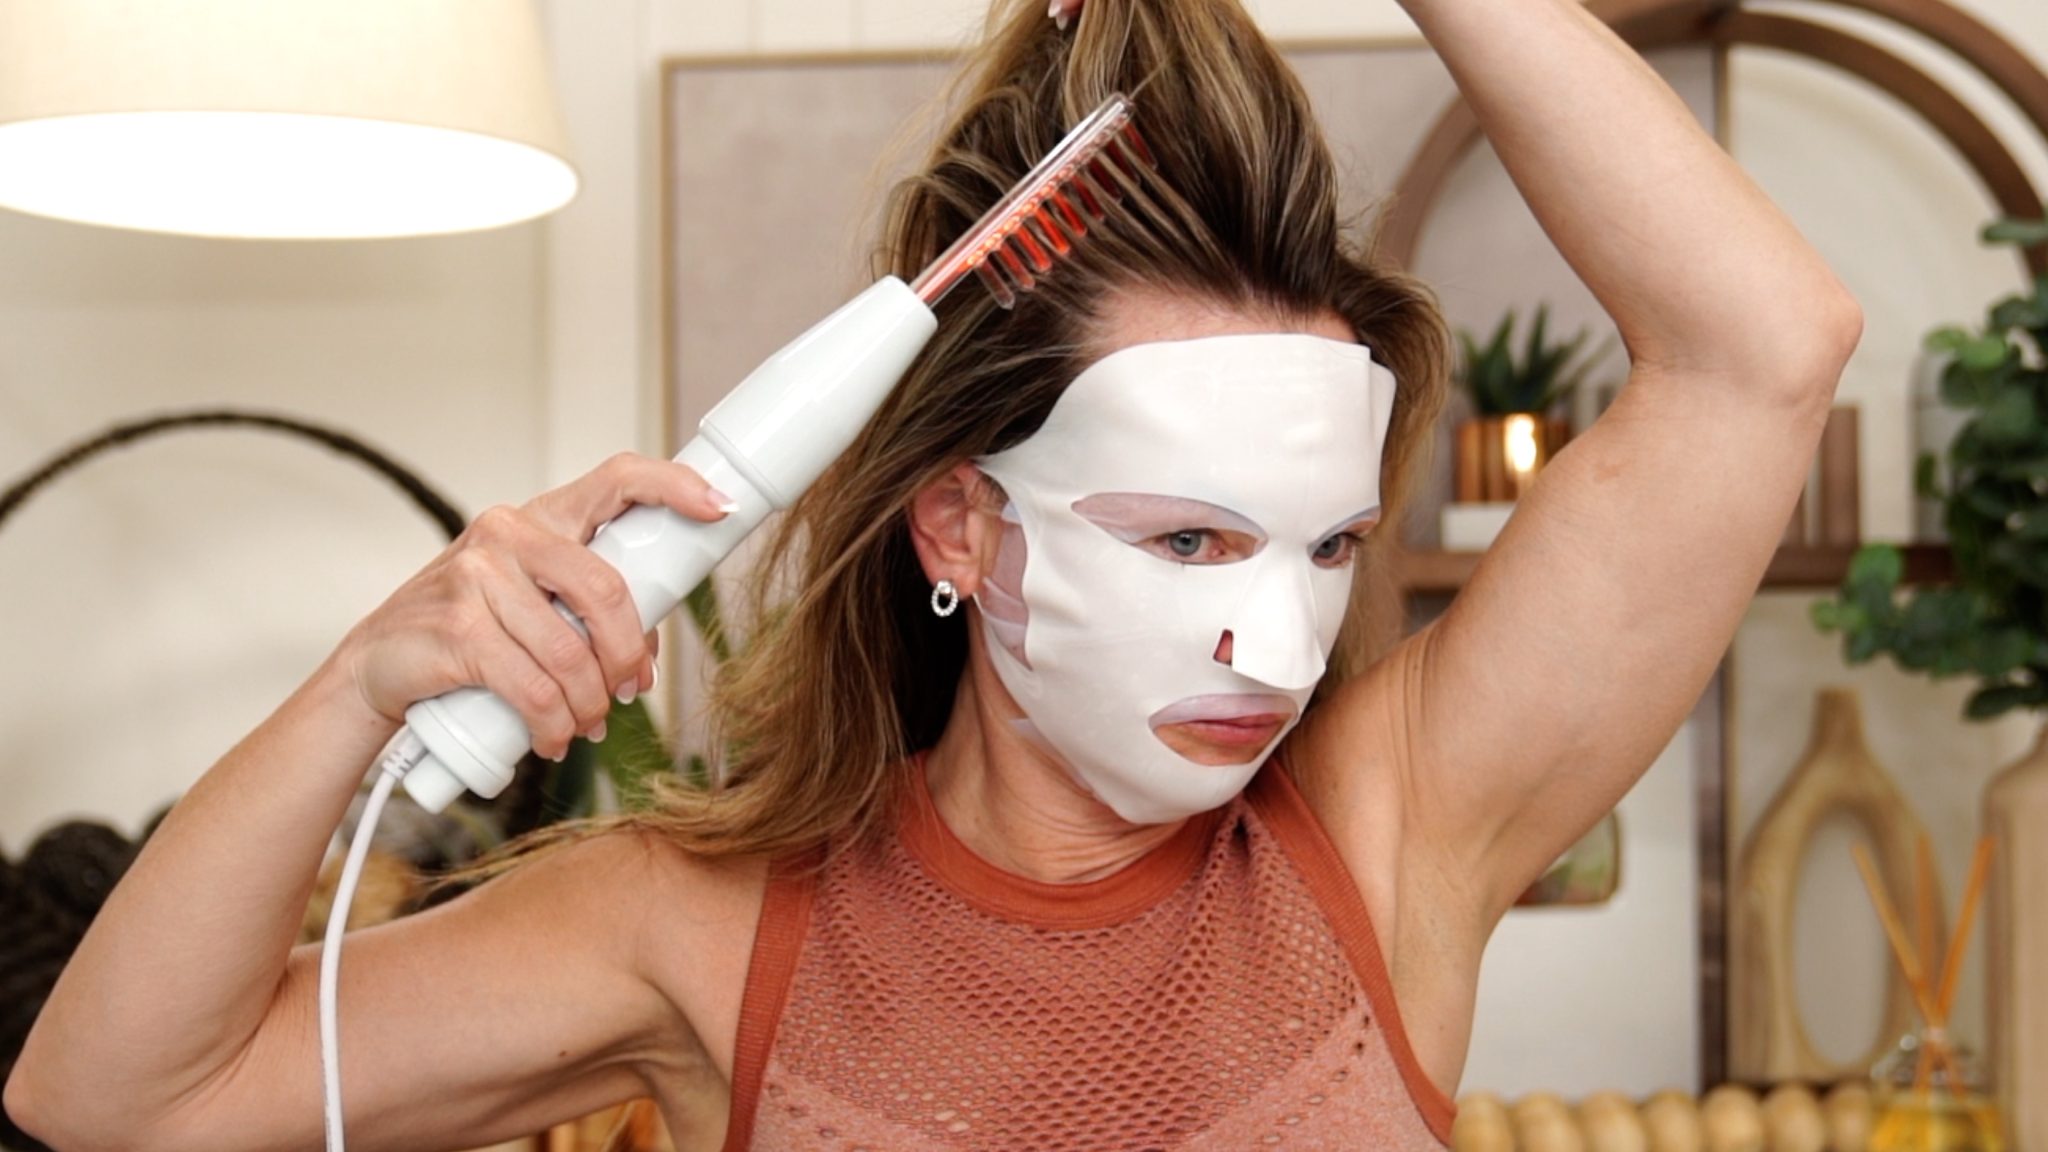
I’ve used a high-frequency wand for years, and my most loved protocol is using it in my hair to boost circulation, which aids in stronger hair follicle creation.
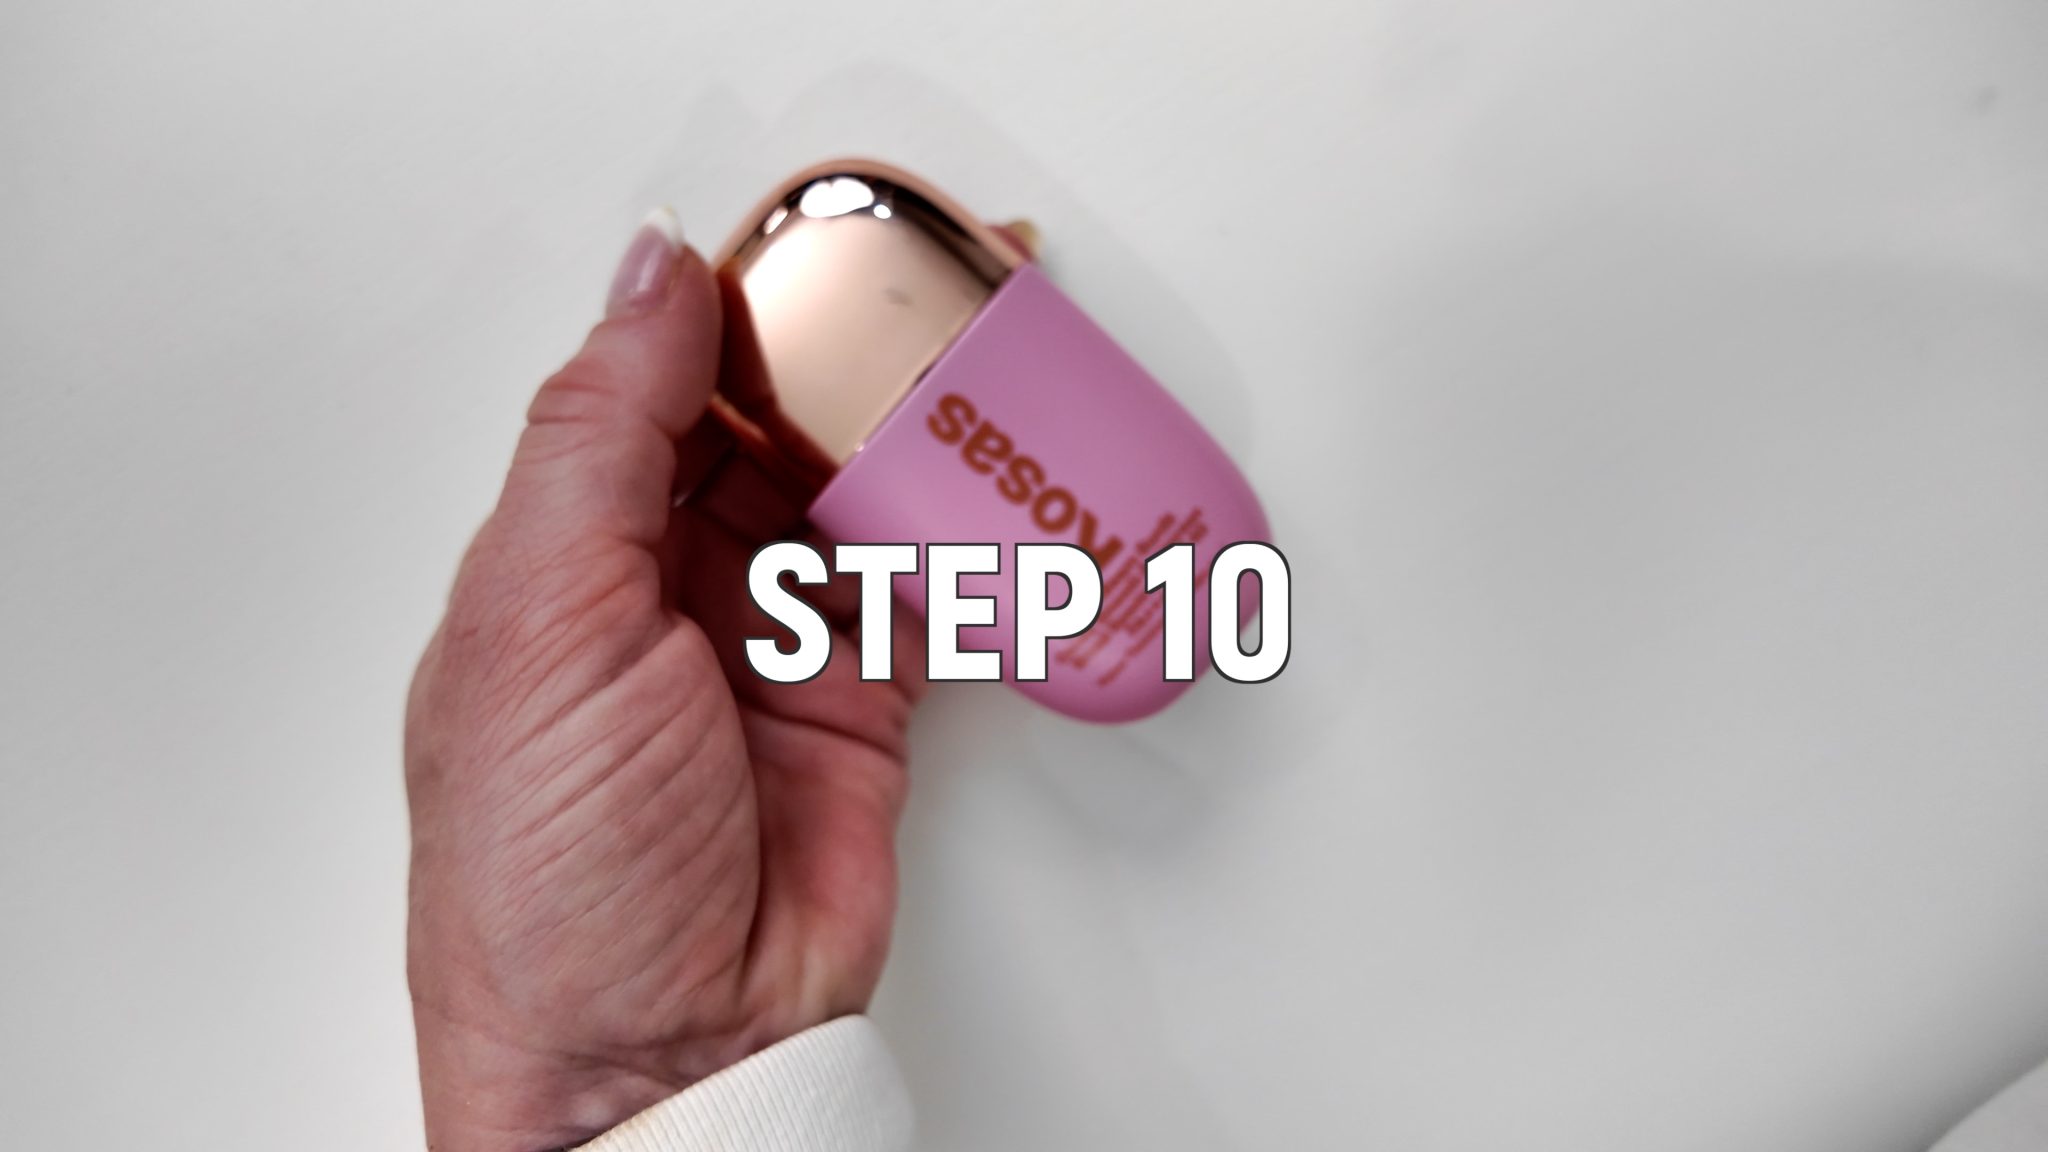
STEP 10:
It’s time to apply sunscreen.
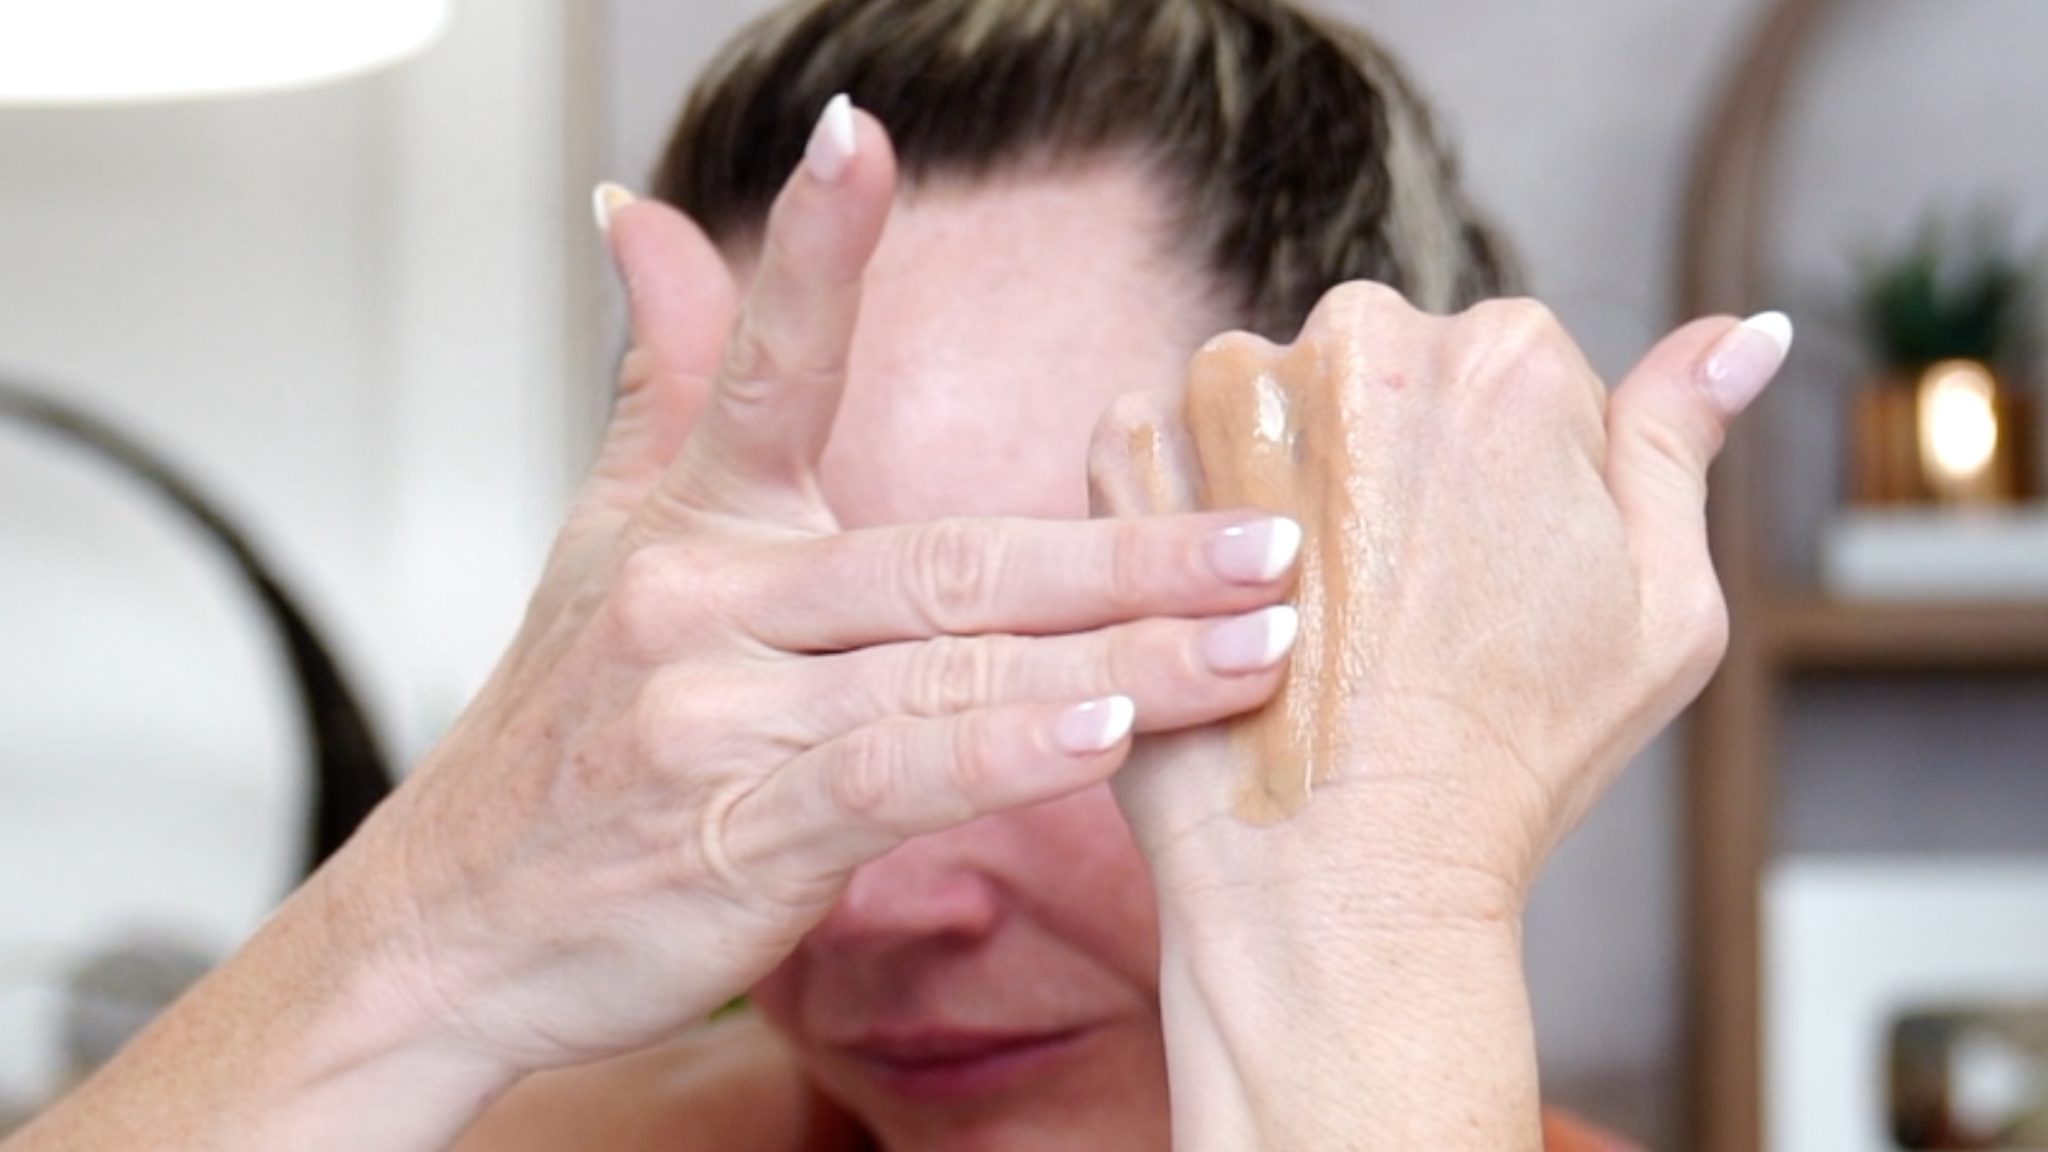
I’m using the Kosas Dream Beam Sunlit 40 SPF, a mineral sunscreen with 21.7% Zinc Oxide that provides an 80-minute physical sun barrier.
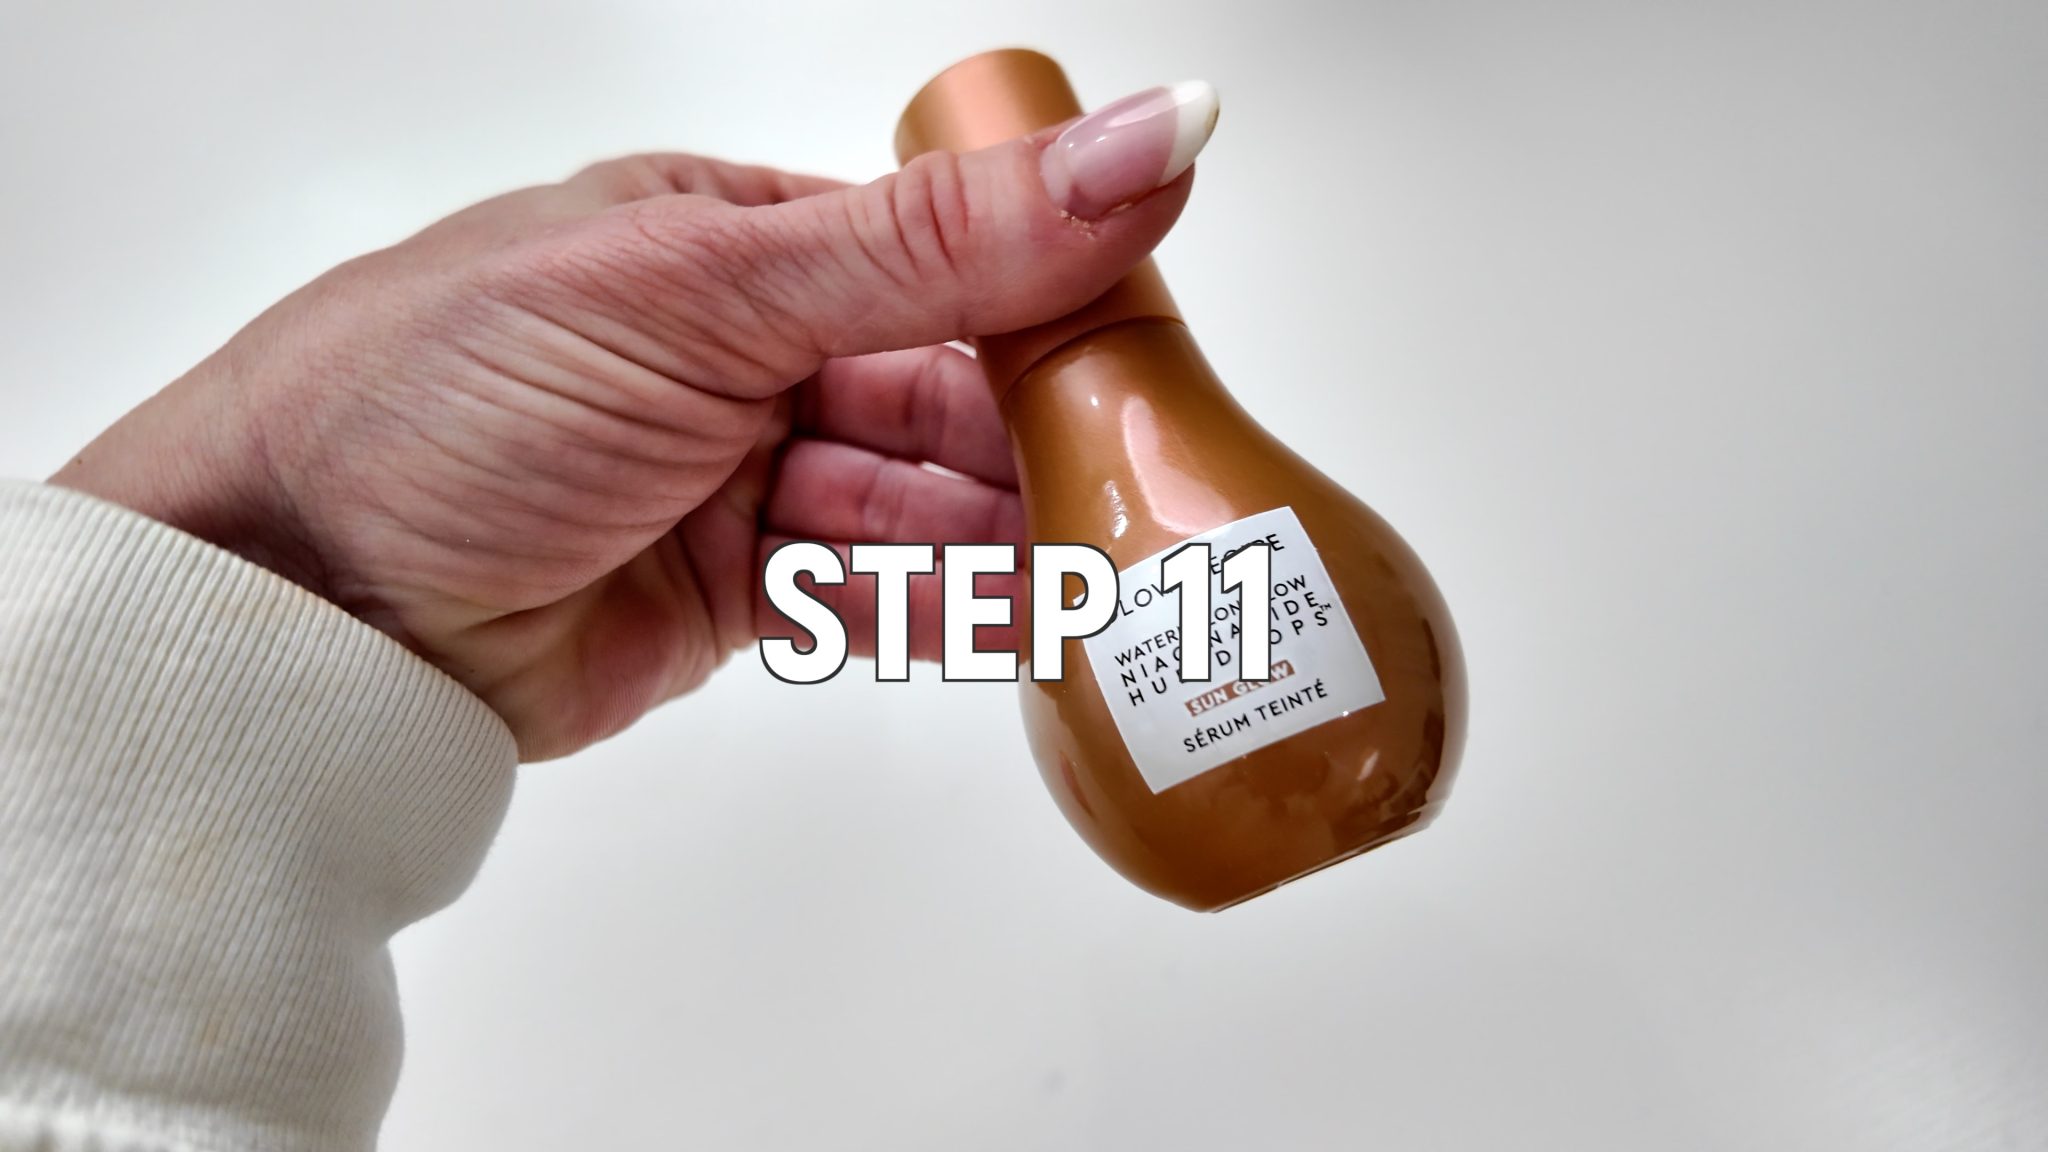
STEP 11:
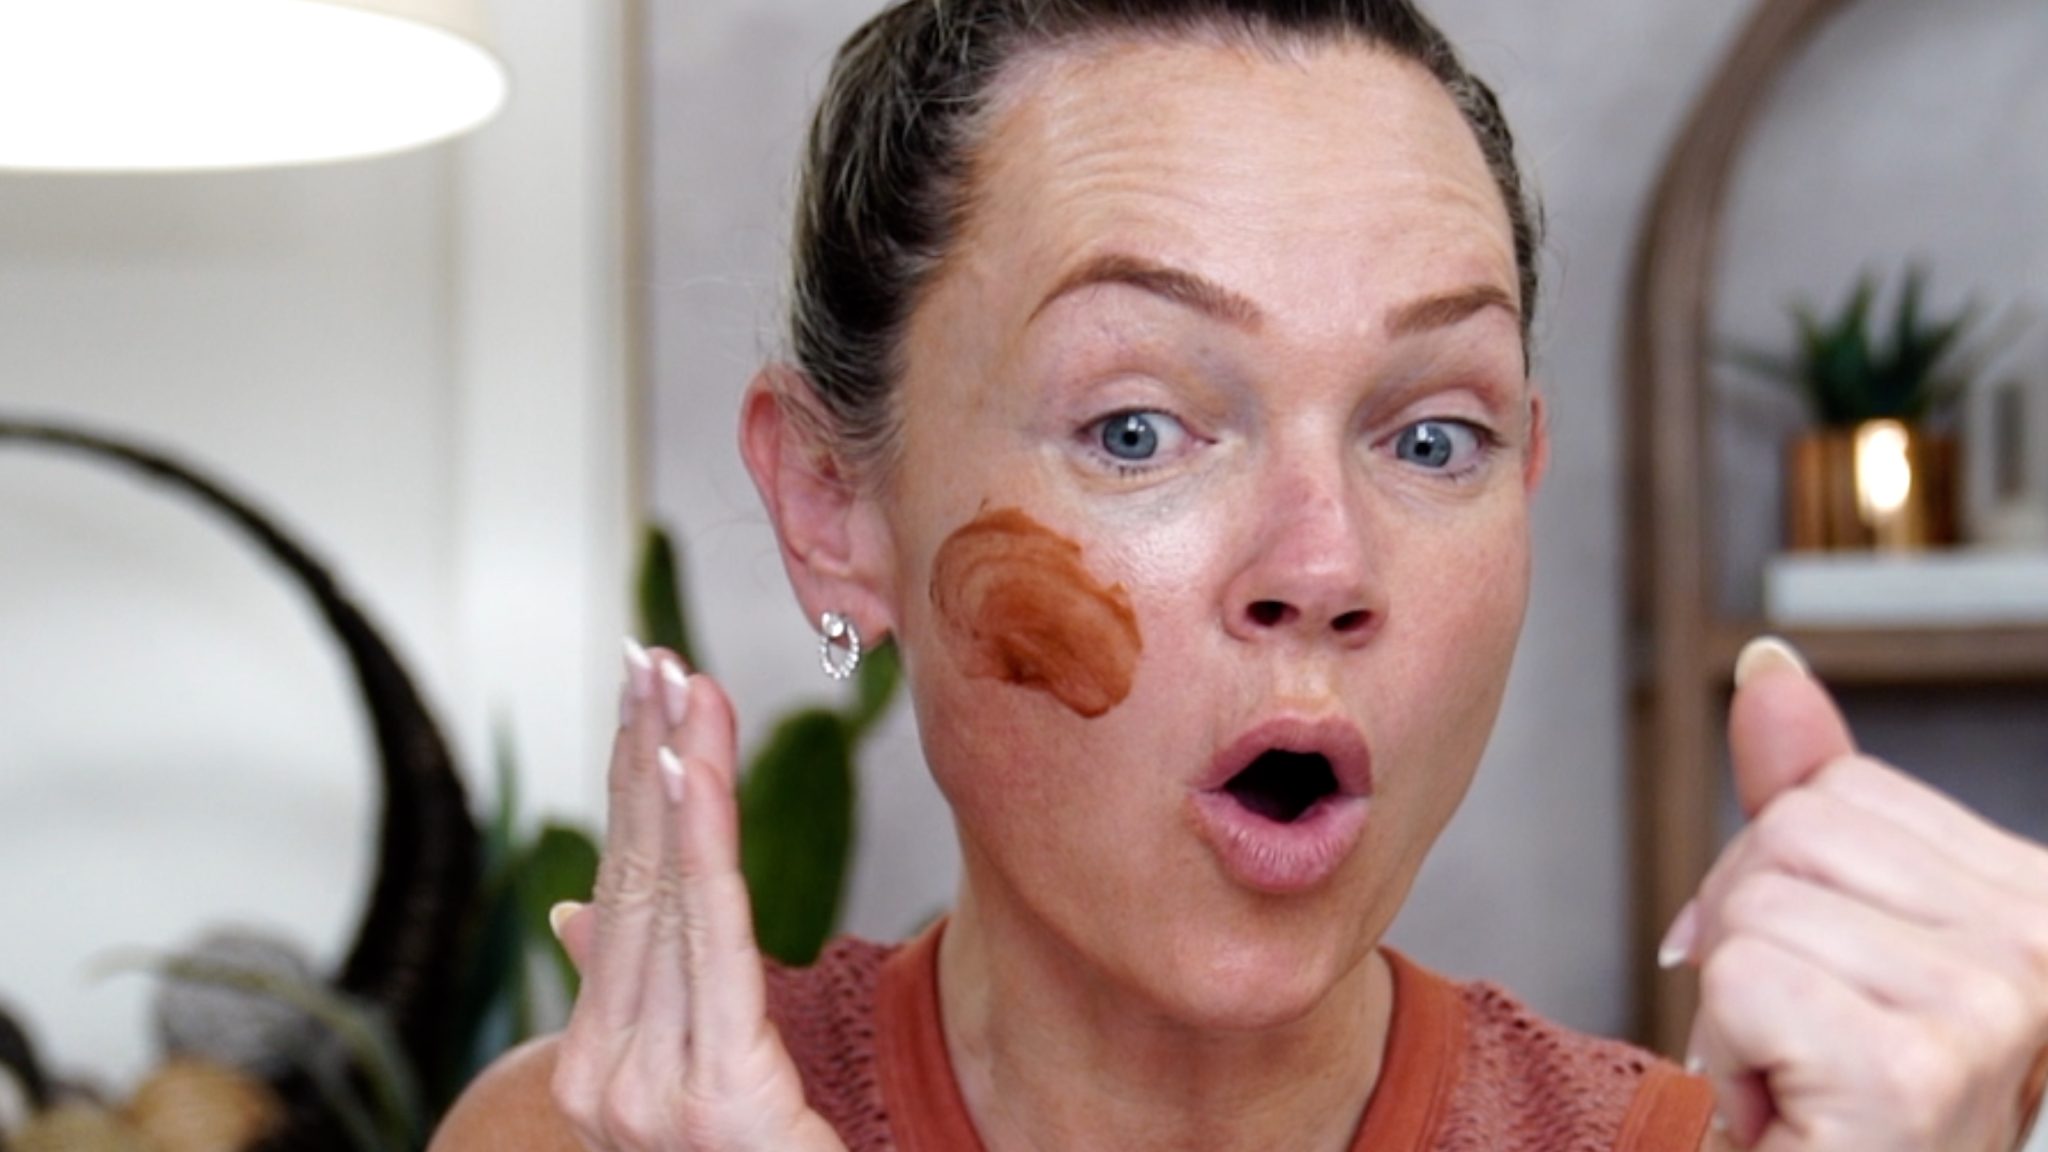
After, I add the Glow Recipe watermelon glow niacinamide hue drops.
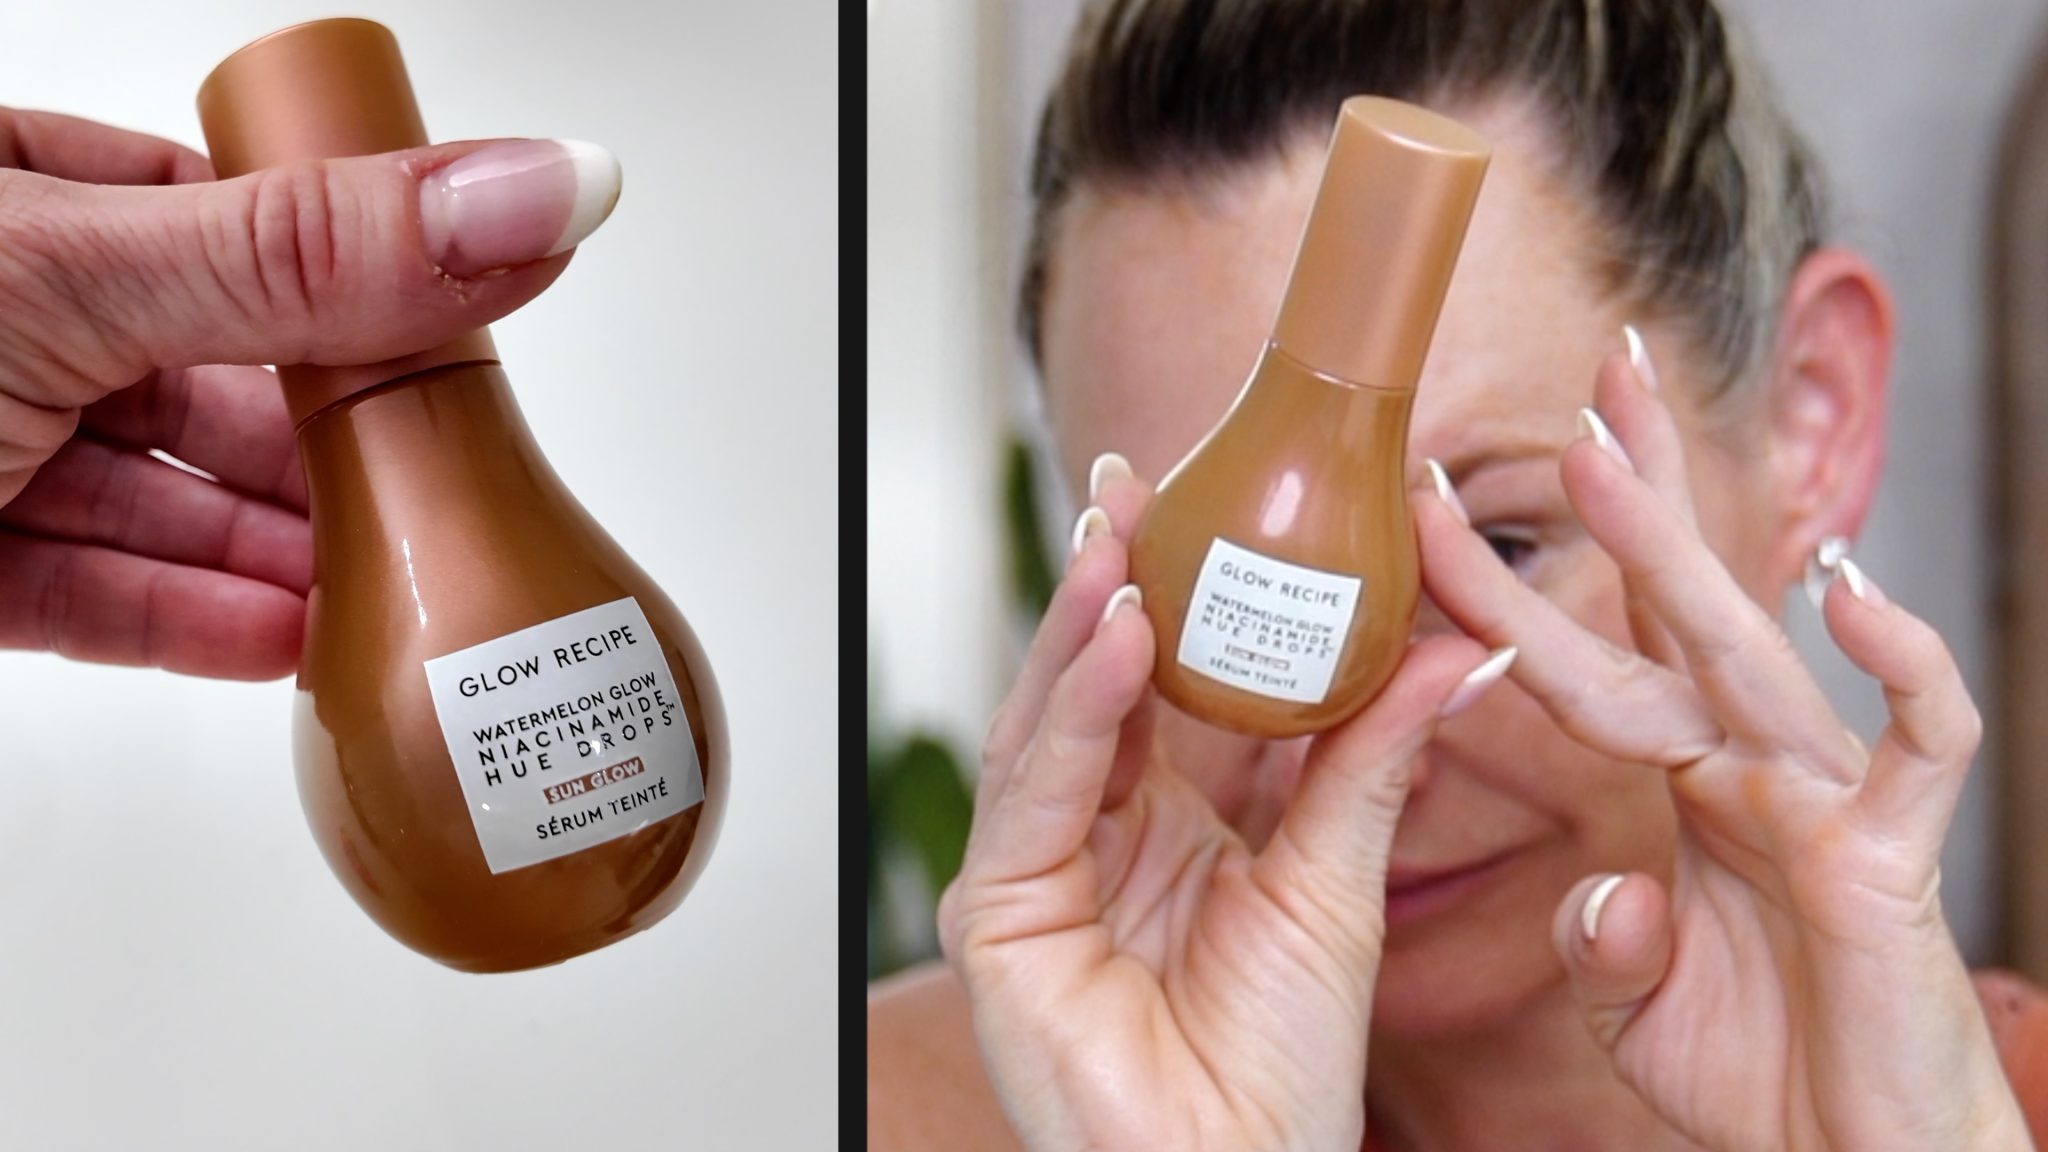
This is a brightening niacinamide serum that includes a bronzing glow.
STEP 12:
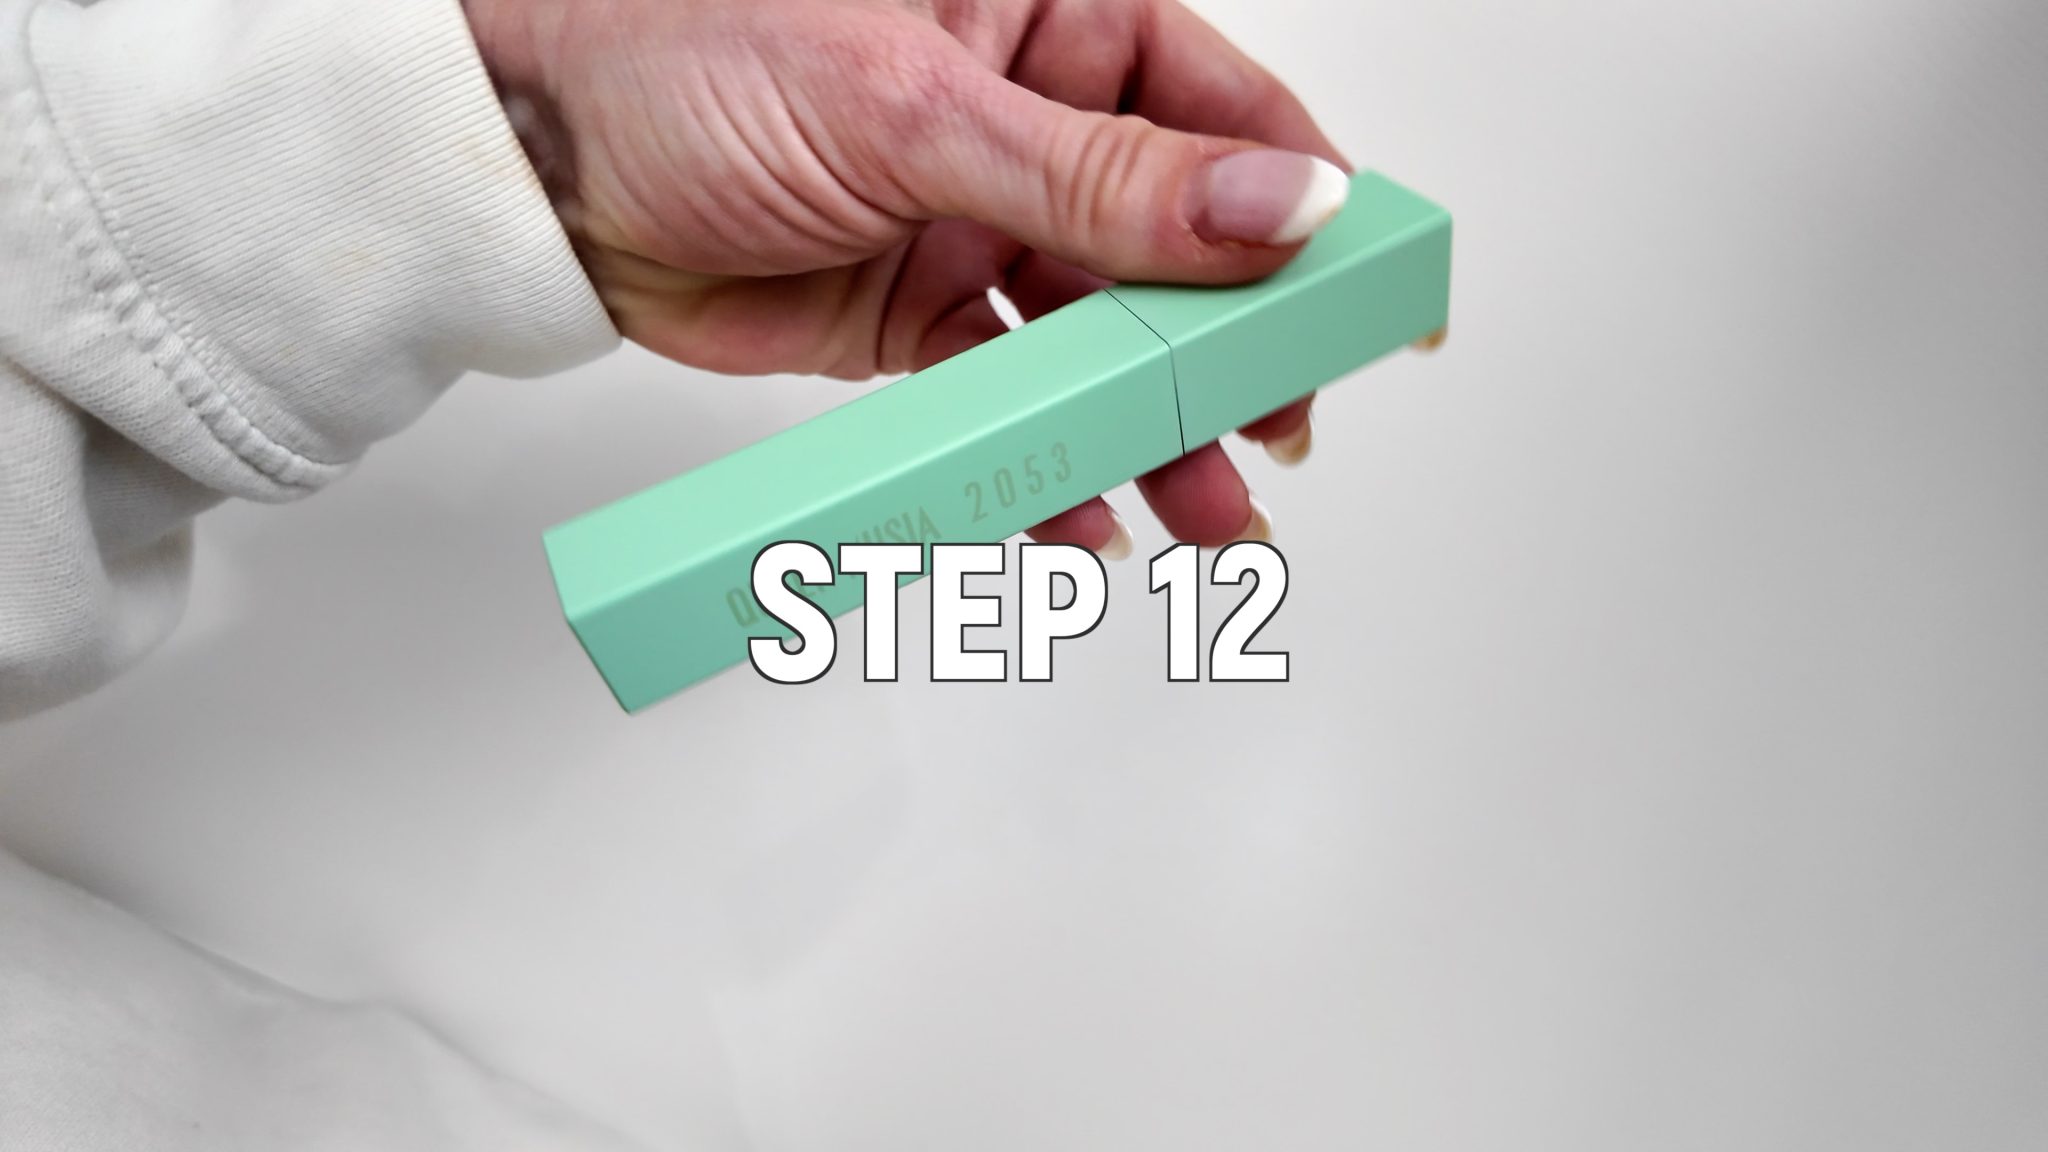
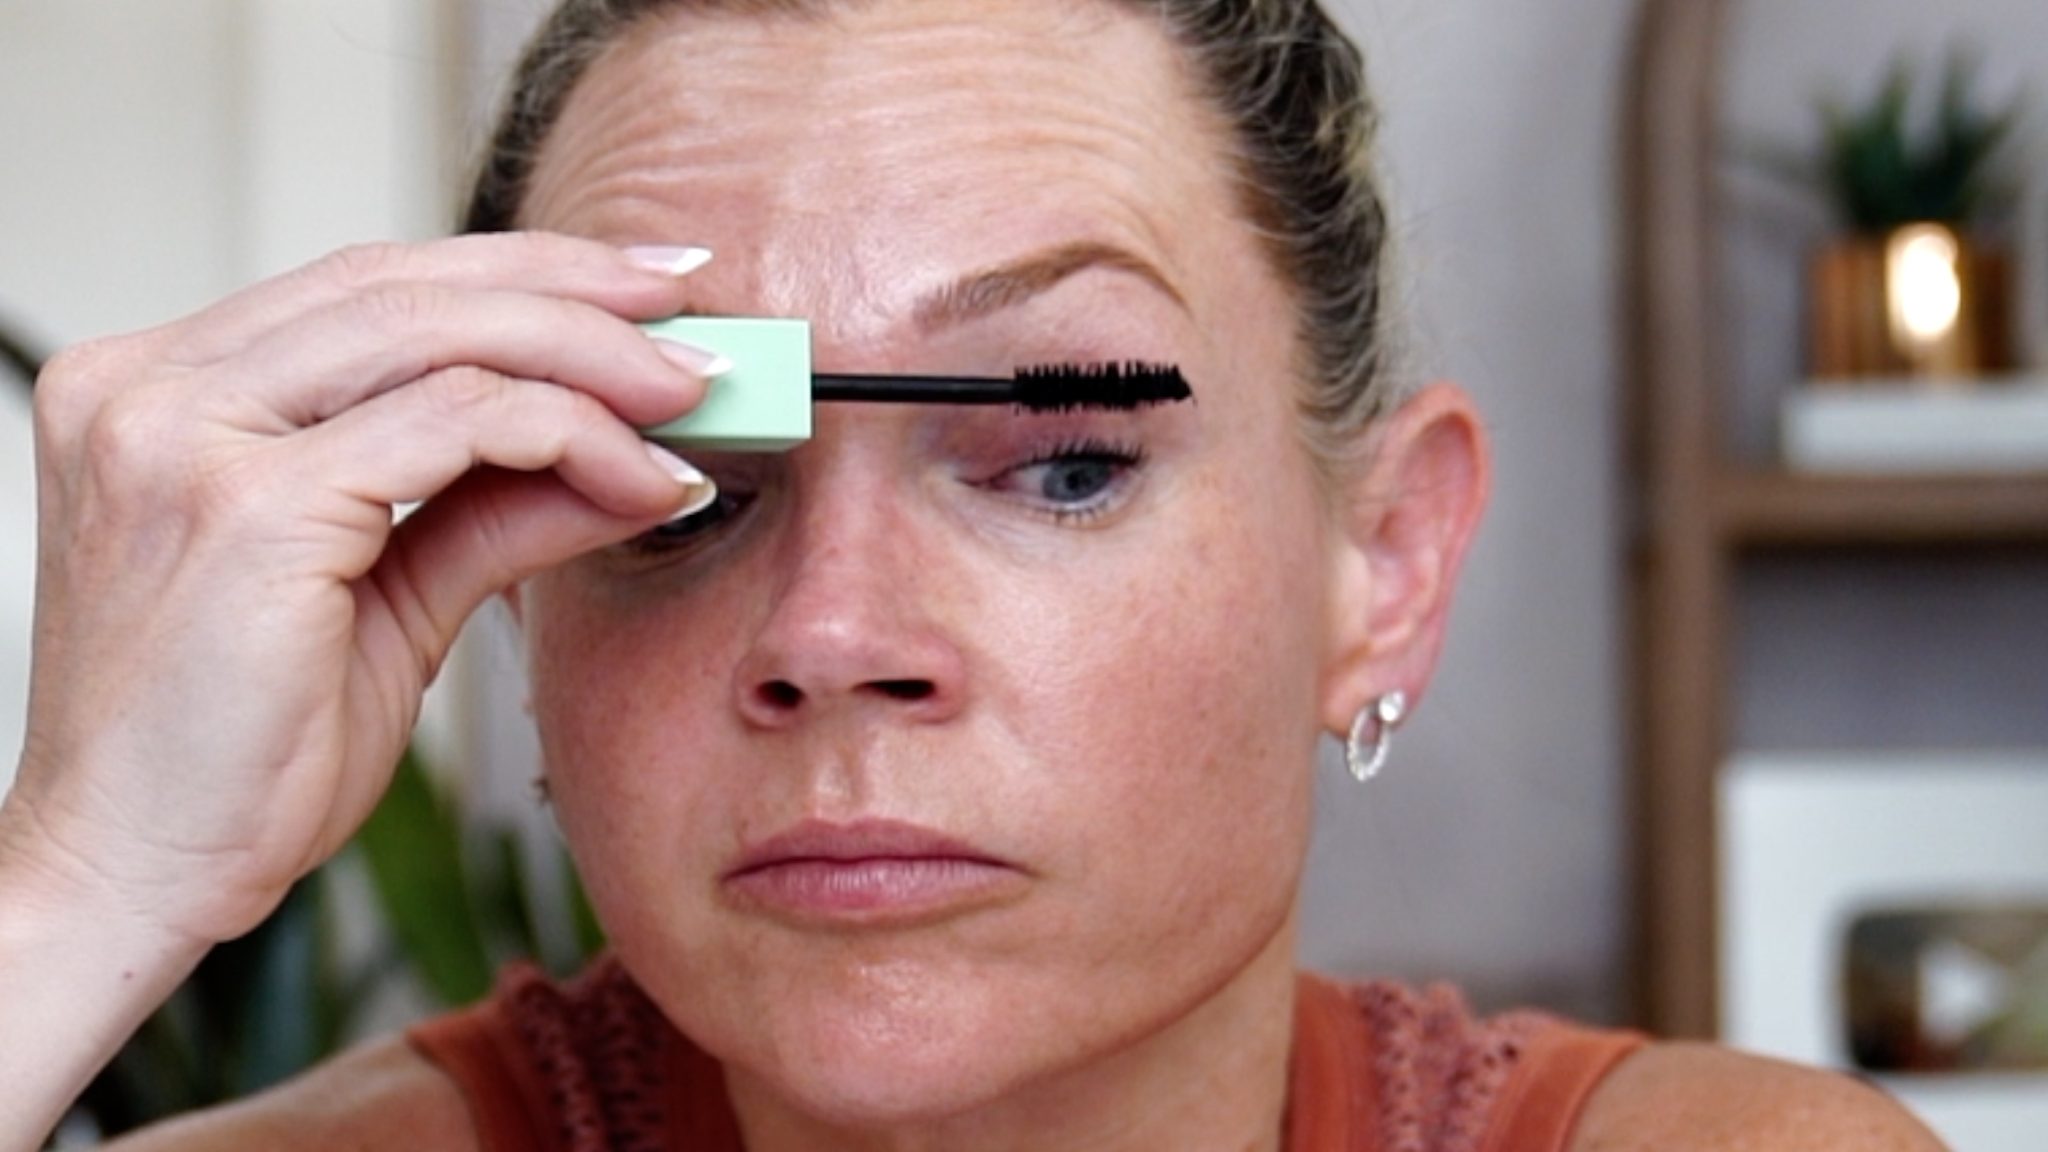
Is mascara. I’m using the Queen Musia 2053 mascara in simply black.
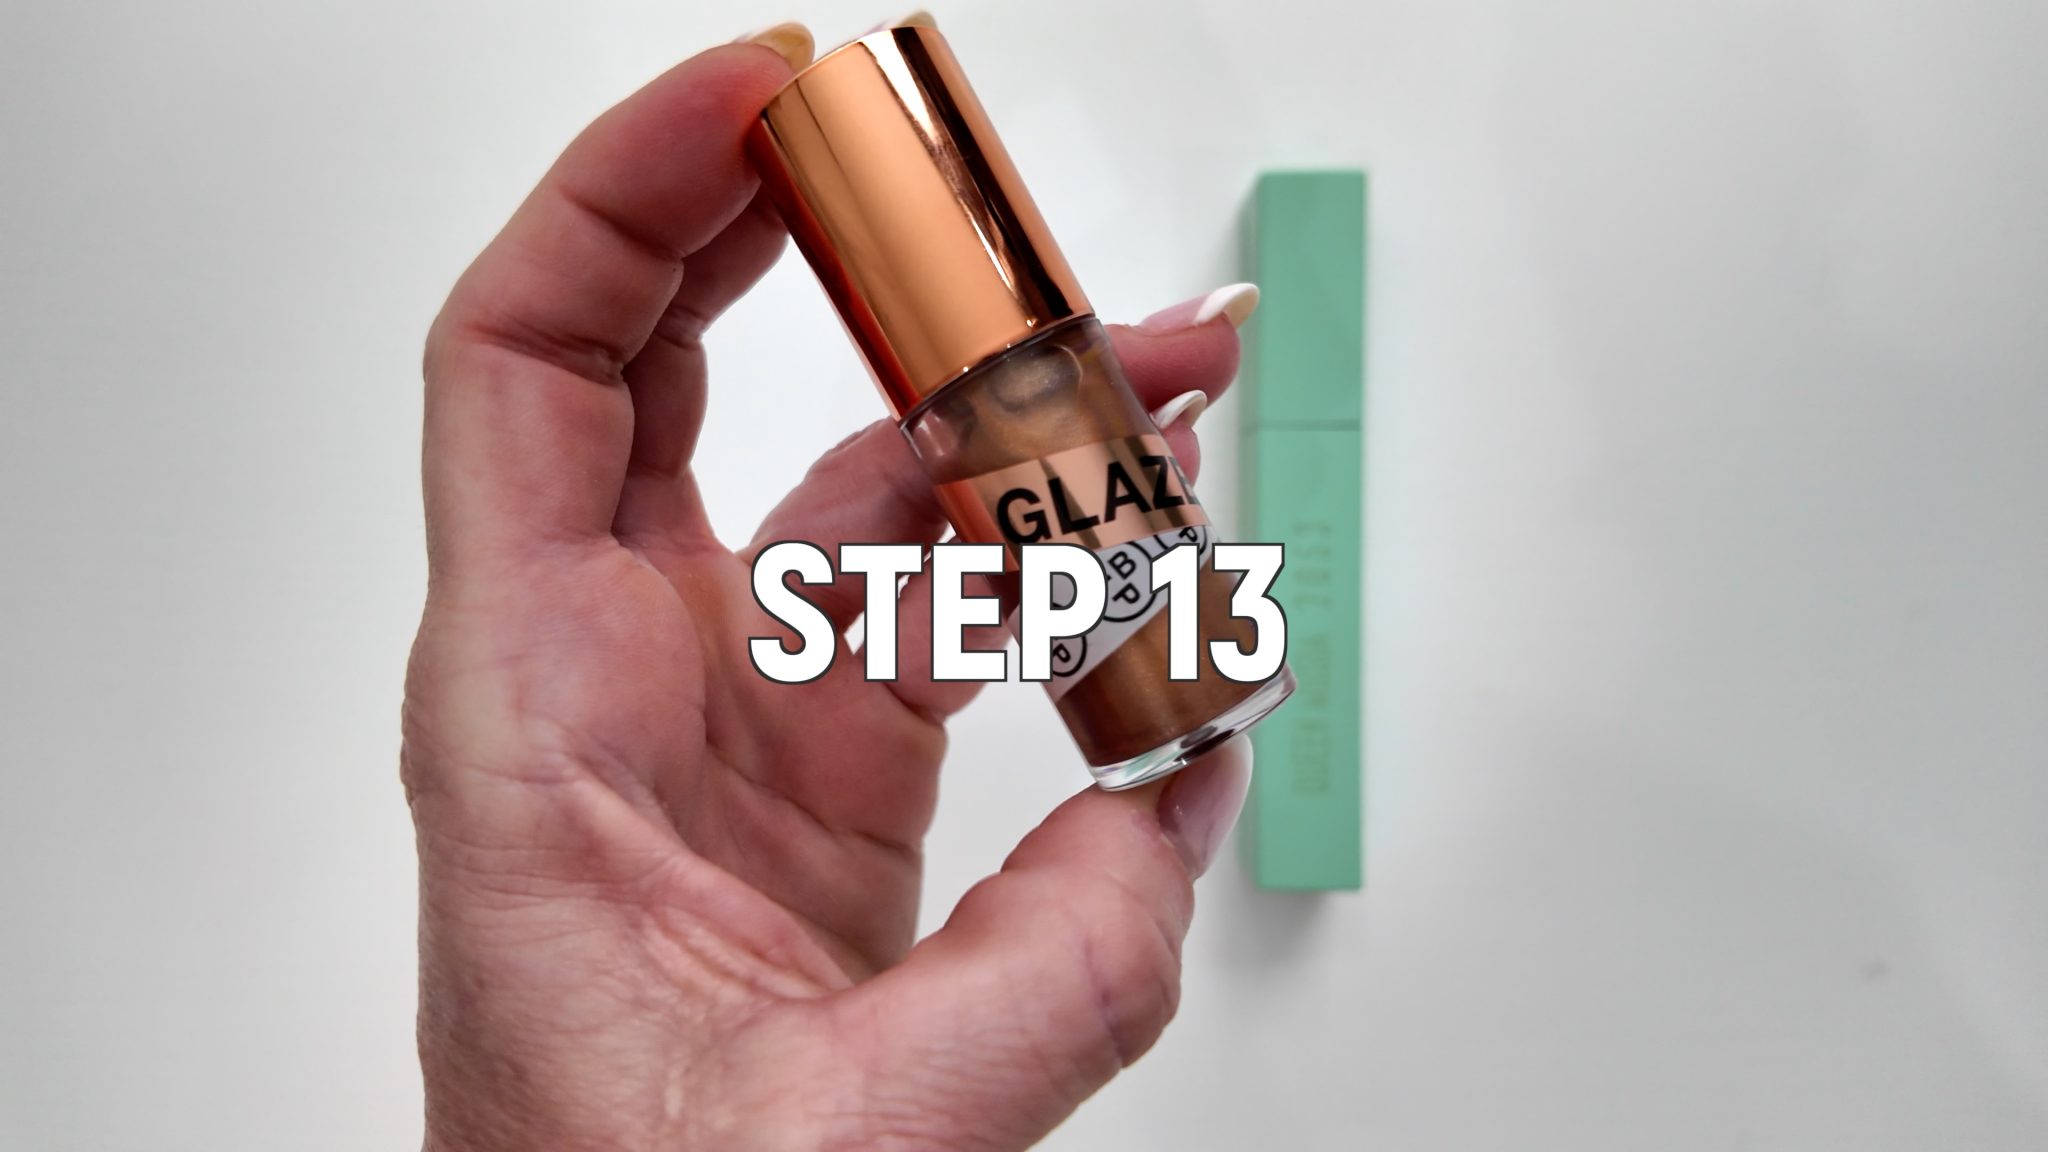
STEP 13:
Is a little lip gloss. I’m using the Innabeauty Project Lip Oil in Pina Colada.
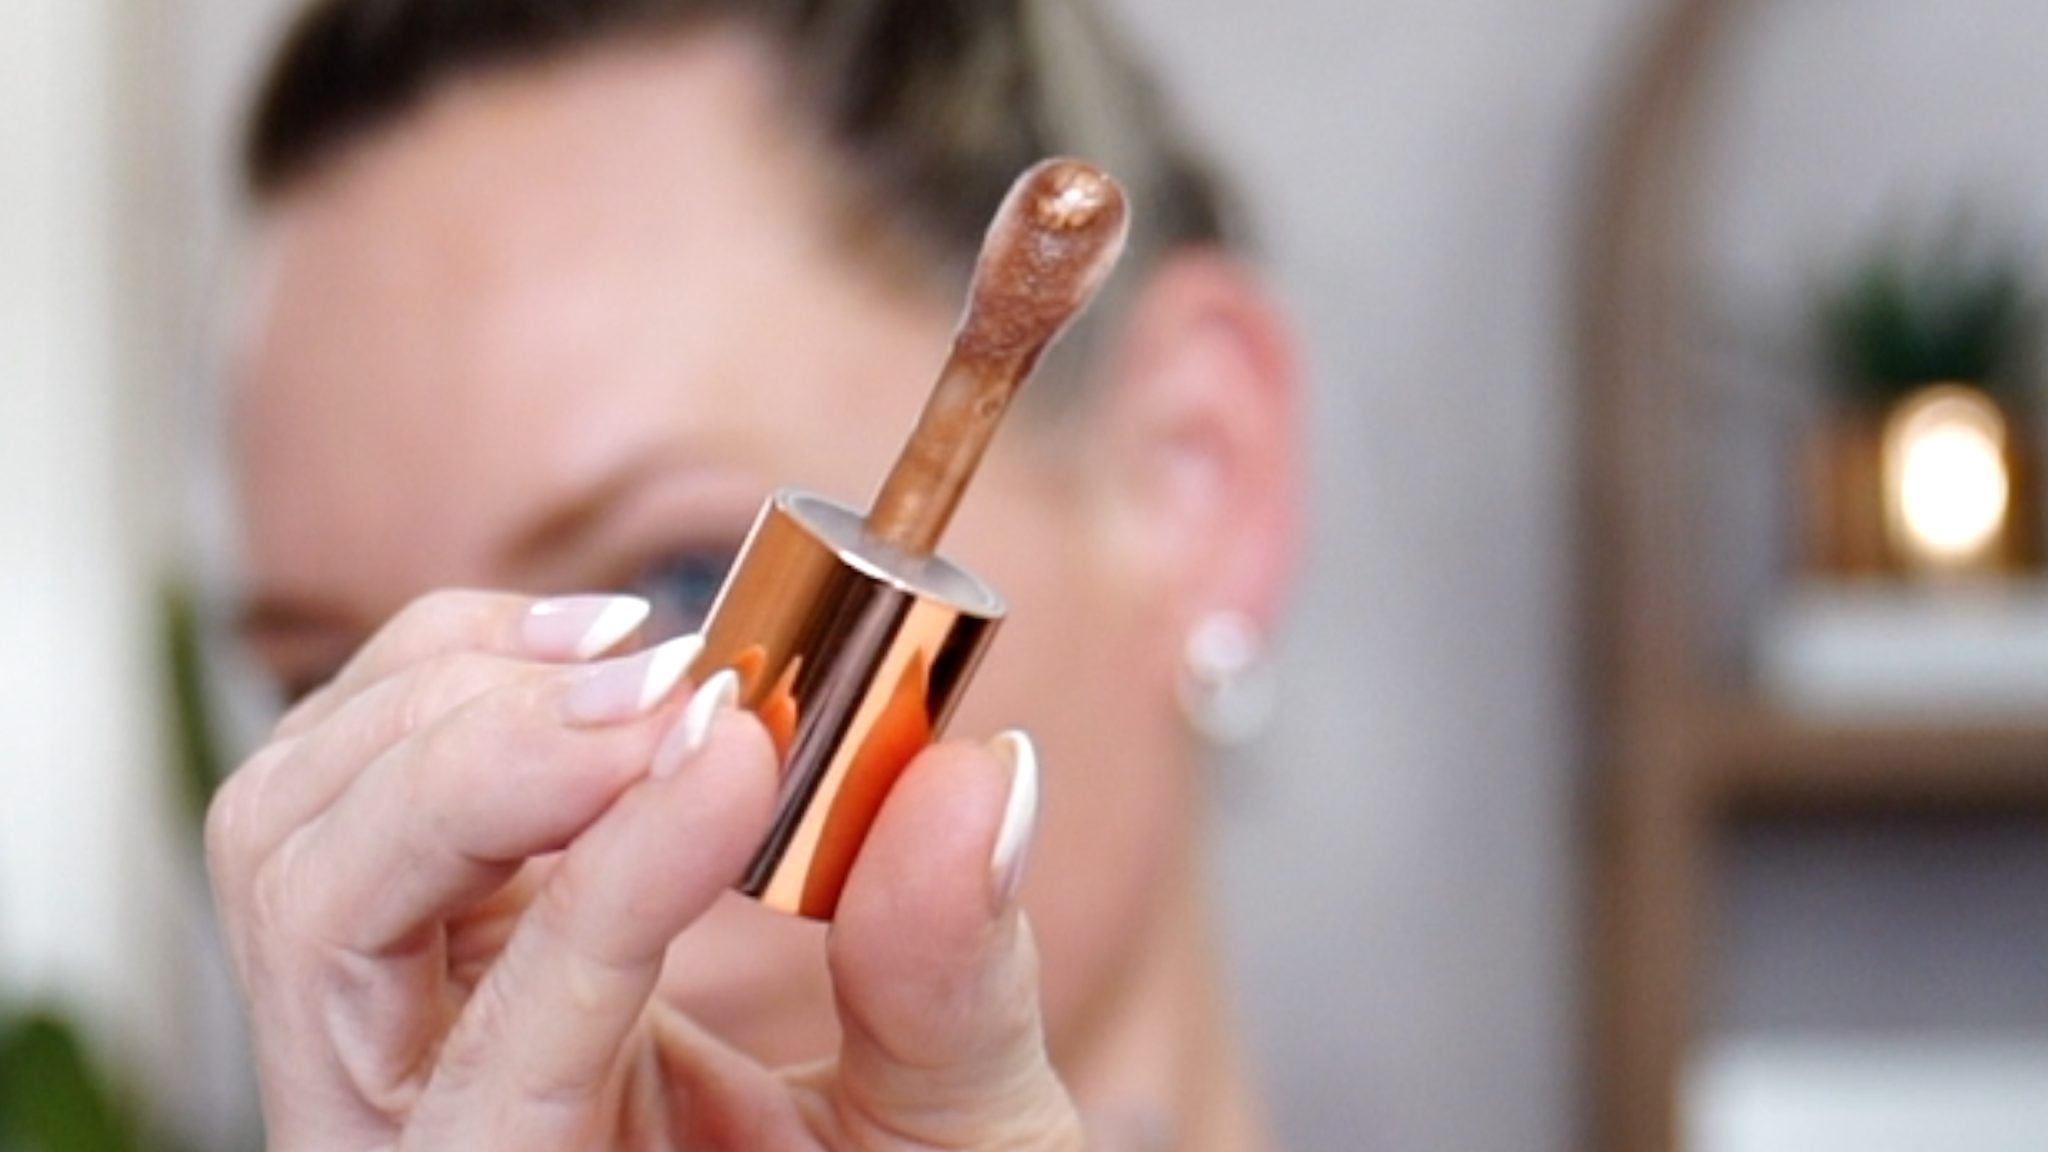
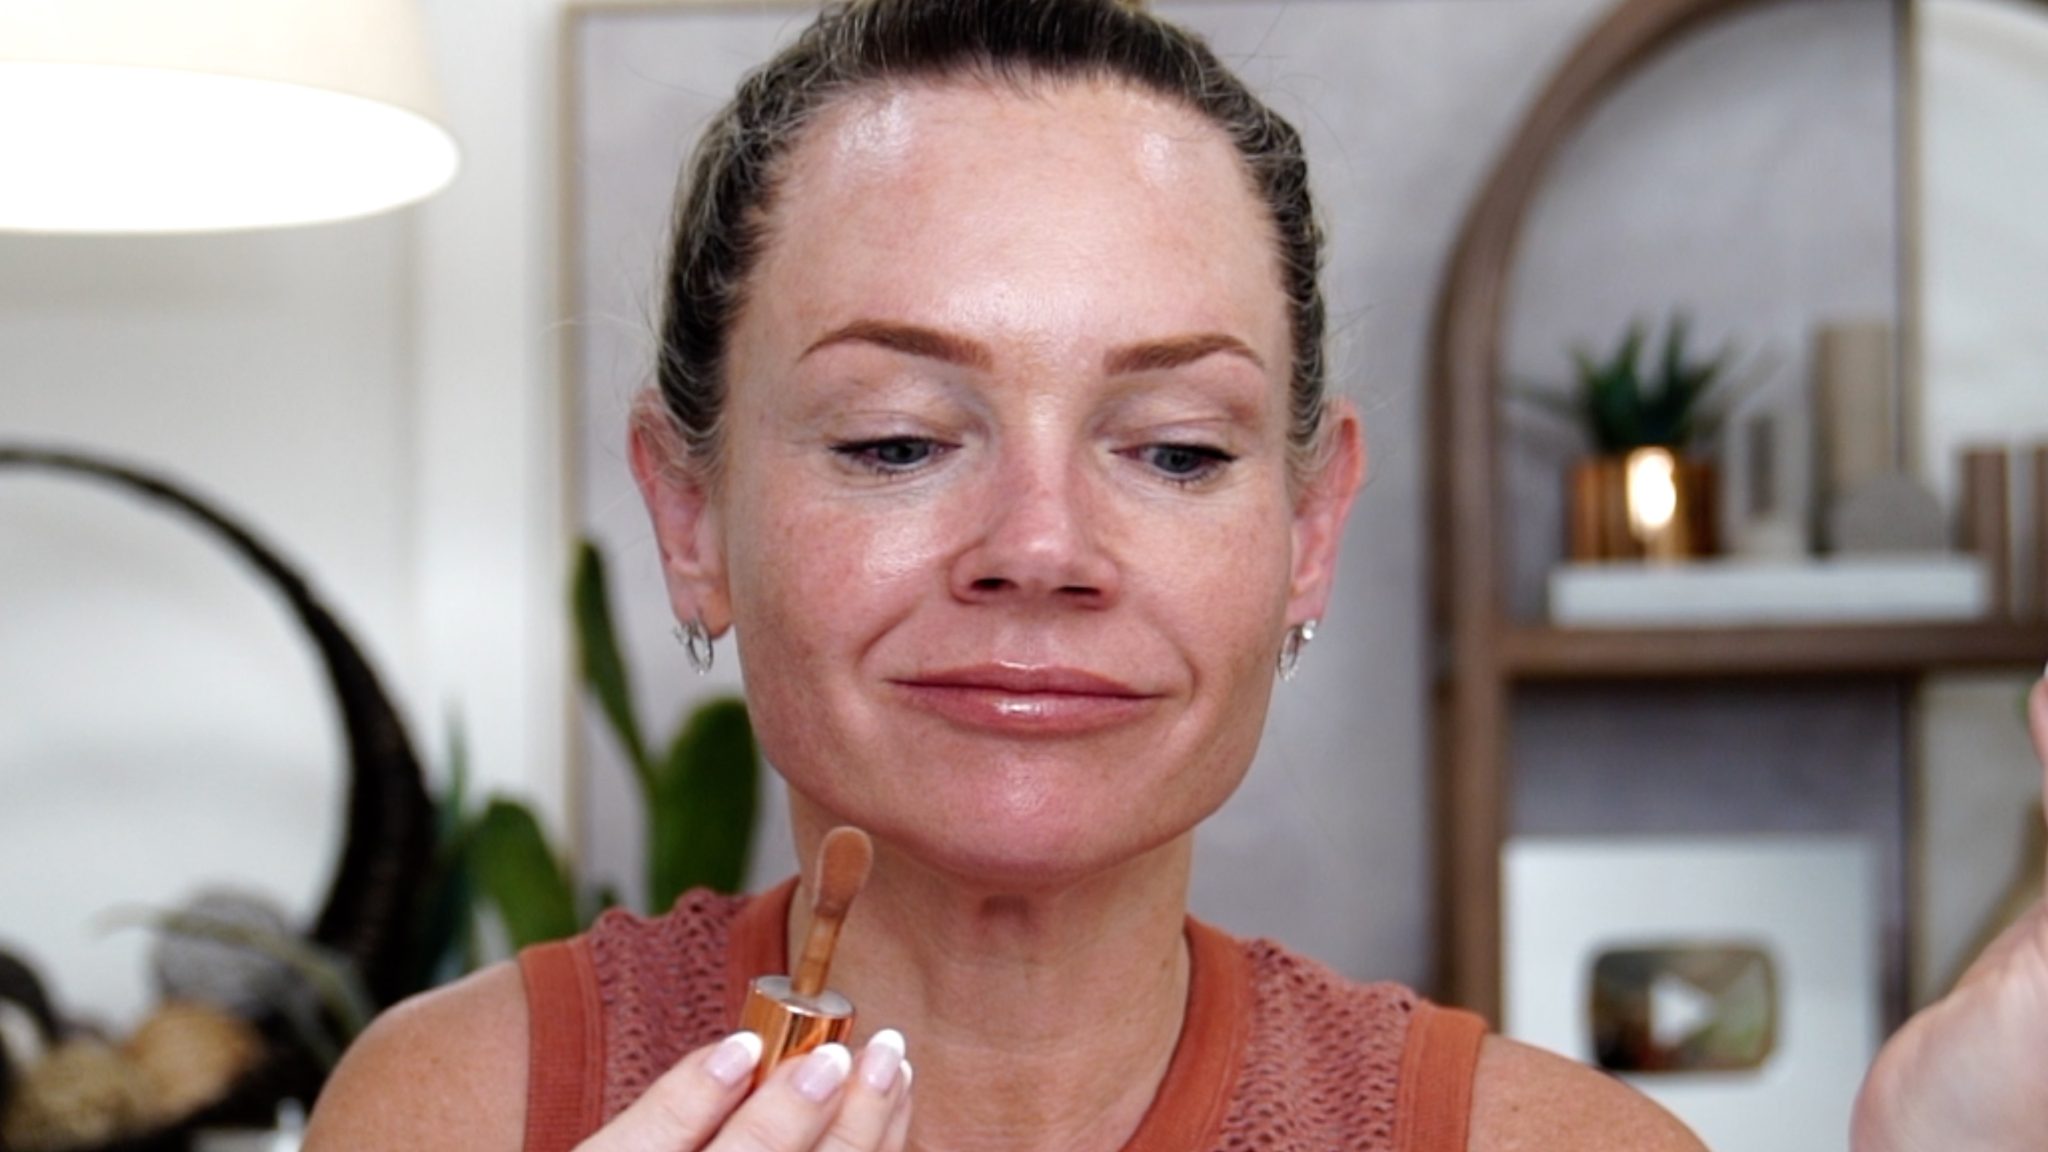
This is not only hydrating and sparkly, it also tastes supreme like you’re on a tropical vacation.
Remember, I have a lot of beauty products to play with.
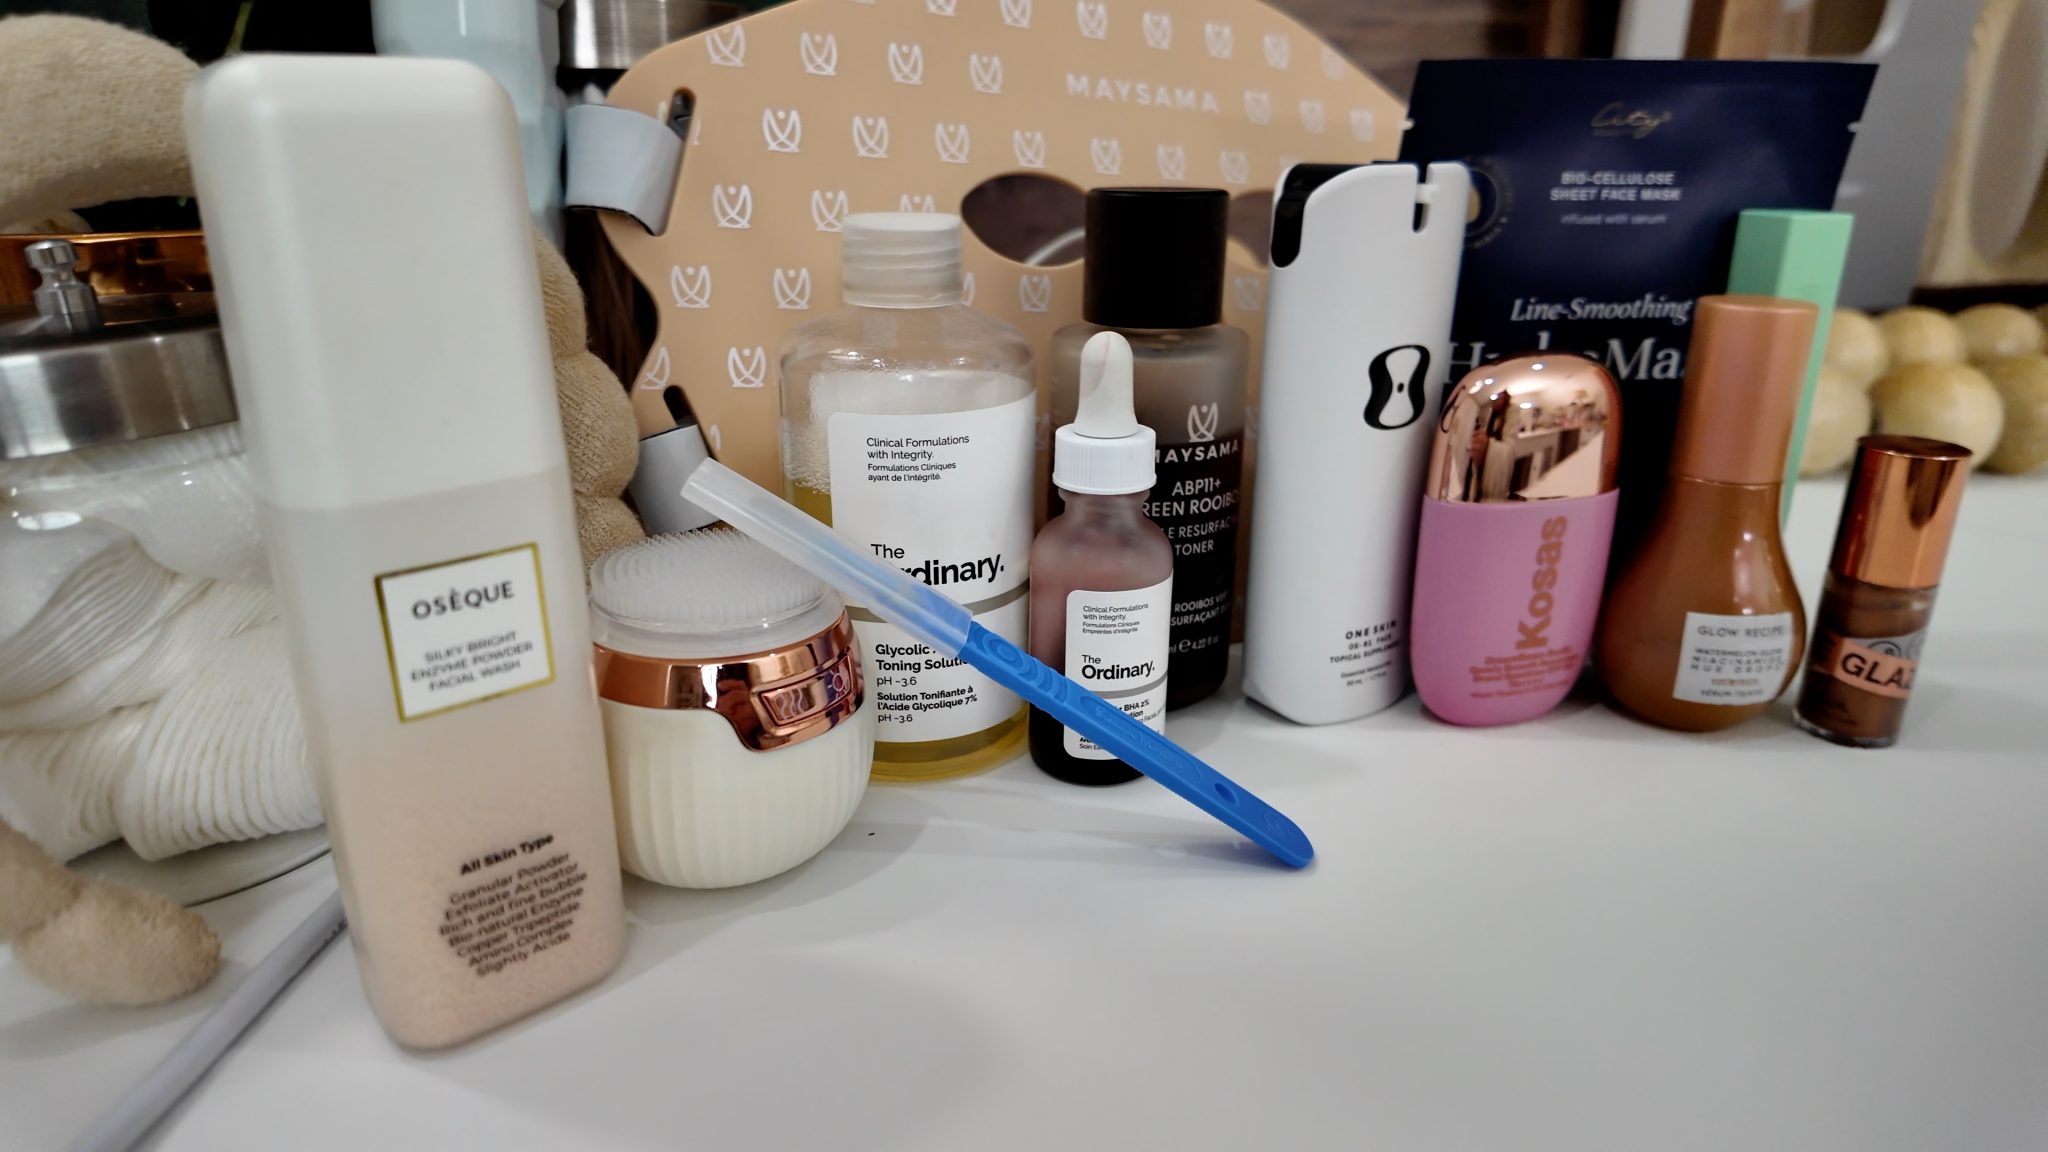
You do not need everything I used but the blog is linked so you can easily see what I used and when. I hope this step-by-step experience gave you an idea of where you can place your existing products and then fill in with anything you need or want to try.
Continue inside Natural Kaos
Explore complete treatment journeys, weekly Lives, searchable discussions, product sourcing, and the follow-up details that short-form platforms leave out.