
TCA Peel At Home
EDIT: I NO LONGER USE ACETONE
TCA Peels are an effective treatment to reduce unwanted skin blemishes and contribute to the overall texture of your skin. Trichloroacetic acid is one of the most common acids used, due to its dependability and effectiveness. The differing concentrations of these peels can be used for different results. A typical rule of thumb is the higher the concentration, the deeper the peel. To produce the results I am looking for, I’m using the 20% TCA peel. Typically, TCA acts as a more effective exfoliating agent. This is especially true with the 20% TCA concentration. If you’re considering a chemical peel, make sure to choose which is best for you. My Chemical Peels 101 Post goes over how to pick the best peel for your skin type.
After applying the peel, the TCA penetrates the superficial epidermis and begins its process. Frosting occurs as the TCA Peel neutralizes itself, marking the end of the peel. As an effective resurfacing agent, 20% TCA Peels help treat your blemishes and unwanted markings. Throughout the days following a peel, you will notice tightening, and eventually the peel. As your skin flakes off a new, fresh layer is revealed.
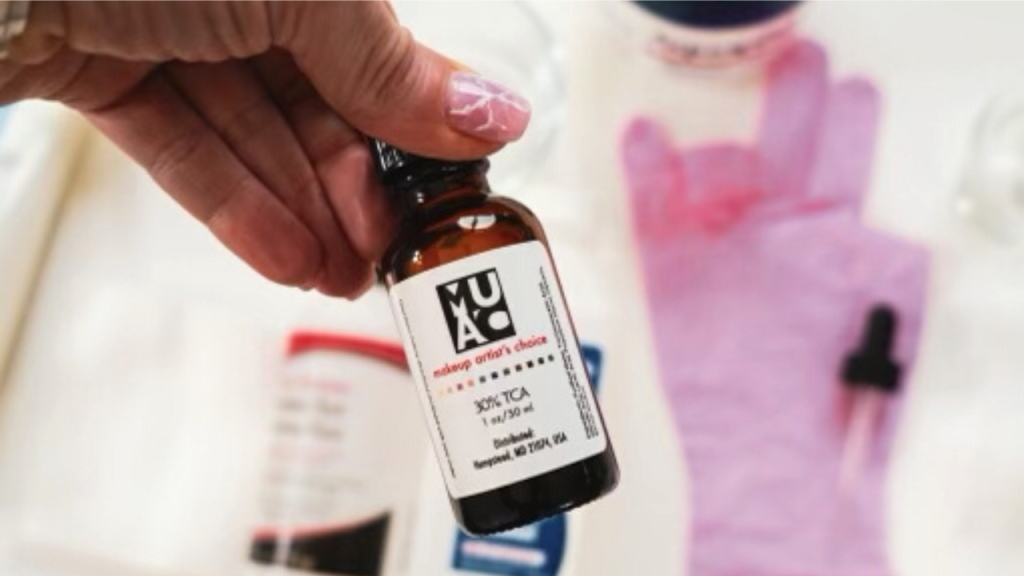
I reduced this 30% TCA down to a 20% by cutting it with distilled water. Watch the full video below to see how I did how I did that math. All of my TCA and other peels can be found on https://www.makeupartistschoice.com use code: Kaos20.
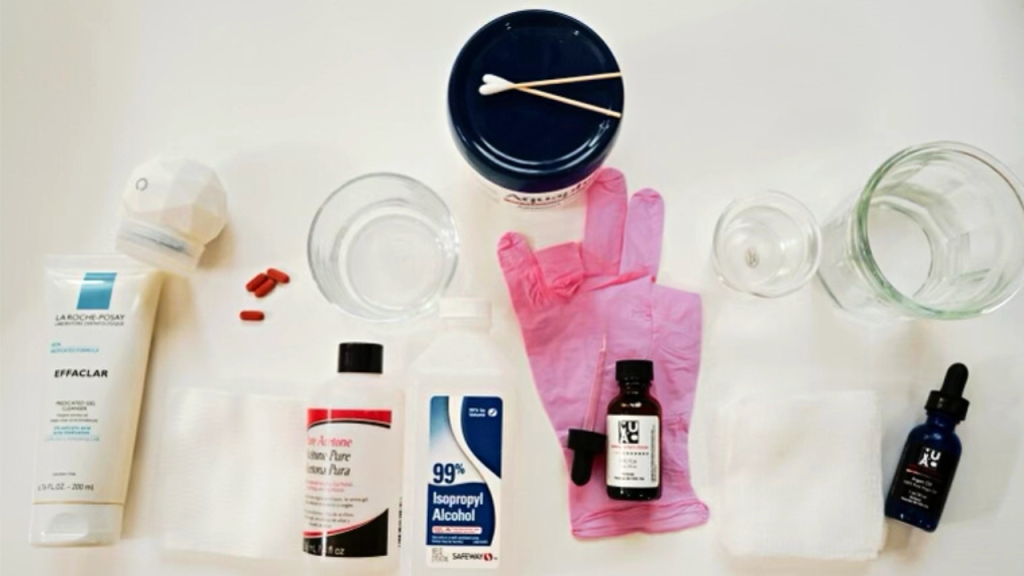
Essentials
STEP 1: APPLYING THE PEEL
Before starting any treatment, it’s important to always prep and cleanses your face. This prevents harm or unevenness when applying the chemical peel. As I applied the 20% TCA Peel I used gauze pads. As you apply the peel, one of the main things you want to look for is frosting. The frosting is a sign the peel has affected the keratin proteins in the upper layers of the skin and it is slowly beginning to separate from the layer below. It’s important to note that everyone will frost at different times. Between each application, I decided to speed up the drying process using my blowdryer.
STEP 2: AFTERCARE (MOISTURIZE)
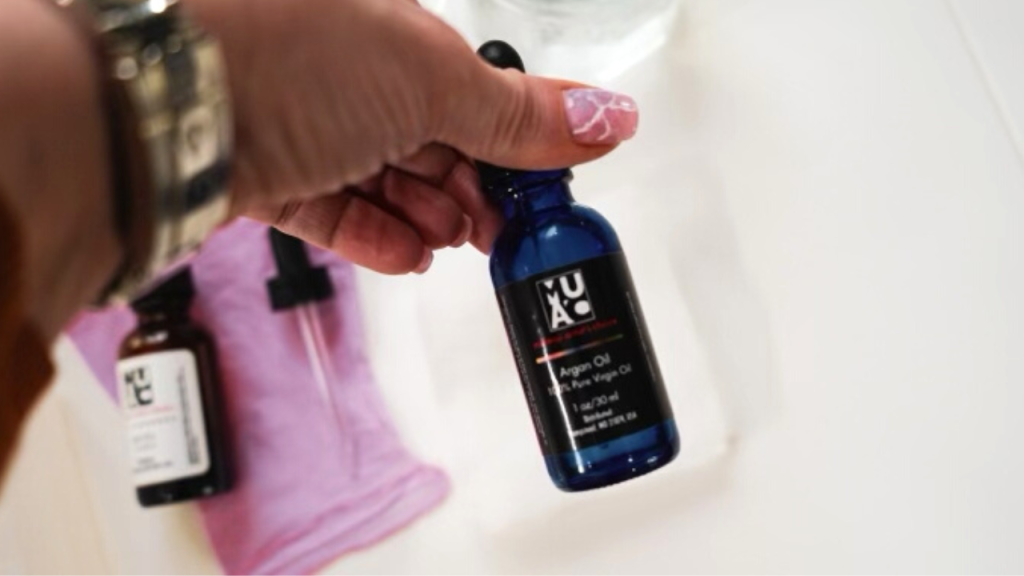
Now that the peel has been applied, it’s time for aftercare. As much as I love TCA Peels, the pain caused by them is definitely not my favorite. To ease the burn, I used argan oil as a natural calming agent. Acid peels can majorly dry out your skin and lead to cracking. In order to prevent this, it’s super important to use moisturizing agents.
STEP 3: TIGHTEN, CRACK, AND PEEL
A couple of days after applying the TCA Peel, the treatment will start working. Your skin will become tighter and dark spots, such as freckles or sun damage, will begin to show up. Soon the TCA will cause your skin to crack and peel. This removes the topmost layer, leaving you with a new youthful appearance.
Argan oil from Makeup artists choice is a great oil to lather your skin up with after your peel. This is 100% Pure Cosmetic Raw Argan Oil – Cold Pressed. “Rich with Squalene, it also helps protect your skin from free radicals that cause sun damage. Clinical studies prove it’s ability to correct the age-related deficiencies that cause wrinkling and loss of elasticity. Superb for use after all your chemical peels, or any other facial treatment. Although Argan Oil is in fact an oil… it contains natural anti-inflammatory agents to reduce the appearance of blemishes. Acne sufferers can benefit from its sebum regulating abilities, which reduce oil production in skin. All skin types can enjoy firmer… clearer… and hydrated skin with Argan Oil.”
Products:
TCA Peel: use code: Kaos20 https://www.makeupartistschoice.com
GAUZE
https://amzn.to/3zUpHdk
Nitrile Gloves
https://amzn.to/3zmbu8E
Argan Oil
Colloidal Silver Spray
https://amzn.to/3WGwuRt
Prep
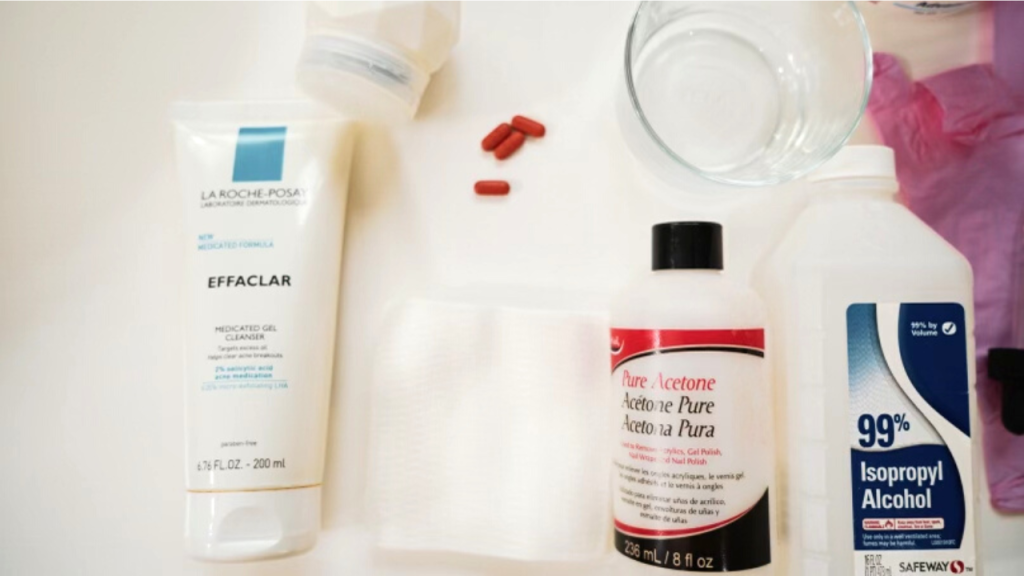
La Roche Posay Effaclar Cleanser
https://amzn.to/3Uxesjj
Sponges
https://amzn.to/3FReii5
Ibuprofen
https://amzn.to/3Tjymg5
To decrease use 1 part acetone and 1 part alcohol. 3 washes
Pure acetone
https://amzn.to/3DMHIeG
99% isopropyl Alcohol
https://amzn.to/3fJ5m3H
PH Prep
pH Prep Solution - Stand Alone 8 oz bottle
Aquaphor
https://amzn.to/3WLv7Rp
Cotton Swabs
https://amzn.to/3WLENeH
Sonique Mini Led Sonic Cleanser
https://go.shopmy.us/p-535931

How I Microneedled My Neck at Home with the Dr. Pen M9 My 24-Hour Results
Learn how I microneedled my neck at home using the Dr. Pen M9, an 18-pin cartridge, and Hyaron. See my technique, recovery, and 24-hour results.

Houseboating Lake Powell in 2026: What It’s Really Like With the Water This Low
Every year, my family spends a week houseboating on Lake Powell, and it has become one of our favorite family traditions. We look forward to
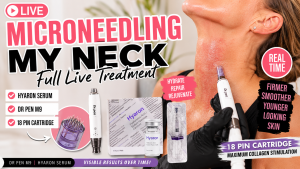
Want to Tighten & Smooth the Neck Microneedling with Hyaron
Microneedling with Hyaron tightens and smooths the neck. See the full routine below using Dr. Pen A9 MY ROUTINE SET UP The neck is one
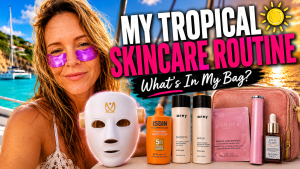
My Tropical Vacation Skincare Routine: SPF, LED Masks & Travel Beauty Gadgets in the British Virgin Islands
There’s something magical about sailing through the British Virgin Islands. Crystal-clear water, endless sunshine, salty air, and long days outdoors create incredible memories—but they can
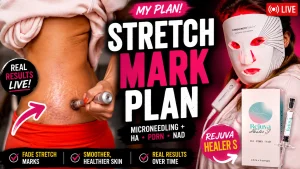
How To Use The Channel Pro Pen for Stretch Marks | Rejuva Healer S Body Rejuvenation Treatment
Discover how the Channel Pro Pen and Rejuva Healer S are used together in a body rejuvenation treatment designed to support collagen production, improve skin
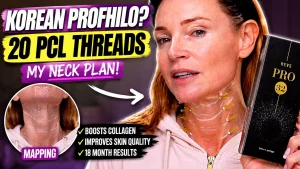
My Skin Quality and Neck Rejuvenation Plan With Revs Pro 32 + PCL Neck Threads
If you’ve followed me for any length of time, you know that I’m often more interested in improving skin quality than simply adding volume. In
