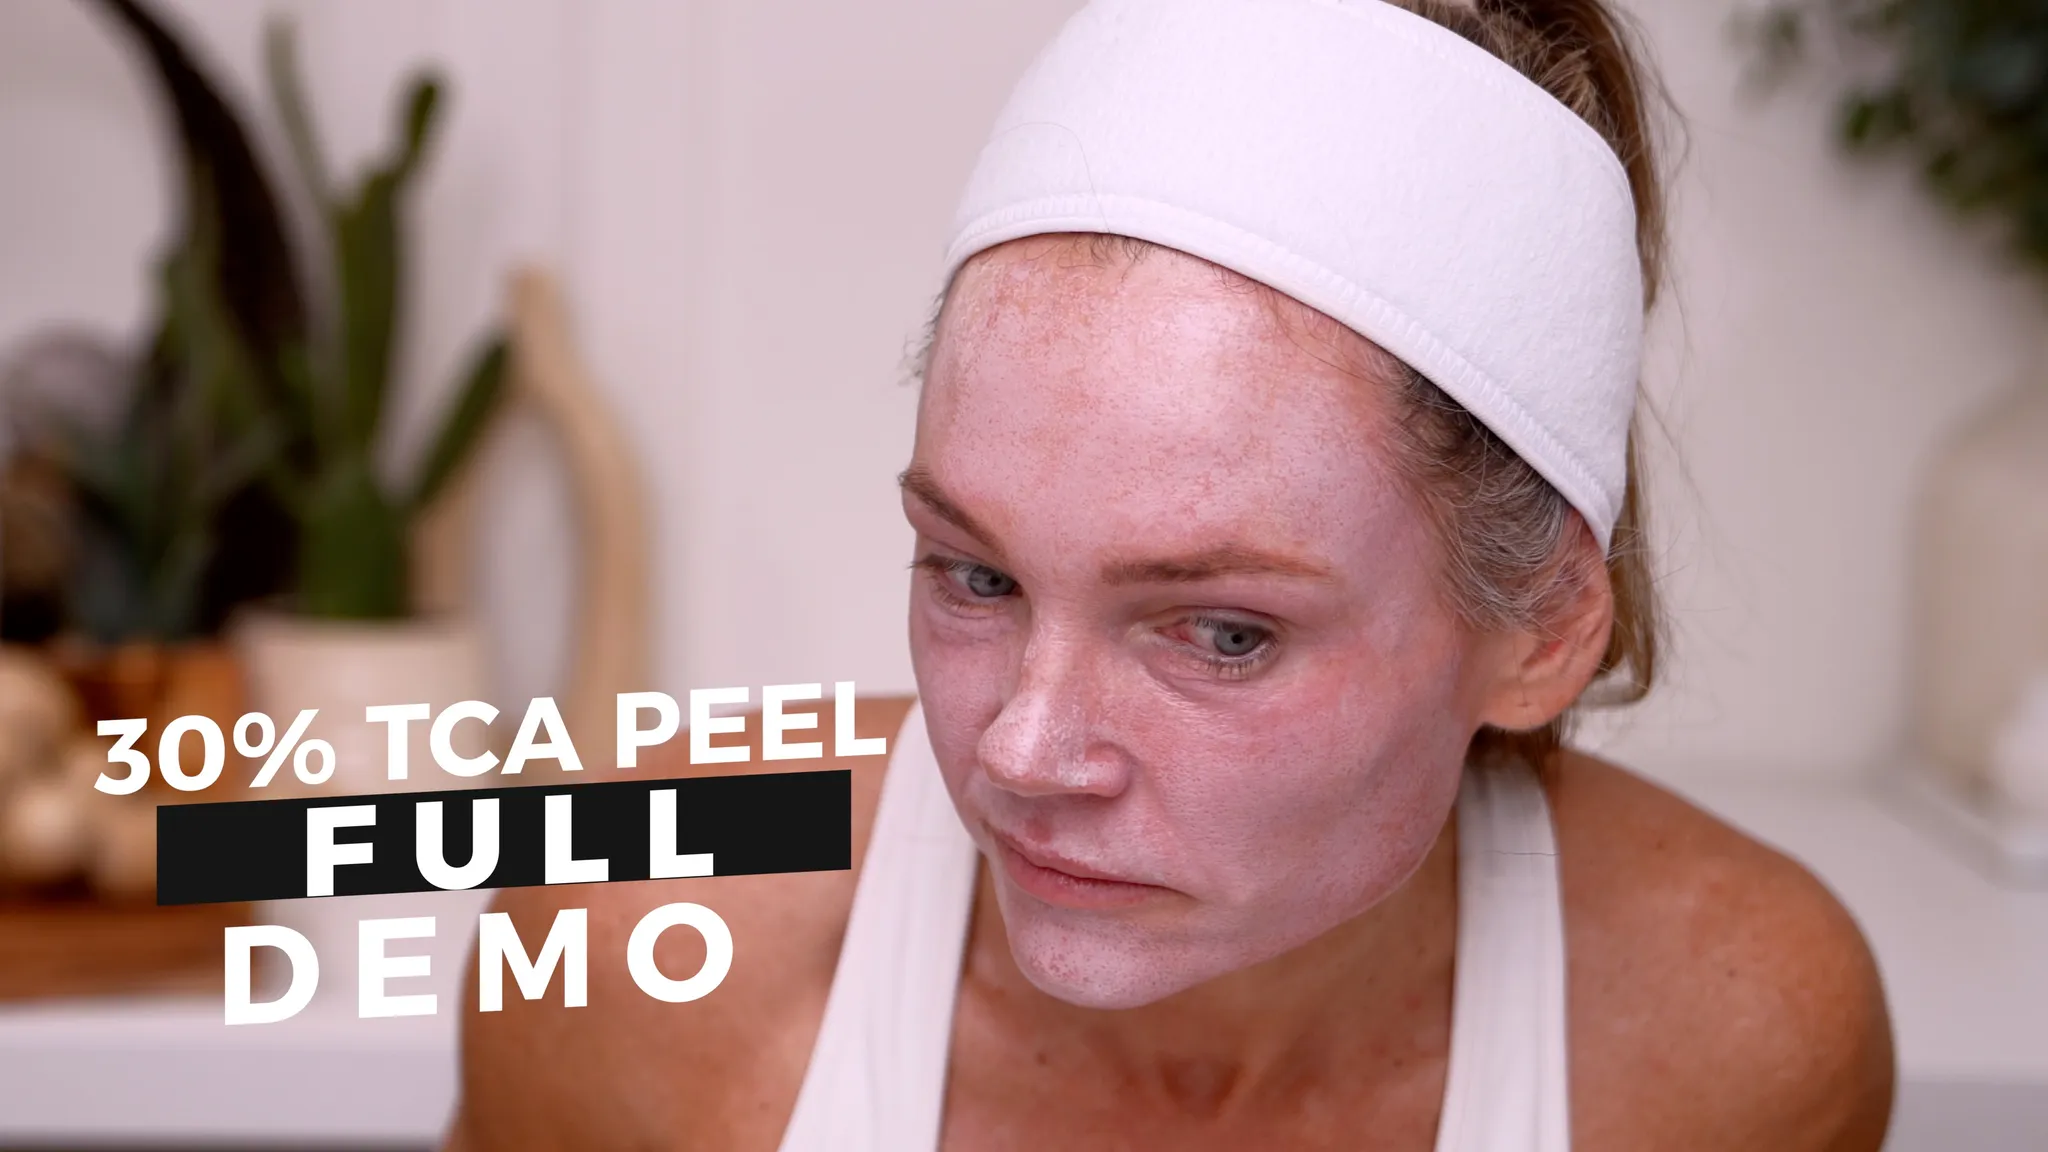
Why This Peel Matters
If you’ve landed here from YouTube, welcome! I’m Kim, the creator behind Natural Kaos and Spa and Tell. This post is your complete guide to my 30% TCA peel — with two videos:
- A YouTube video documenting my 7-day recovery.
- A private full demo video (below) showing the real-time application and layering process, available only here on my site.
TCA (Trichloroacetic Acid) is one of the strongest chemical exfoliants you can use at home. At 30%, it provides deep resurfacing benefits — but it also carries significant risks if not done correctly. This blog is meant to educate and show my personal journey, not provide medical advice.
What Is a TCA Peel?
A TCA peel uses trichloroacetic acid to exfoliate the outer layers of the skin. At-home strengths typically start at 10–15%, with 30% considered very advanced. Benefits can include:
- Smoother skin texture
- Fading of hyperpigmentation and sun damage
- Reduction in fine lines and acne scars
- Overall skin rejuvenation
⚠️ Caution: TCA peels can also cause burns, prolonged hyperpigmentation, or scarring if used improperly. I never recommend beginners start at 30%. Always patch test, research thoroughly, and consider lower strengths first.
Why I Chose 30% TCA
I’ve been using TCA for over a decade and my skin tolerates it well. For me, 30% is the strongest peel I will DIY. Anything stronger belongs in the hands of a licensed medical professional.
This fall, I wanted to reset my skin and bring you along for the full journey — not only the highlight reel, but also the real-time application.
Supplies You Need for a DIY TCA Peel
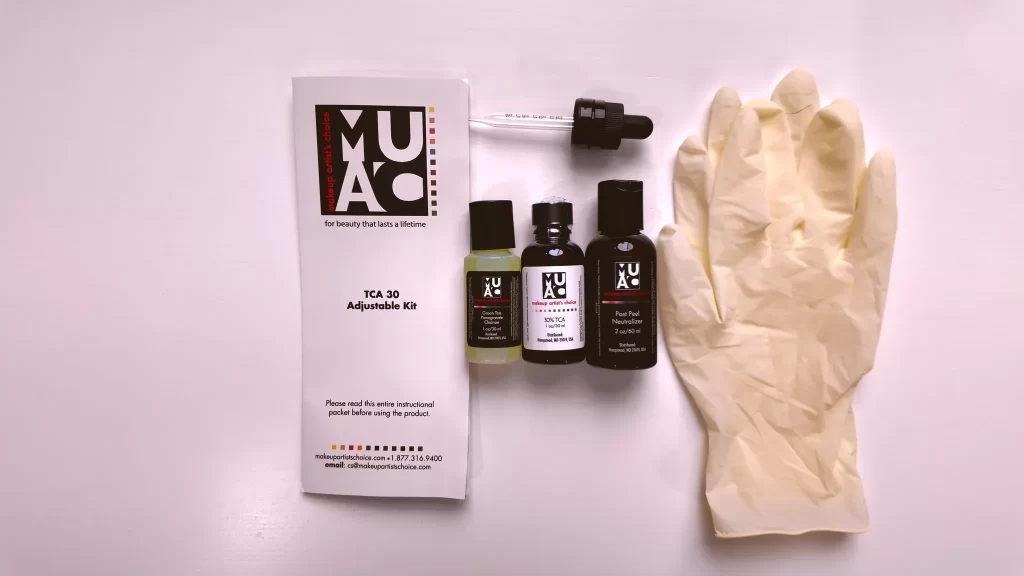
Here’s everything I used for this peel. Always have your supplies ready before you begin:
Optional: Aquaphor for barrier protection (around brows, lash line, mouth)
30% TCA Adjustable Kit – Makeup Artist’s Choice (Use code KAOS20 to save)
Green Tea Pomegranate Cleanser (included in kit)
Q-tips (for precision and eyelids/scars)
Small glass cup (to hold acid)
5-minute timer (phone works fine)
Blow dryer on cool setting
SPF 50+ broad-spectrum sunscreen
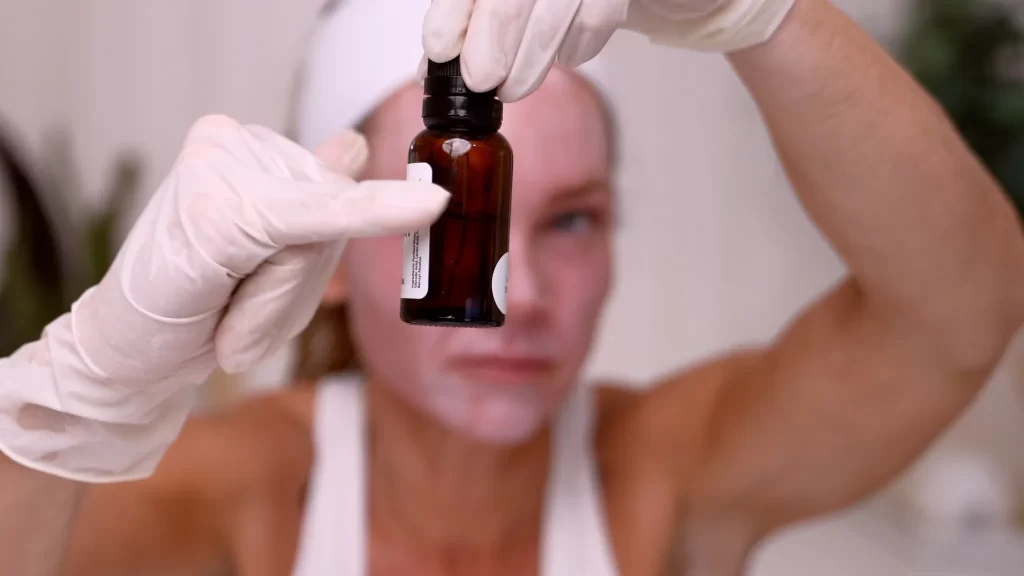
Full Demo: Real-Time 30% TCA Peel 🎥
In this uncut demo, you’ll see me:
- Double cleansing to degrease the skin
- Setting up supplies for 3 layers
- Applying each layer with gauze and Q-tips
- Managing frosting and irritation
- Explaining safety tips throughout
I emphasize why fan brushes and droppers should never be used — they cause puddling and uneven penetration, which can lead to burns or scarring.
Recovery Journey: Day by Day
In my main video, I documented each day of recovery over a full week. You’ll see how the peeling progresses, how I care for my skin, and the final results.
Highlights include:
Day 7+: new, fresh skin revealed
Day 2–3: frosting settles, skin tightens
Day 4–6: heavy peeling phase
Aftercare: Protecting Your Results
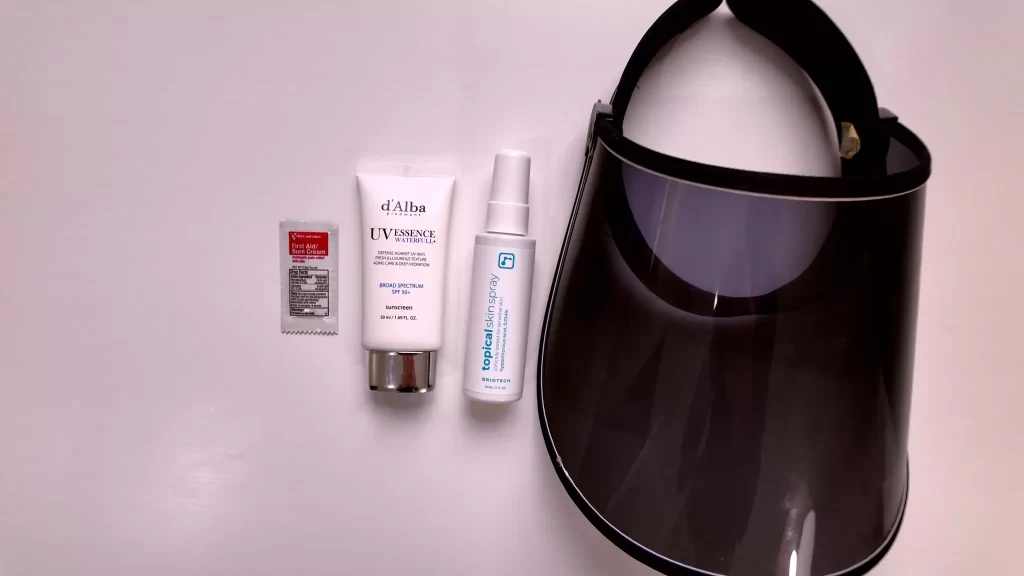
Aftercare is as important as the peel itself. My essentials:
- Broad spectrum SPF 50+ every single day 🧴
- A UV shield when outside 🕶️
- Gentle hydration with tested serums and creams
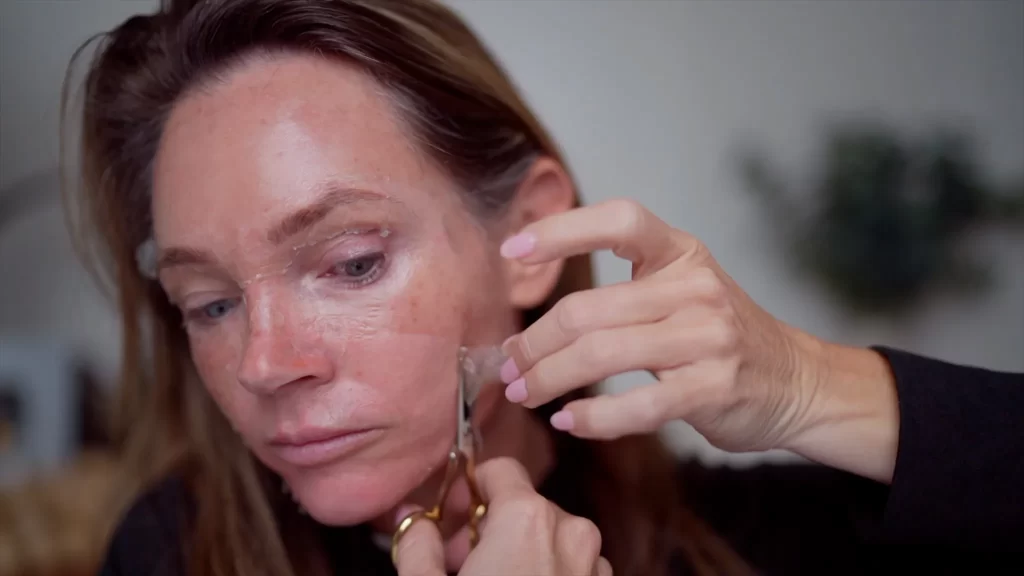
- Never picking — only clipping loose skin with sanitized scissors ✂️
- Avoiding makeup until peeling completes
Lessons Learned
Always approach TCA with caution — it’s powerful and unforgiving.
Prep and organization make the process smoother.
Even after a decade of peels, I still learn something each time.
Final Thoughts
My hope is that this full demo, paired with the 7-day recovery video, gives you a complete, realistic picture of what a 30% TCA peel looks like at home. Please do your research, consider your skin type, and start slow.
If you want to dive deeper, join the Natural Kaos App — the world’s largest DIY skincare community. Inside, we share everything from peels and microneedling to exosomes, peptides, and more. Our trusted vendors offer the best deals and exclusive promo codes, and it’s a safe space for you to continue your DIY skincare journey.
📲 Join here: Natural Kaos App
Resources
- Shop MUAC Makeup Artists Choice (Code KAOS20)
- Natural Kaos App
- Blog homepage
- Newsletter signup
- Shop My Shelf
- Amazon Storefront TCA LIST