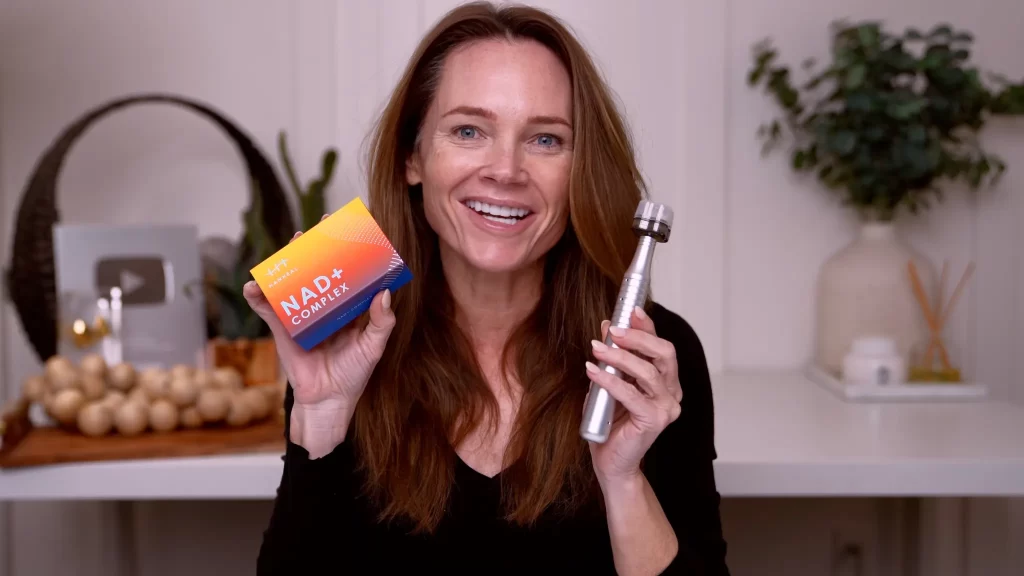
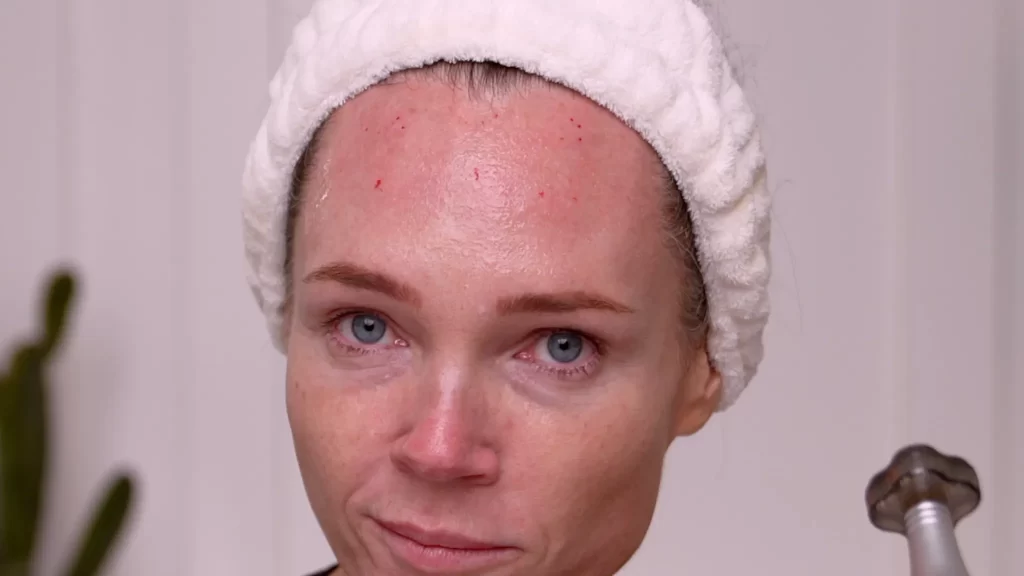
Microneedling With NAD+: What Happened When I Tested an NAD+ Complex on My Face
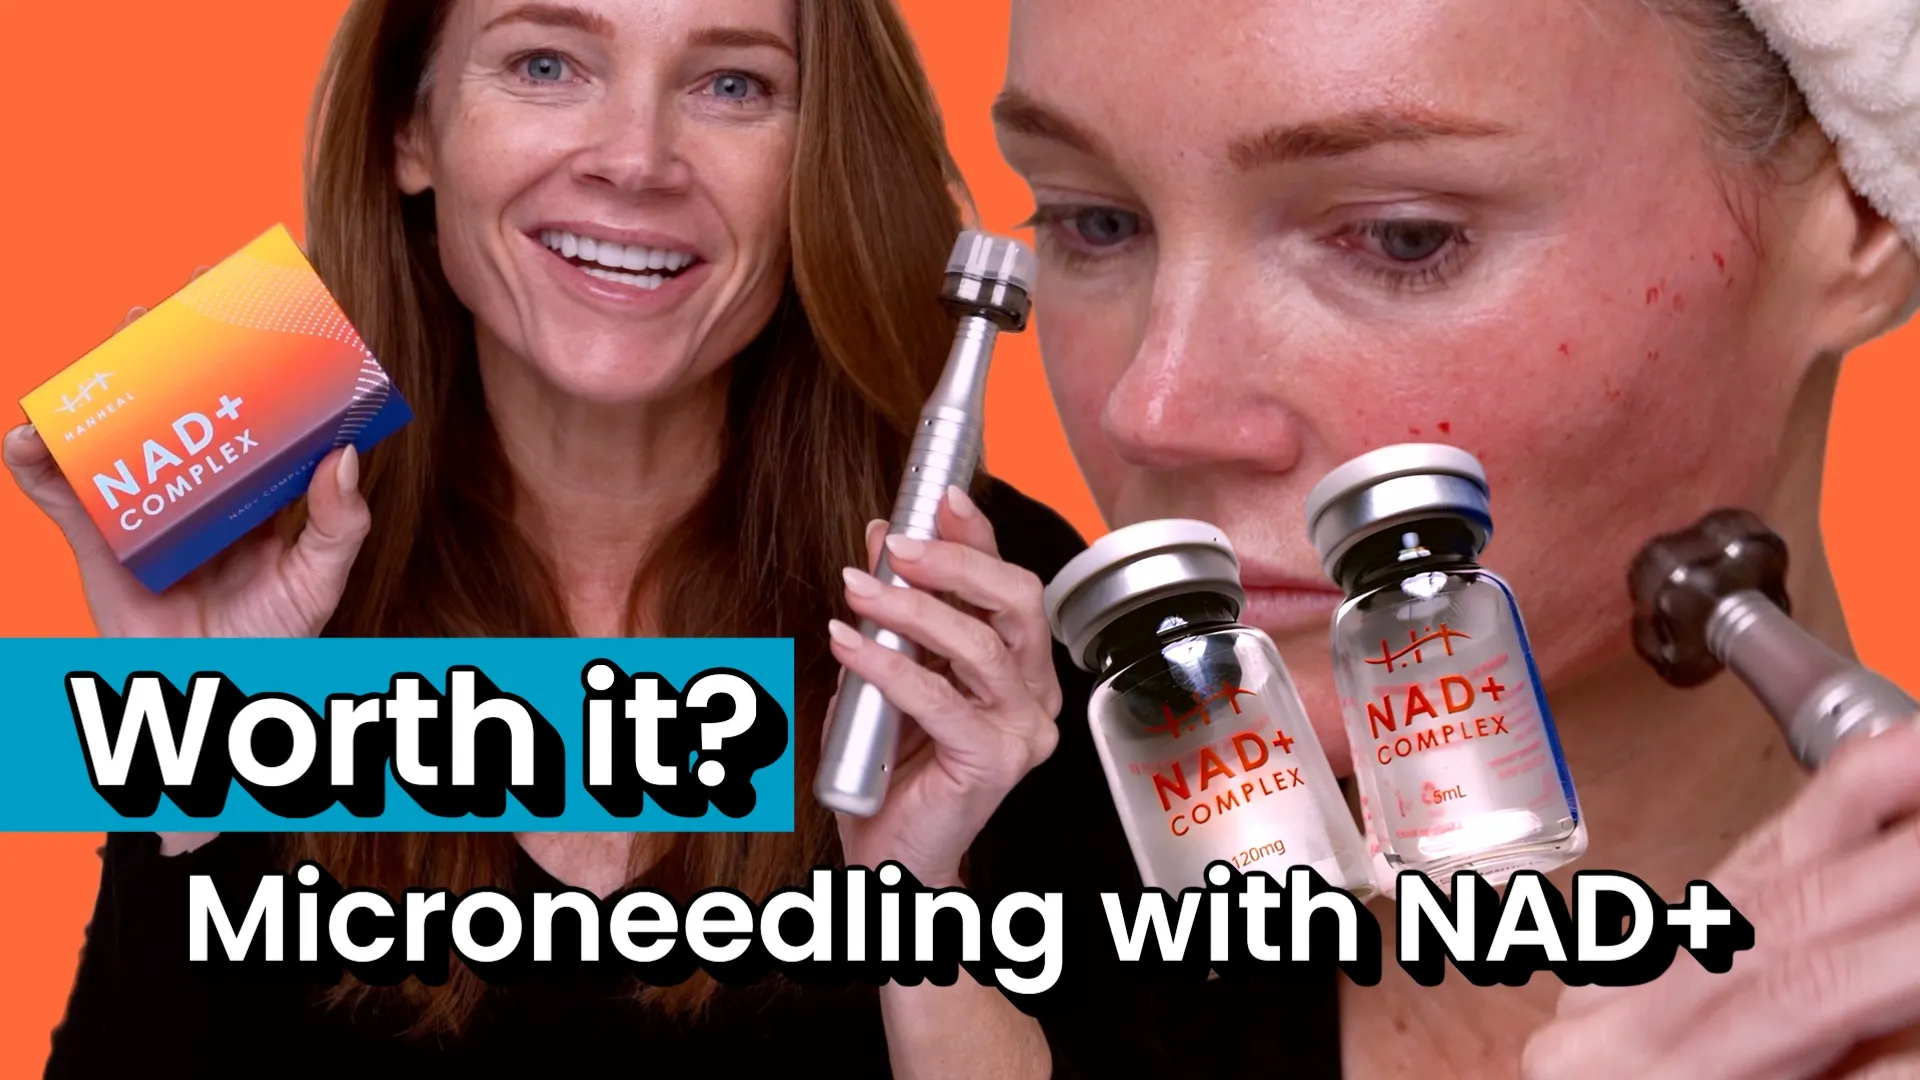
I microneedled my face with an NAD+ complex using the Channel Pro Pen (82-pin flower cartridge at 0.5 mm), followed with 20 minutes under my Lumara LED mask, then layered soothing/hydrating skincare. I experienced next-day cheek bumps/irritation that resolved within ~48 hours. Below are my protocol, products, results, and what I’d change next time.
Watch the Video (Full Process + Next-Day Check-In)
What Is NAD+ (and Why Pair It With Microneedling)?
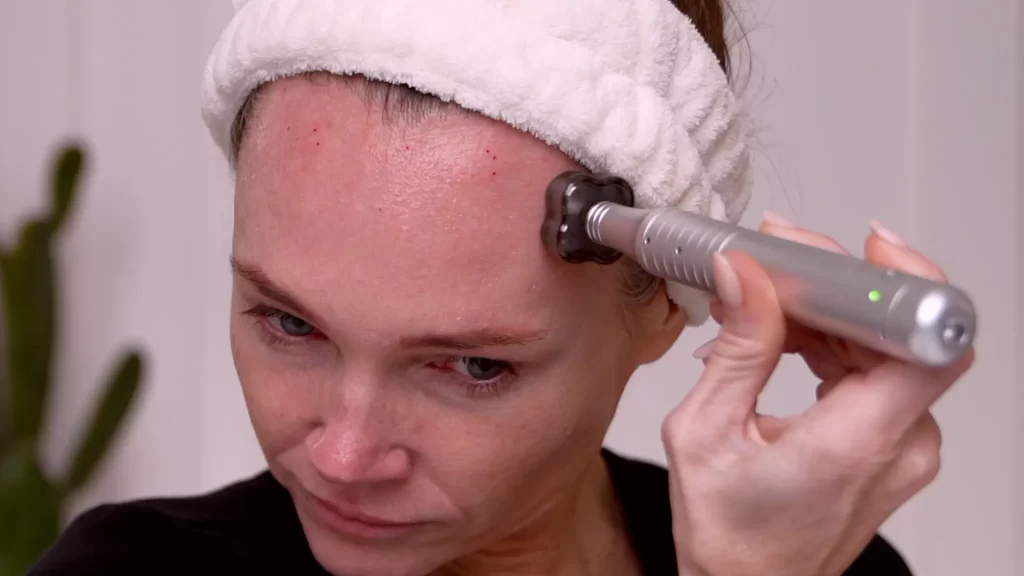
Microneedling with NAD+ using Channel Pro Pen 82-pin at 0.5 mm
NAD+ (nicotinamide adenine dinucleotide) is a cellular co-enzyme tied to ATP energy and DNA repair pathways. Levels decline with age, which is why you hear about IV NAD+ for “systemic” benefits. For skin, the idea is to deliver NAD+ locally to support barrier repair and healthy turnover. Evidence is still early, so I’m treating this as an experiment.
Microneedling creates temporary micro-channels that can increase topical penetration while also triggering a wound-healing cascade (collagen/elastin remodeling over time). Pairing NAD+ with microneedling is one way to try to get more of it where we want it: in the skin, not just on top of it.
What I Used (Face Focus)
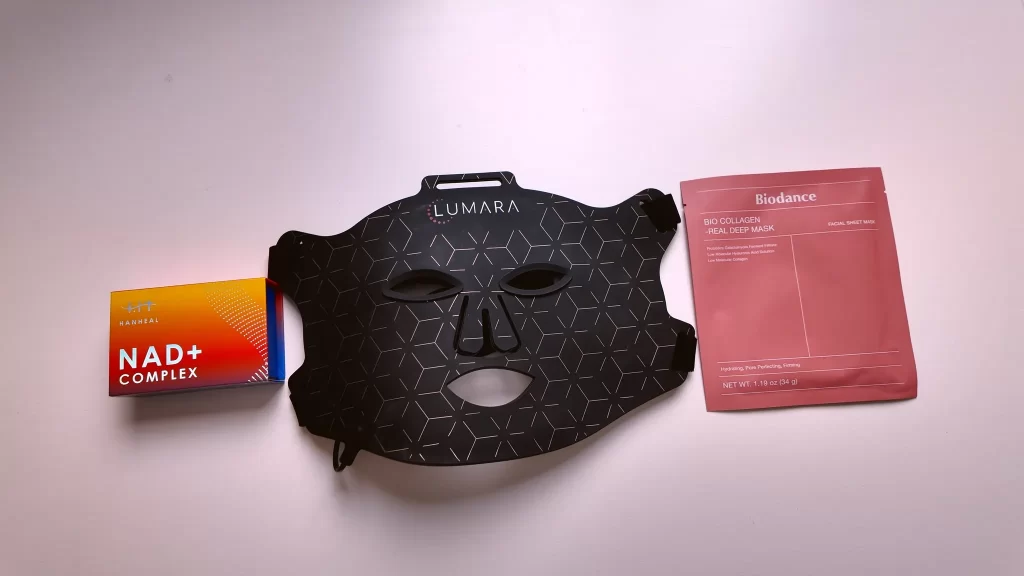
NAD+ Complex: Hanheal (lyophilized powder + diluent; reconstitutes to ~5 mL)
Device: Channel Pro Pen with 82-pin flower cartridge, fixed 0.5 mm depth (stamp technique)
LED: Lumara LED mask (strongest setting, 20 minutes)
Soothers/Hydrators:
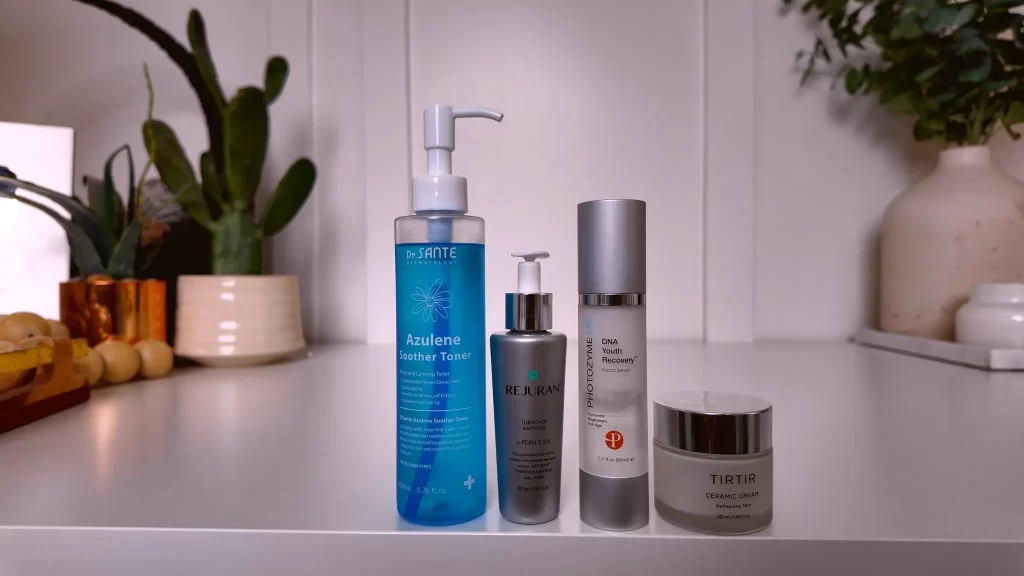
Dr. Santé Azulene Soother Toner
Rejuran Turnover Ampoule (0.5% PDRN)
Photozyme DNA Youth Recovery Serum
TIRTIR Ceramic Cream (occlusive comfort)
Sheet Mask: Biodance Deep Collagen Mask (I wore it ~4 hours; see results/lessons)
Note: You could also treat neck/chest. I focused on face for this test.
My Step-by-Step Protocol (Quick Reference)
- Prep: Cleanse, hair back, sanitized workspace.
- Reconstitute NAD+: Transfer diluent into powder vial (not the other way). Gently rotate to dissolve.
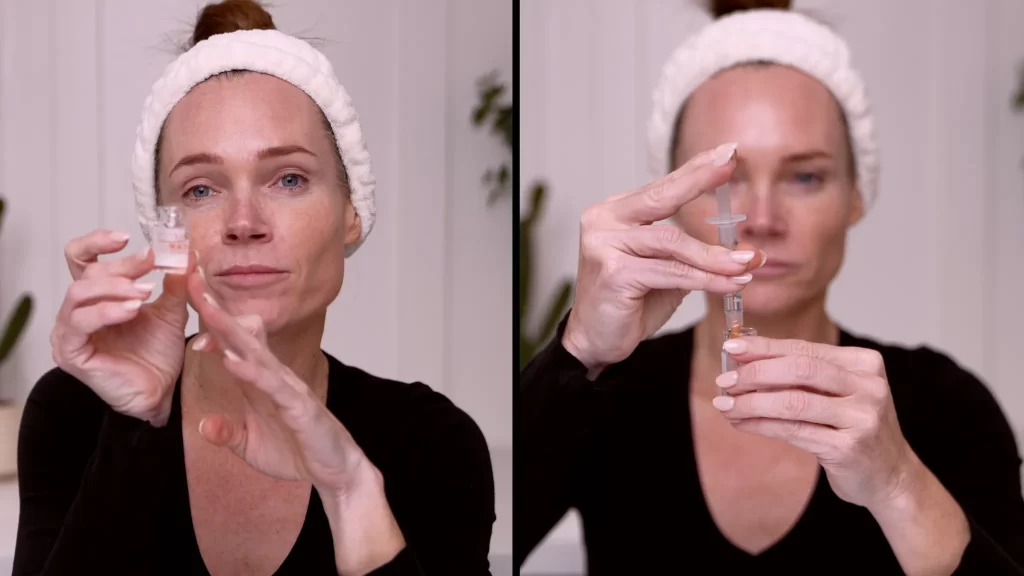
Reconstituting NAD+ complex, stamping technique with 82-pin flower head, and topical application.
3.Draw Topical: Pull ~1 mL into a sterile syringe (remove needle for topical dispensing—no injections on YouTube).
4.Apply & Stamp:
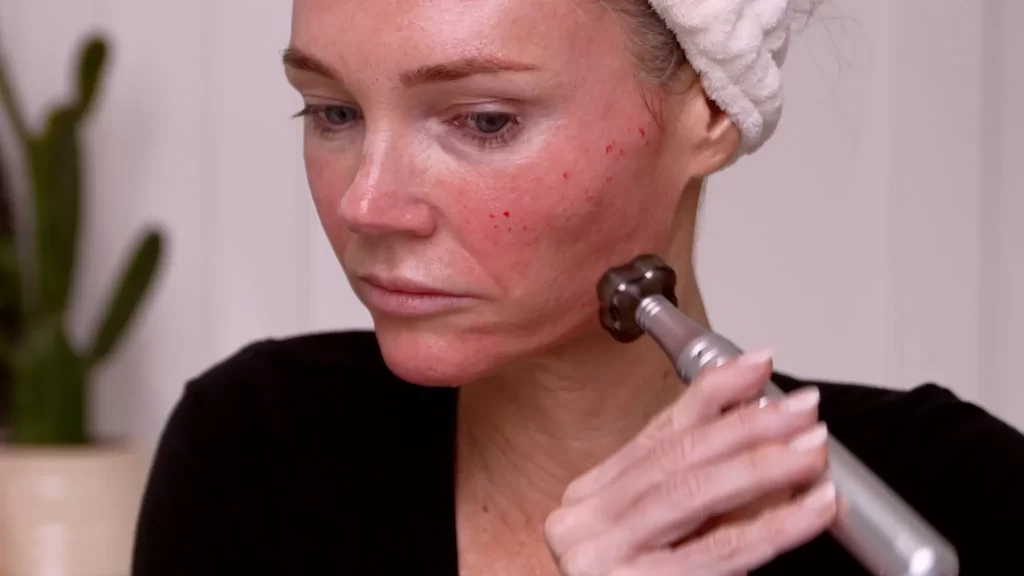
Pin point bleeding from microneedling
Spread a thin layer on the area.
Channel Pro Pen on fastest setting. Stamp, don’t glide.
Pin point bleeding from microneedling
Expect pinpoint bleeding in some zones (forehead is often spiciest).
Work in small sections; re-apply NAD+ as needed (~2–3 mL total used for full face in passes).
Save upper lip for last (flower head is bulky).
5.Finish NAD+: Coat remaining solution while micro-channels are still transiently open.
6. LED: Lumara LED for 20 minutes (strongest setting).
JOIN THE LARGEST SKINCARE COMMUNITY
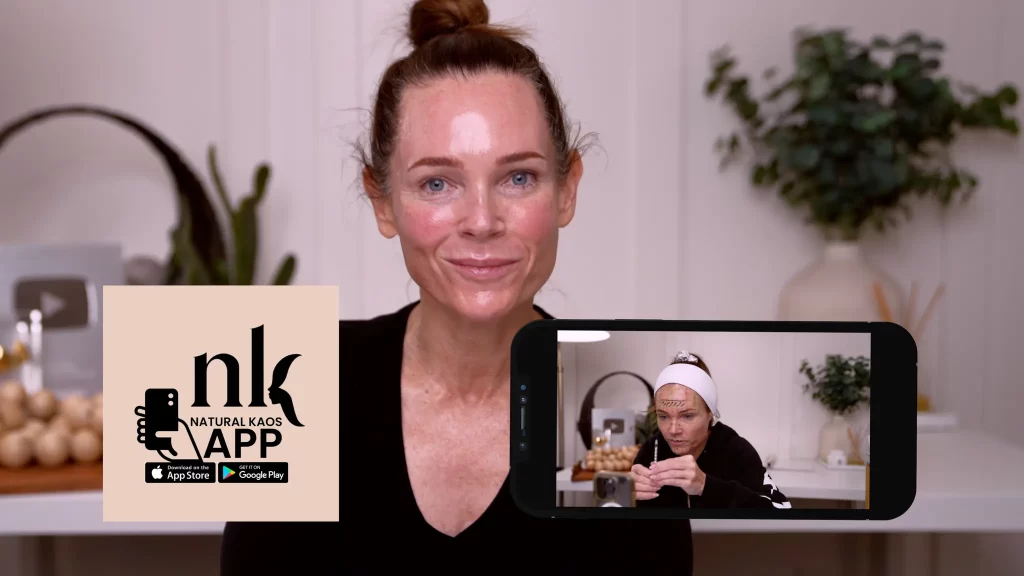
Join me Wednesdays at 10:00 a.m. Pacific on YouTube for real-time treatments and Q&A. For advanced protocols/sourcing, our community is inside the Natural Kaos App.
.
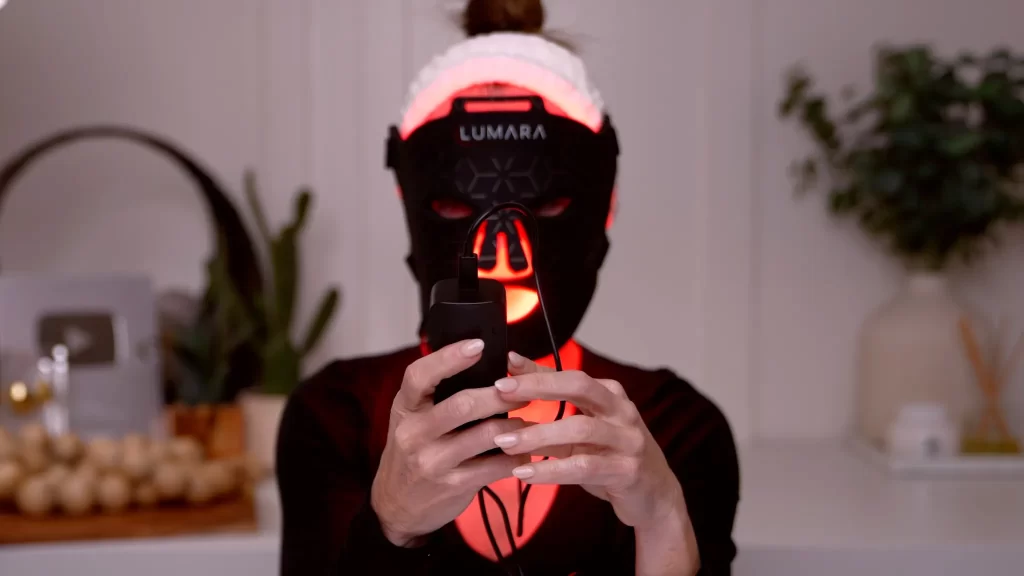
Post-microneedling 20-minute LED session with Lumara mask.
- Soothing Stack (after LED, once skin is dry/tight):
- Dr. Santé Azulene Toner → Reeron PDRN Ampoule → Photozyme DNA Serum → TIRTIR Ceramic Cream.
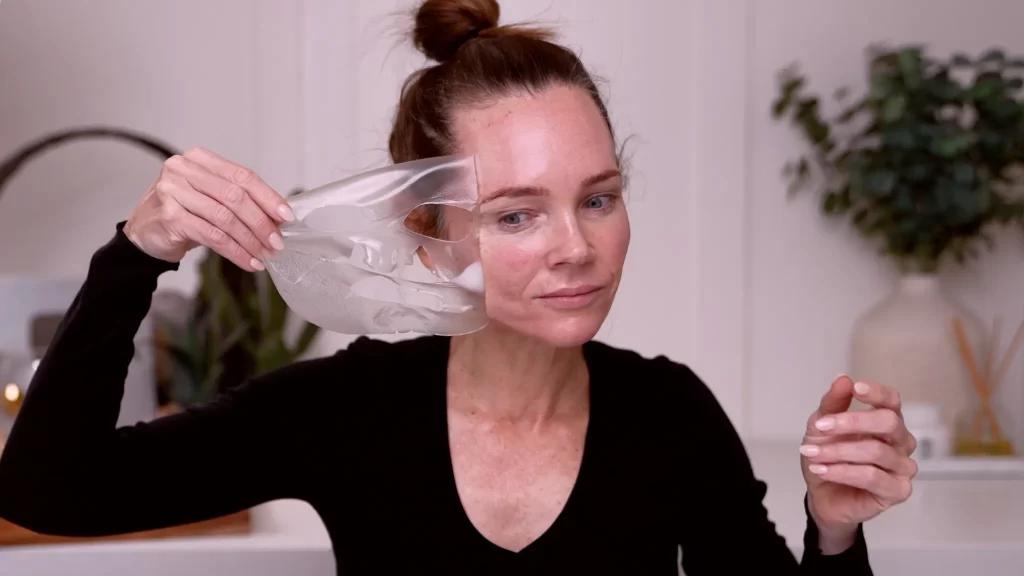
8. (What I did this time): Wore Biodance Deep Collagen Mask for ~4 hours (see lesson below).
Results & Lessons (The Bumps Situation)
Immediate: Redness (“sunburn” look), tight feel (likely from formula + powdery finish).
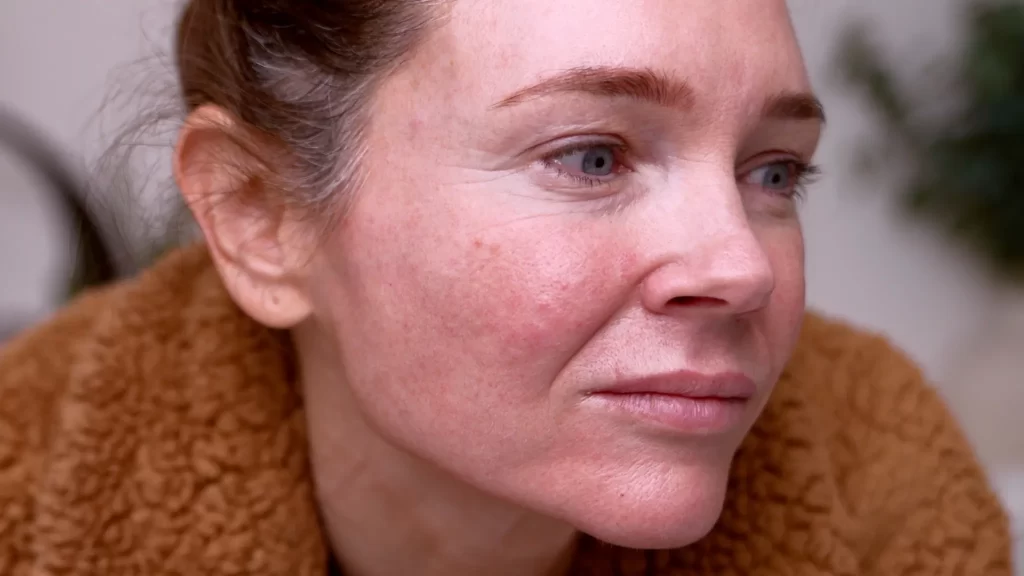
Next Morning: Cheek bumps/irritation—unusual for me.
48 Hours: Bumps subsided (skin calmed).

Cheek irritation resolved 48 hours post-treatment.
Was it the NAD+ or the long occlusion? Hard to say. The 4-hour occlusion with a dense collagen mask aftermicroneedling likely contributed. Extended occlusion can sometimes trap heat/moisture/actives and irritate sensitized skin.
What I’d change next time
Optional: Consider lighter passes or fewer total passes with the 82-pin cartridge if you’re sensitive.
Skip long-wear occlusion on day 0.
Use a 20-minute snail mucin sheet mask (e.g., COSRX) for a quick hydrate, then remove and let skin breathe.
Keep the rest of the soothing stack, monitor response.
Post-Care Guidance (What Worked for Me)
- First 24–48 hours: Gentle cleanse, no acids/retinoids, avoid sweating/heat when possible.
- Hydrate/Barrier: TIRTIR Ceramic Cream or a bland occlusive at night if tight.
- Sunscreen: Daily, high-protection, reapplied.
- Watch & Wait: Minor texture/bumpiness often calms within 24–48 hours. If irritation persists or worsens, stop actives and consult a professional.
Troubleshooting: “Can Microneedling With NAD+ Cause Bumps?”
Sometimes, yes. Early-phase topicals, micro-injury, and occlusion can all play a role. If you see small, uniform bumps within a day, it’s often transient irritation that settles in ~24–48 hours. If bumps persist, feel hot/itchy, or spread, stop, simplify, and seek appropriate care.
Sourcing & Links
- Hanheal NAD+ Complex Code Kaos10
- Channel Pro Pen (82-pin flower, 0.5 mm)
- Lumara LED Mask ($50 off) Code: KAOS50
- Biodance Deep Collagen Mask
- Dr. Santé Azulene Soother Toner Code Kaos25
- Rejuron Turnover Ampoule (0.5% PDRN):
- Photozyme DNA Youth Recovery Serum
- TIRTIR Ceramic Cream
- COSRX Snail Sheet Mask (alt for day 0)
- Natural Kaos App (Skin & Wellness)
- Newsletter
- YouTube Microneedling Playlist
FAQ :
Is microneedling with an NAD+ complex safe?
Safety depends on your skin, device hygiene, and formula tolerance. This is an experimental, cosmetic use. Patch test, sanitize, and proceed at your own risk.
Can NAD+ microneedling cause bumps?
Yes—transient irritation or small bumps can occur, especially if you occlude for long periods right after treatment. Many cases settle within 24–48 hours.
What depth did you use?
0.5 mm with an 82-pin flower cartridge (Channel Pro Pen, stamped—no gliding).
How much NAD+ solution did you use?
The kit reconstitutes to ~5 mL. I used ~2–3 mL during stamping and finished by coating while channels were still transiently open.
Why LED right after?
I did 20 minutes on the Lumara mask to support calming. Some people prefer waiting until redness calms—listen to your skin.
What would you change next time?
Skip long occlusion on day 0. Use a 20-minute hydrating mask (snail mucin) and remove, then keep skin breathable.
When can I expect results?
Microneedling benefits are gradual—think weeks for texture/firmness changes as collagen remodels.
Is injectable nad+ ok to needle?
Hi Jessica! Please read the protocol instructions.