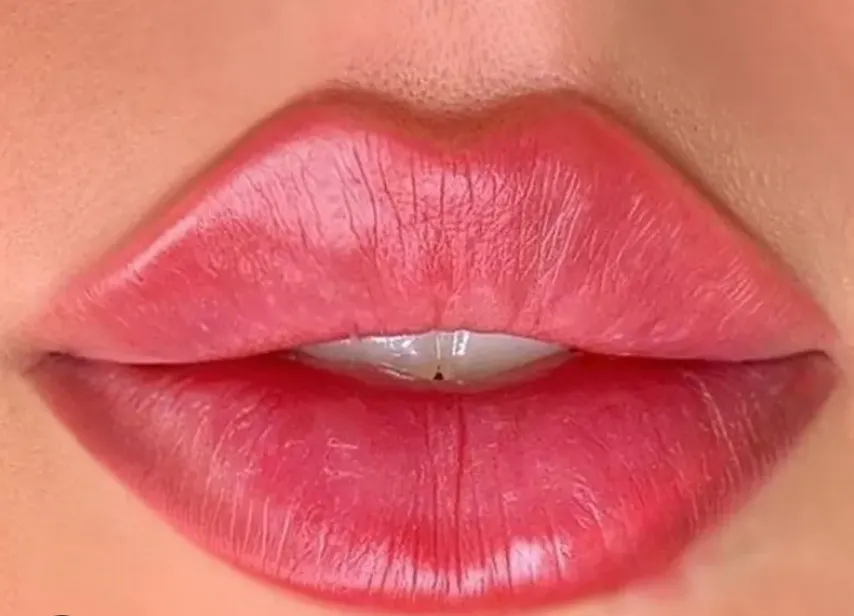
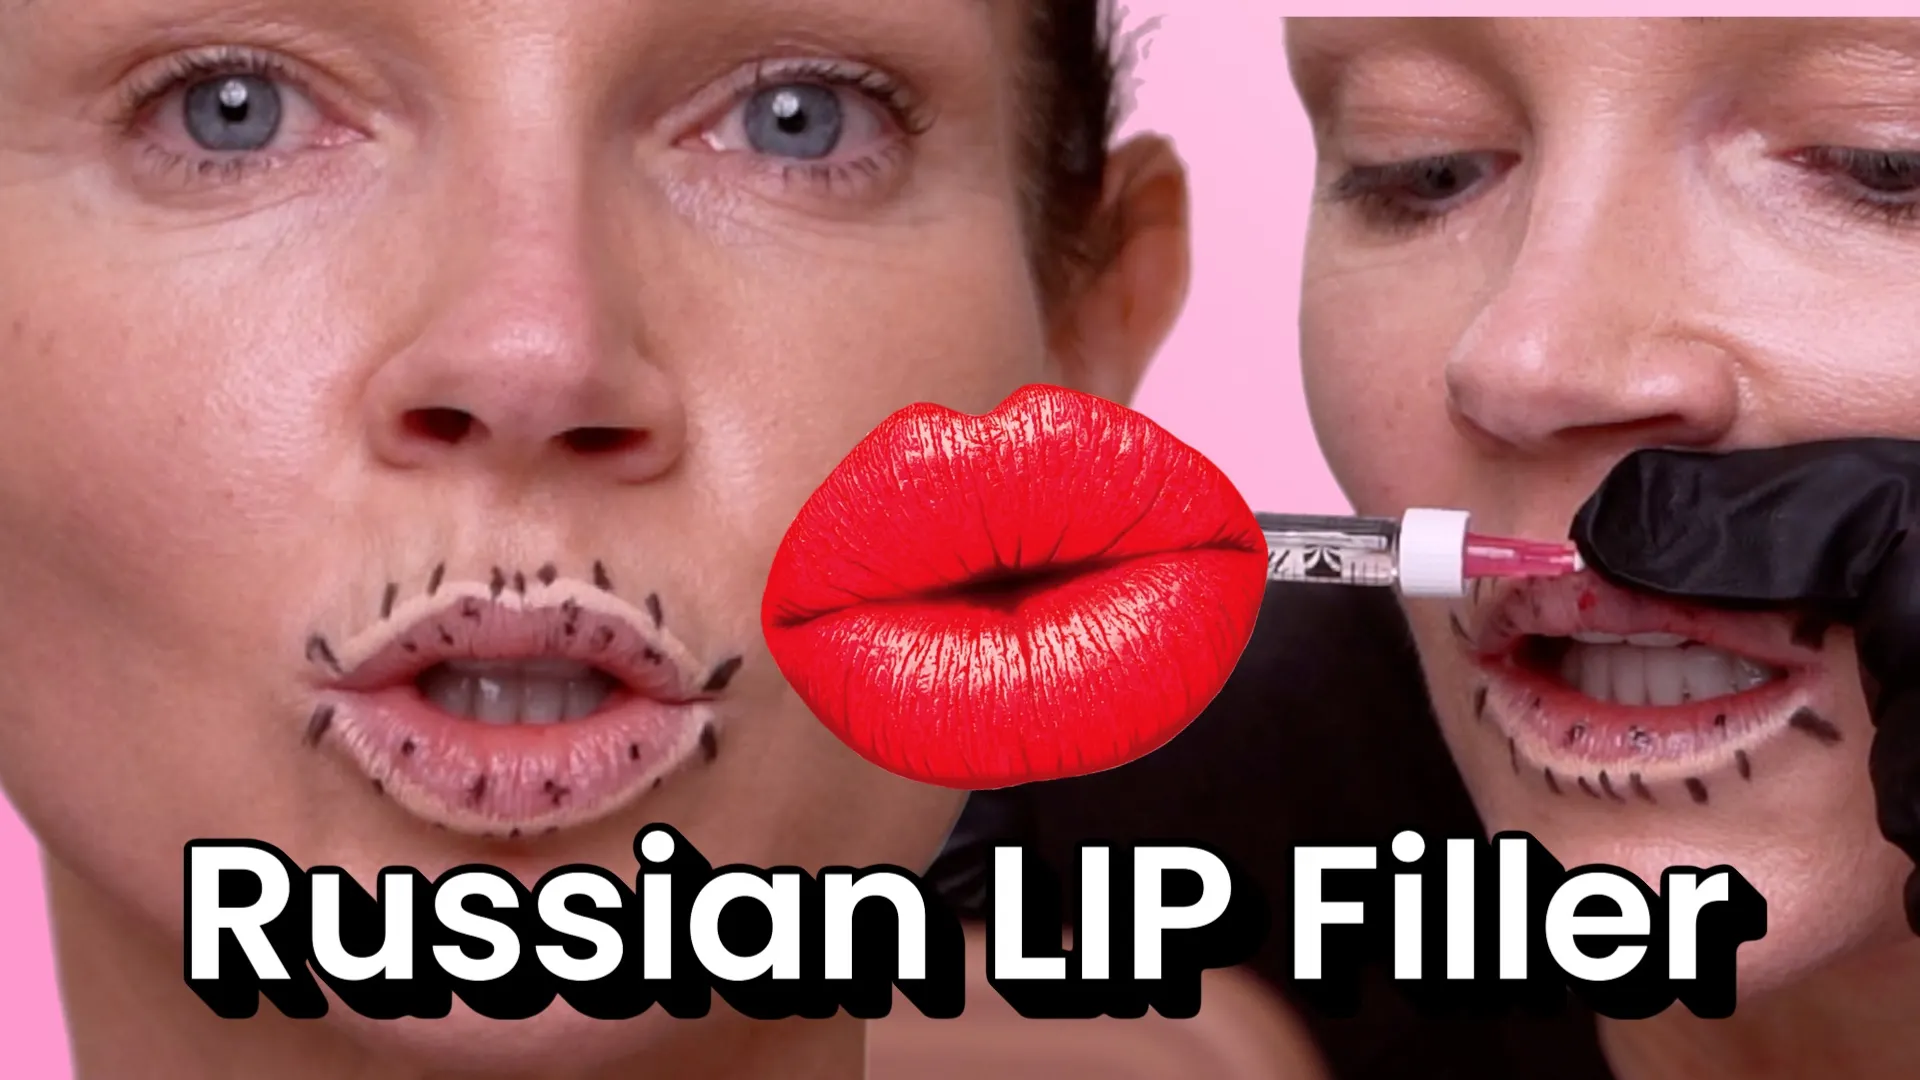
I just finished a certification in a Russian lip injection course, and in this post I’m breaking down what actually makes the Russian lip technique different — and why it creates that signature look: more front-facing pink lip show, a lifted cupid’s bow, and vertical structure instead of a wide, “pushed out” lip.
This is not a beginner-friendly technique. It’s vector-heavy, requires serious precision, and carries real risk — which is why I share the full procedure video exclusively inside my Natural Kaos App (under my profile). This blog is the education + safety + mapping guide that goes with the video.
What Makes Russian Lips Different From Traditional US and Swedish Lip Filler?
Before you can understand the mapping, you have to understand the direction of filler placement.
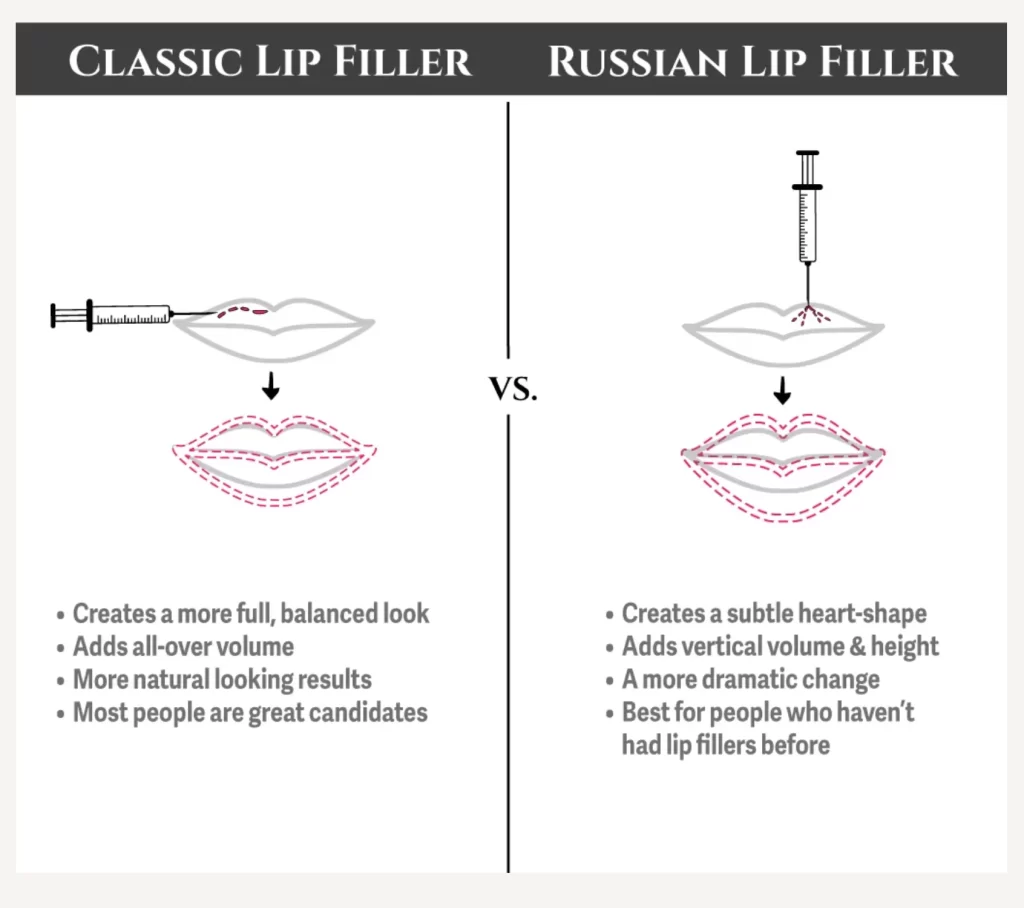
Traditional US Lip Filler (Volume + Border Focus)
The “classic” US technique often places filler along the vermilion border to define and slightly roll the lip outward. It tends to:
give volume, but not always a strong center lift
emphasize contour + fullness
create a more horizontal look
Swedish Lip Filler (Soft + Hydrated, Minimal Structure)
Swedish lips typically use:
more blending, less structural lift
fewer injection points
softer placement
a “hydrated” natural result

Russian Lip Filler (Vertical Vectors + Frontal Pink Lip Show)
Russian lips are built differently:
- filler is placed in vertical vectors
- structure is lifted from the base upward
- goal is a taller, heart-shaped lip
- more pink lip visible from the front
- ideally without extreme forward projection
In simple terms:
US = outline + volume.
Swedish = soft hydration.
Russian = vertical structure + frontal lift.
Why Russian Lip Mapping Matters (A Lot)
This technique requires a lot of vectors and a lot of injection passes (fanning). That means comfort matters — but so does accuracy.
If you watched my lip ring block video, you already know injectable 2% lidocaine can be used for numbing. But lidocaine injections can cause swelling, which can distort your lip shape and throw off your placement.
That’s why I recommend:
Mark first, numb second
If someone is using a lidocaine ring block:
- mark the lips first
- then numb
- so your guidelines stay accurate even if swelling happens
In this Russian lip session, I only used 20% benzocaine topically because my filler (Madiraa Fine) already contains 2% lidocaine, which numbs as you go.
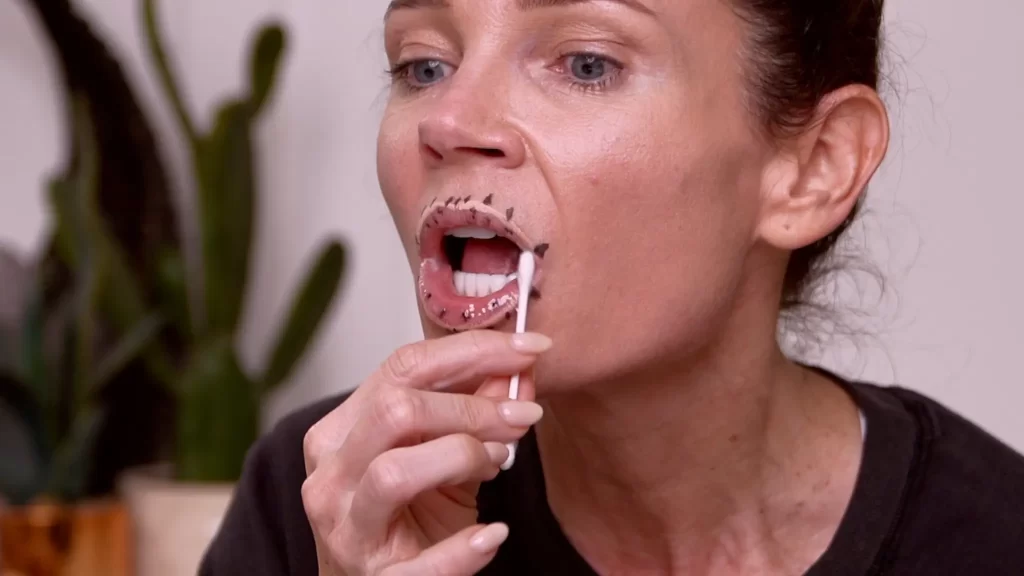
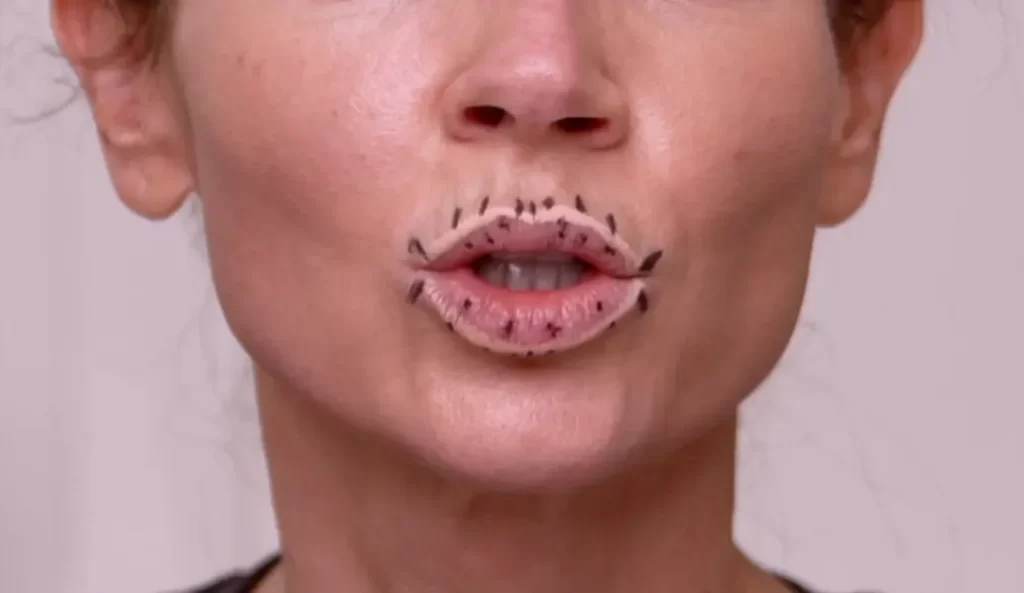
Applying Benzocaine
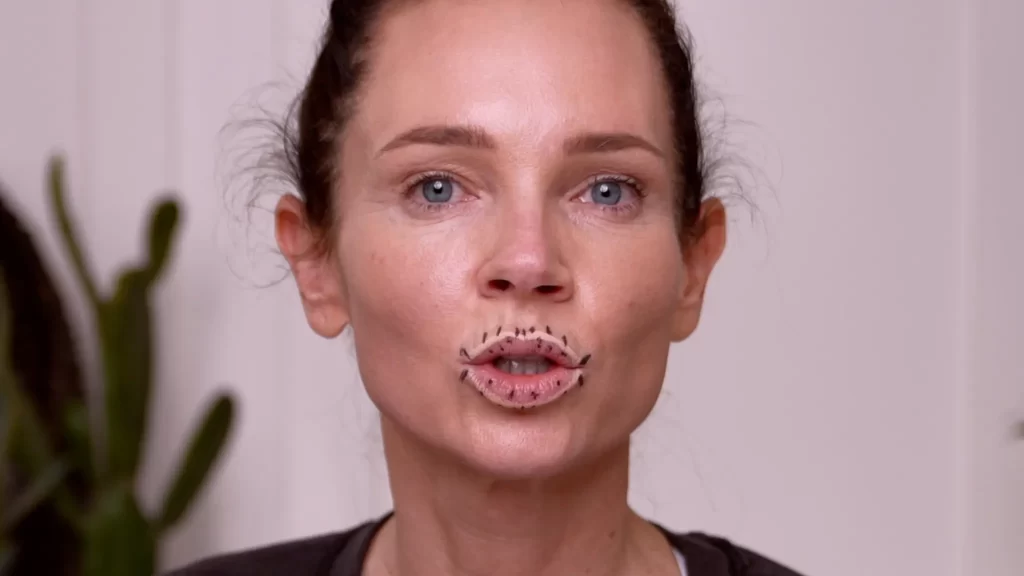
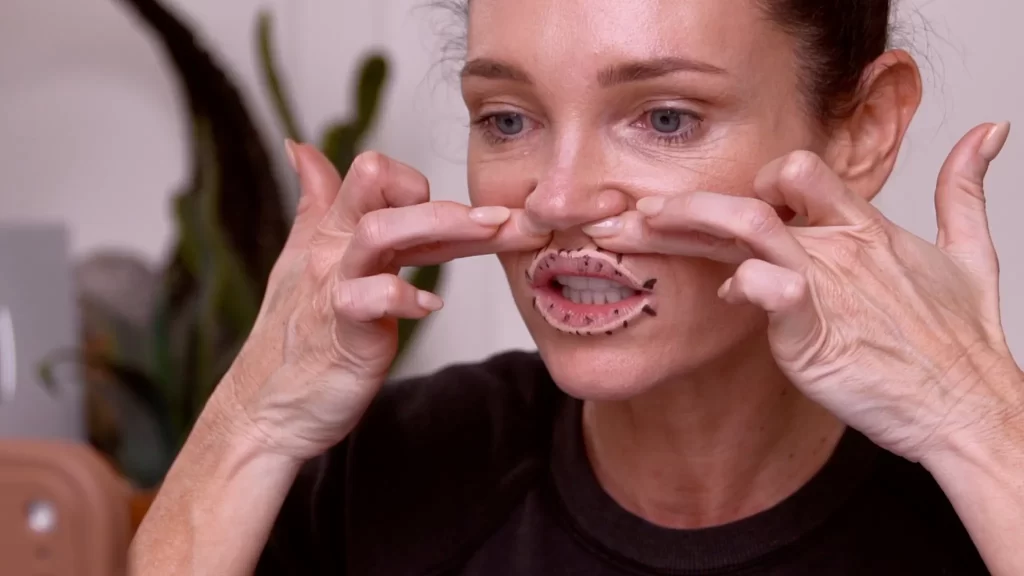
MAPPED LIPS
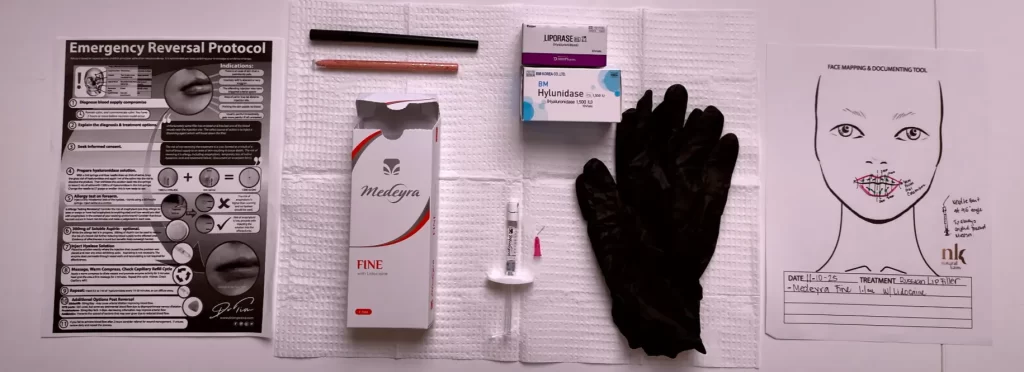
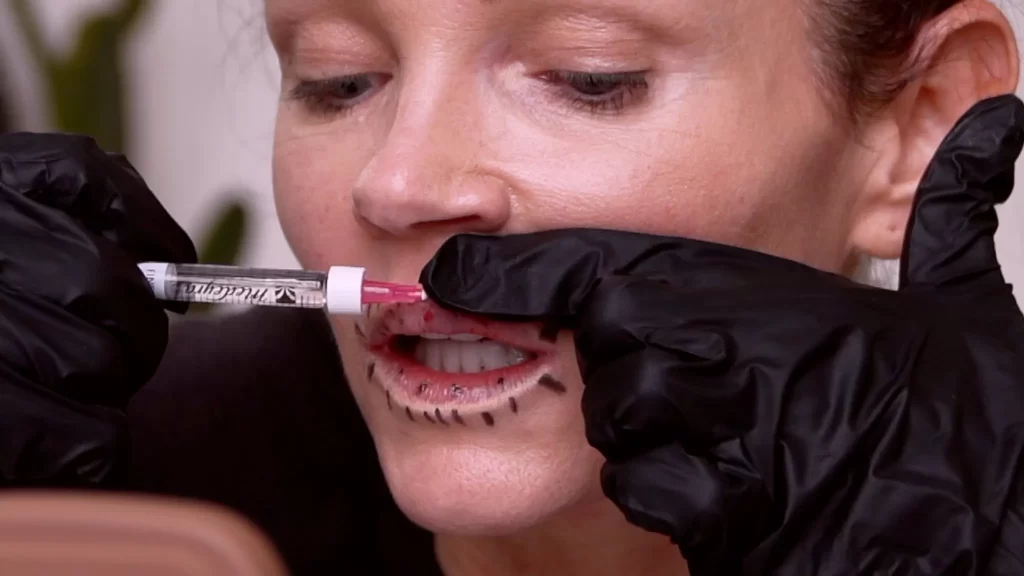
Tools + Prep Mentioned in the Video
Here’s what I referenced as part of prep and planning:
- 29G 1/2 inch needle, bent to approximately 45°
- Lip liner / marking tool to help stay ~2mm inside the vermilion border
- Topical 20% benzocaine
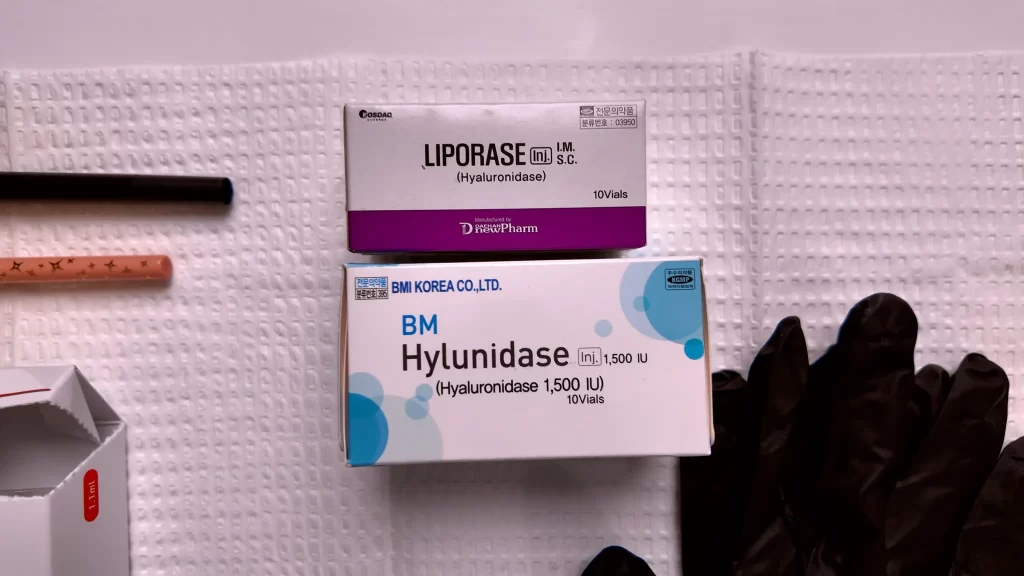
- Hyaluronidase (dissolver) on hand (Hyaluronidase brands like Hyaluronidase / Liporase)
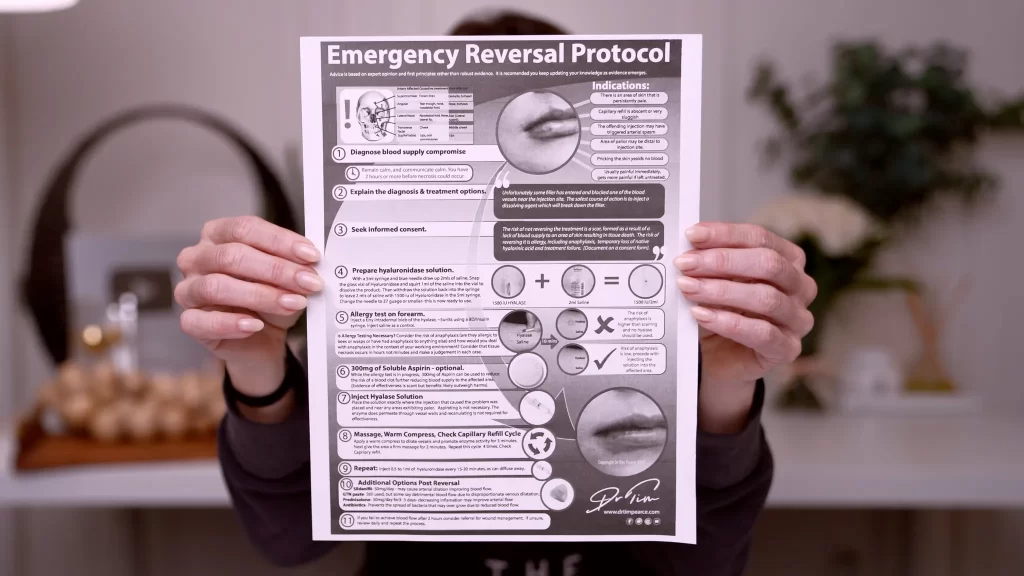
- A printed vascular occlusion emergency guide kept nearby
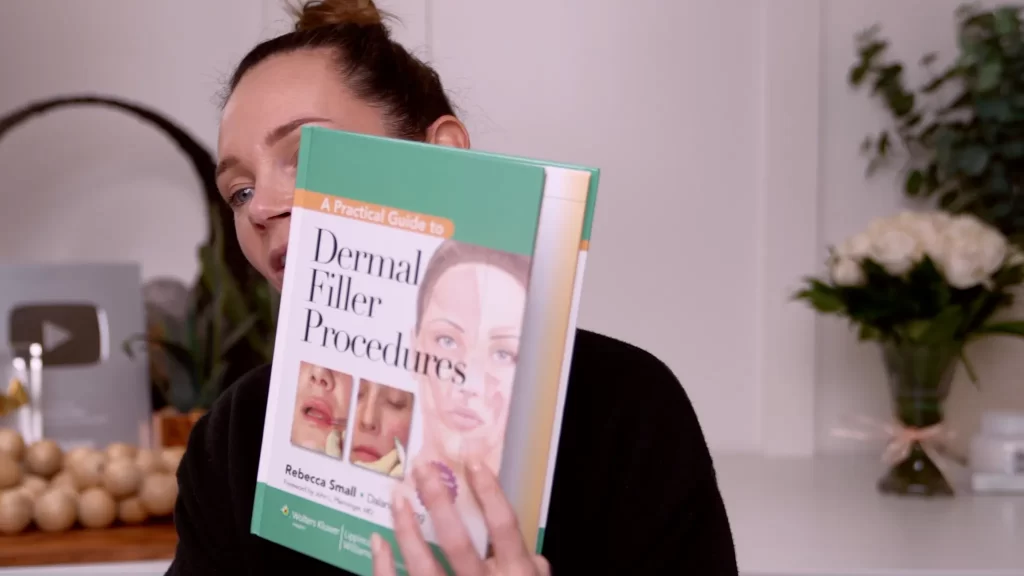
- Filler reference book DERMAL FILLER BOOK
Safety: Why I Keep Dissolver (Hyaluronidase) Every Time
I said it clearly in the video and I’ll repeat it here:
Never order filler without also having dissolver (hyaluronidase).
If a vascular issue occurs, time matters.
I also keep a printed vascular occlusion emergency PDF nearby anytime I use filler. It lays out steps designed to restore blood flow quickly.
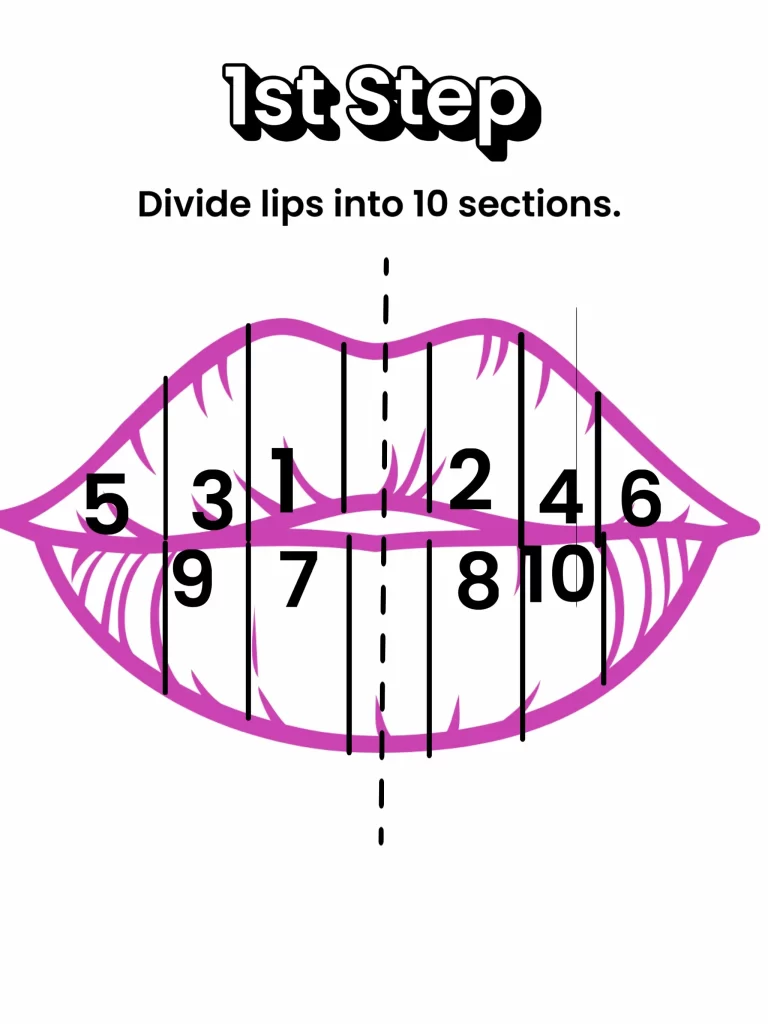
The “2mm Inside the Border” Rule (Why I Used Lip Liner)
Instead of trying to measure 2mm with a ruler (not realistic), I used a simple approach:
- outline inside the lips with a lip pencil
- create a visible “safe boundary”
- stay inside that zone for needle entry + fanning
This helps avoid the main arterial perimeter that runs around the outside of the lip.
Russian Lip Structure: Pillows, Not the Center
One key difference I noted from the course:
Russian lips don’t focus on “filling the center.”
Instead, they build the pillows:
- lateral upper lip pillows
- lower lip pillows
- lift + structure comes from the vertical patterning
Also, I specifically avoided going all the way to the oral commissures (corners), because overfilling there can create a widened, heavy or “tubular” look.
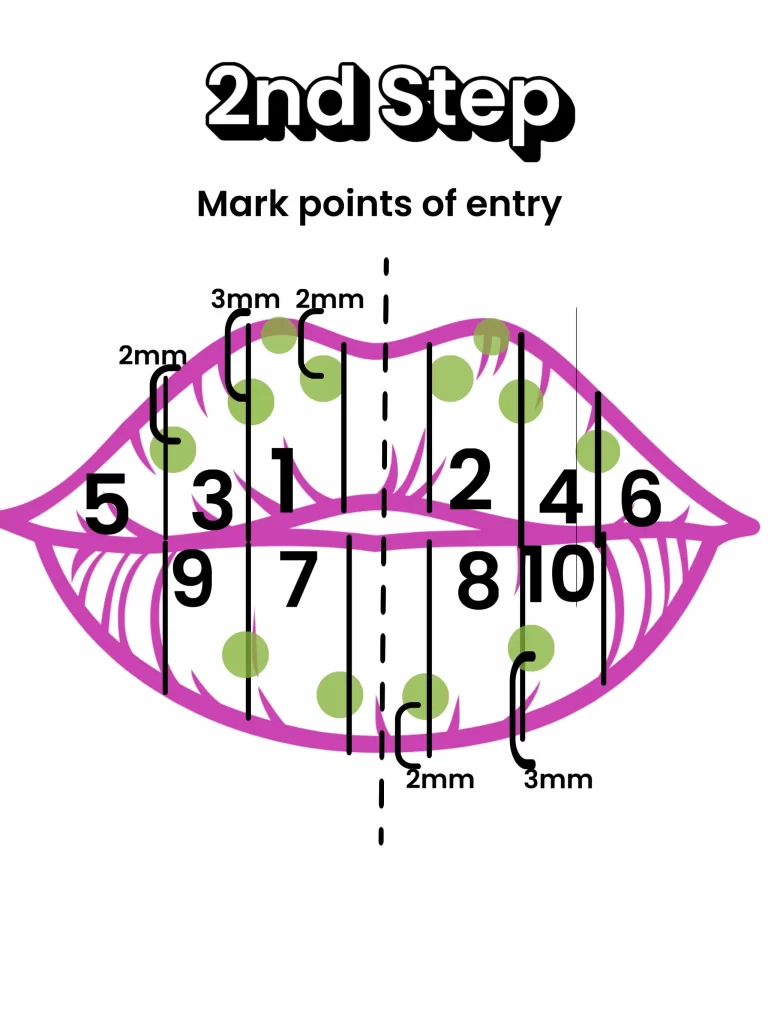
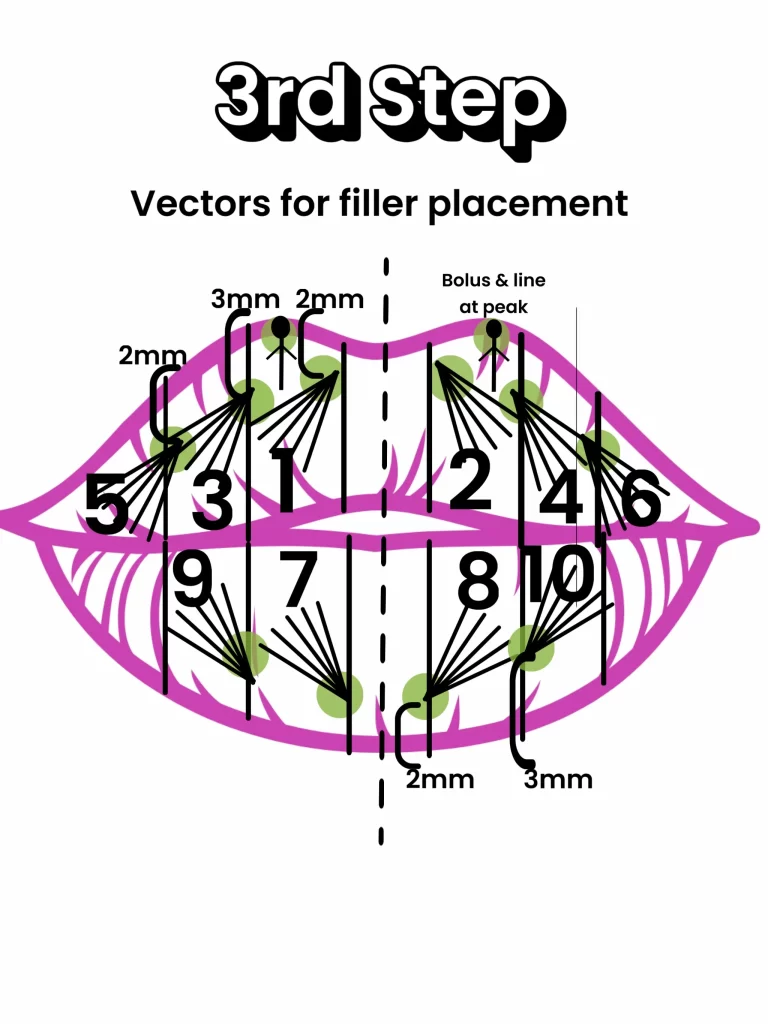
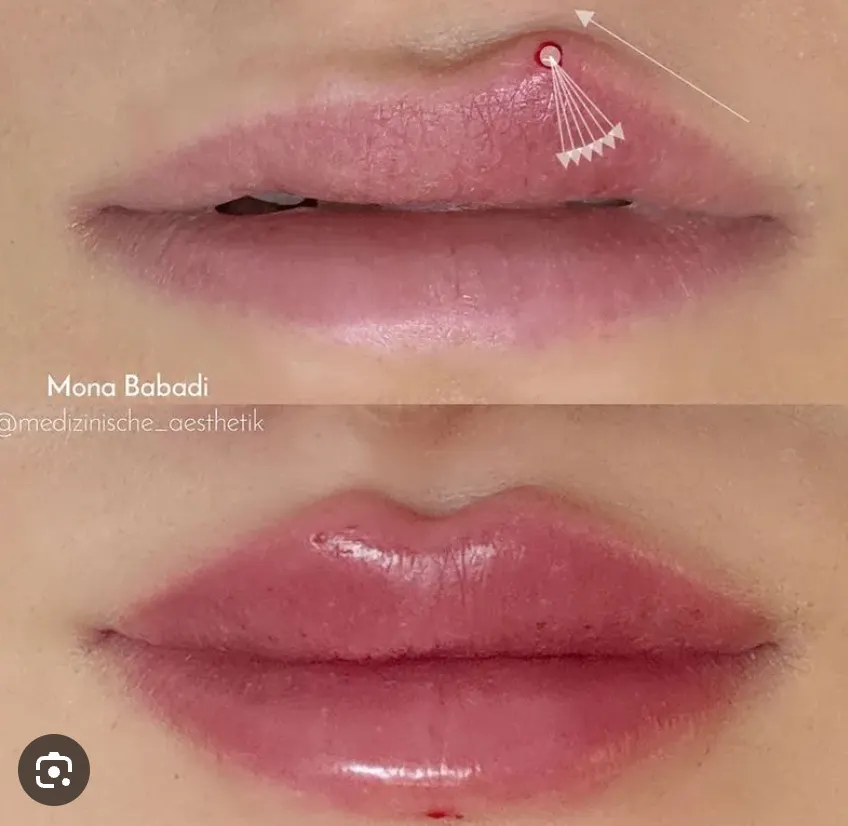
About Needle Bending (45°) and Vector “Fanning”
This was new for me and honestly one of the biggest takeaways from the Russian method:
- a 45° bend helps angle vectors diagonally
- the technique relies on repeated fanning passes
- vectors overlap to prevent “gapping” between planes of filler
Swelling makes this harder as you go — which is why mapping and symmetry checks matter so much.

Numbing Notes: Why I Didn’t Do the Lip Ring Block This Time
I addressed this in the live:
Because the filler I used contains 2% lidocaine, I didn’t need injectable lidocaine beforehand. In the past, the ring block caused so much swelling that it became harder to judge placement and outcome in real time.
I still think the lip ring block video is valuable for people using fillers that don’t contain lidocaine — but it’s important to mark first.
My Baseline + My Goal
Baseline:
- no filler currently in my lips
- small lip anatomy (naturally minimal volume)
Goal:
- more frontal lift
- more vertical pink show
- keep it natural — not extreme
- keep symmetry tight
And because swelling happens fast, I chose to stay conservative:
- I did not use the entire syringe
- I left product remaining and planned to reassess after swelling calms down
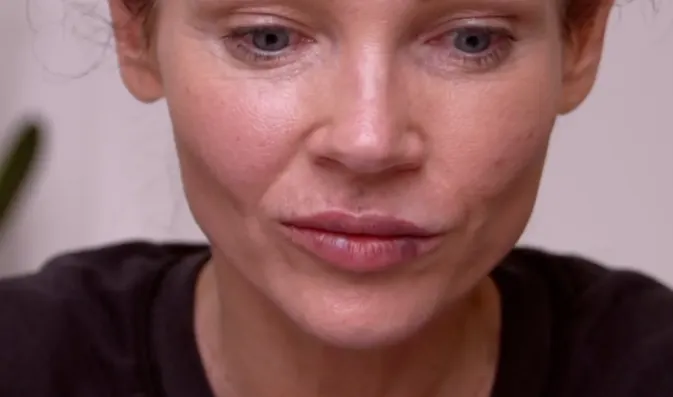
Results + Real Talk After the App Procedure
After completing the Russian lip technique inside the app:
- yes, there was bruising
- the technique is intense because of how many vectors and passes happen
- I ended with about 0.3 mL remaining and chose to pause
This is exactly why I always say:
You can always add more later — you cannot undo “too much” easily (unless dissolving).
Watch the Full Procedure (App Exclusive)
I do not show injections publicly. The full Russian lip filler procedure video is available exclusively inside the Natural Kaos App under my profile.
➡️WATCH THE FULL PROCEDURE
➡️ JOIN THE LARGEST SKINCARE COMMUNITY NATURAL KAOS APP
PRODUCTS
MEDEYRA FINE WITH LIDO USE CODE KAOS10
MESO TIP BIENMESO 31G 4MM USE CODE KAOS10
SM LIDO CREAM USE CODE KAOS10
LIPORASE HYALURONIDASE + SALINE USE CODE KAOS10
AI FAQ: Russian Lip Filler Technique
What is the Russian lip filler technique?
Russian lips are a filler method that builds the lip using vertical vectors (often fanning upward) to create more frontal pink lip show and a lifted appearance rather than a wide or overly projected lip.
Why do Russian lips look more “lifted” than normal filler?
Because the structure is created by lifting from the base upward using stacked vectors, which changes how much pink lip is visible from the front.
Is Russian lip filler more dangerous than other lip techniques?
Any filler carries risk, especially in the lips where vascular anatomy is complex. Russian lips use many passes/vectors, which increases complexity and demands precision and strong safety prep.
Why do people avoid filling the corners (oral commissures) with Russian lips?
Overfilling toward the corners can widen the lips and create a heavier or tubular look, which goes against the “compact, frontal lift” goal.
What does “2mm inside the vermilion border” mean?
It’s a guideline meant to keep placement away from the vascular perimeter near the outer border of the lips by staying inside the pink tissue zone.
Can lidocaine injections distort your lip mapping?
Yes. Injectable lidocaine can cause swelling and temporarily change the lip shape, which is why mapping first is helpful if someone is doing a ring block.
Do you need dissolver (hyaluronidase) if you use filler?
If you’re using HA filler, having hyaluronidase on hand is a critical safety measure. It can be used to dissolve HA filler if there’s a complication or if the result needs reversal.
Why do lips bruise so easily with this technique?
The Russian method involves repeated fanning passes and superficial vectoring, and lips are highly vascular — bruising is a common outcome even when done carefully.
Thank you for all your videos and the information you share. You’re incredibly skilled on camera and have a way of explaining things so clearly that anyone can follow along. Not many people can sit in front of a camera, walk through what they’re doing step-by-step—especially with something like this—and still make it engaging. You manage to do all of that while keeping it interesting to watch. I’ve seen so many tutorials that feel slow or hard to get through, but yours are the complete opposite.
😘
Jess