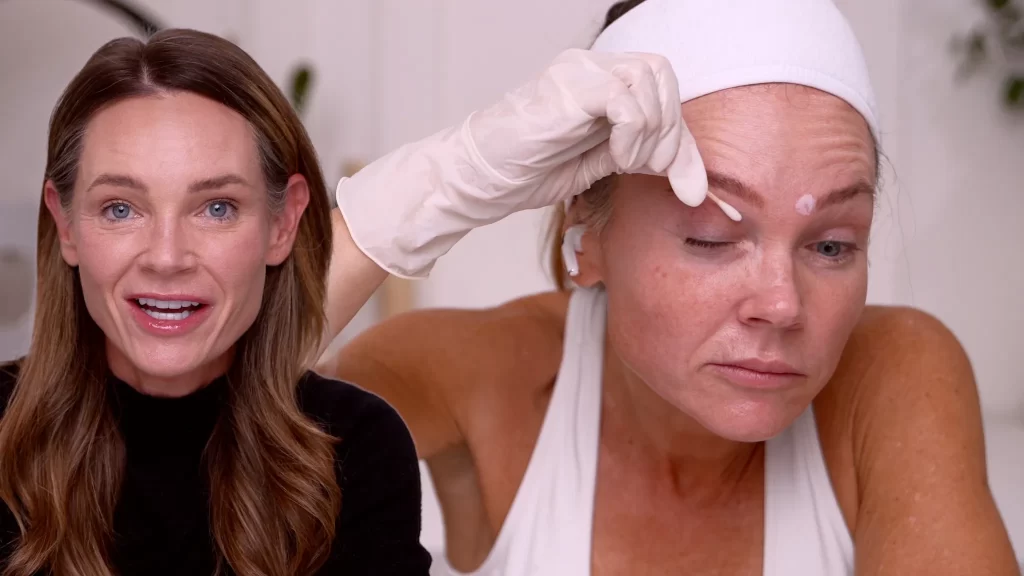
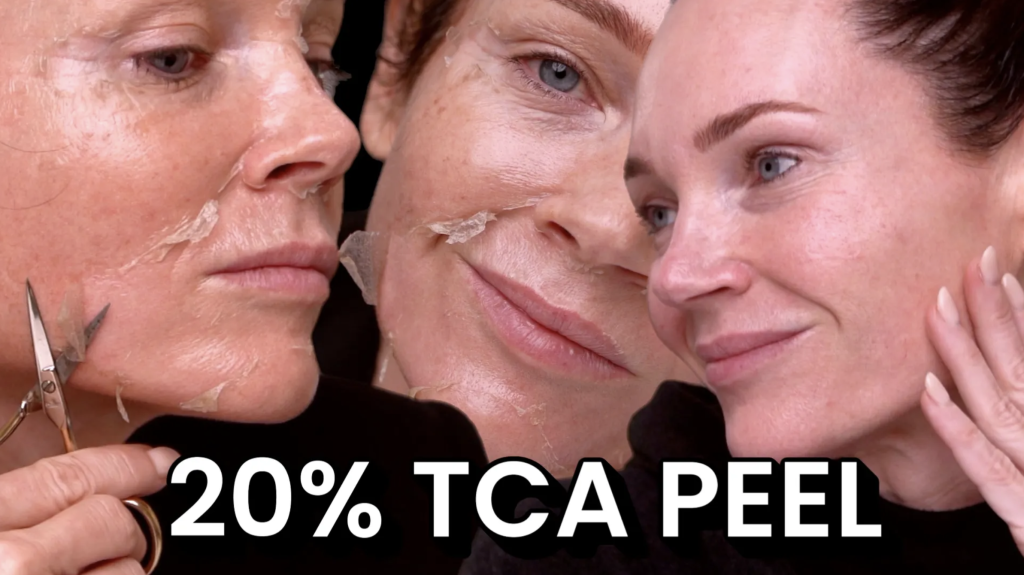
This might be the fastest I’ve ever cleared a TCA peel – and it was only 20%. In this post, I’m sharing my personal experience doing a 20% TCA peel on my face using the Makeup Artist’s Choice 30% TCA Adjustable Peel Kit, diluted down at home, plus a 6-day recovery diary.
This blog (and the YouTube video) is for educational purposes only. I’m documenting my own skincare journey, not giving medical advice or a how-to. TCA is a medium-depth peel that can cause burns, scarring, and hyperpigmentation if used incorrectly. Always consult a licensed professional before attempting any chemical peel.
WHAT IS A 20% TCA PEEL?

Peeling skin day 4 after a 20% TCA peel
TCA (trichloroacetic acid) at a concentration of around 20–30% is often considered a medium-depth peel, depending on its application. It can:
- Help shed dull, “summer” skin
- Soften the look of fine lines and texture over time
- Support a more even-looking skin tone when used correctly
Because it’s stronger than typical at-home exfoliating acids, it comes with more risk and more downtime. That’s why I treat it seriously and space my peels out.
WHY I DILUTED THE 30% KIT DOWN TO 20%
In this video, I use the Makeup Artist’s Choice 30% TCA Adjustable Peel Kit and dilute it down to 20%. The kit includes instructions on how to cut it to different strengths. For this peel, I followed the guidance for a 20% solution, which involves mixing two parts TCA with one part distilled water.
My reasons for choosing 20% instead of a full 30%:
- 20% is still extremely effective
- I had microneedled my face the week before and already had light sloughing
- I never want people to feel like they “have” to jump straight into 30% to get results
On my skin, 20% with three layers provided full frosting and a fast, one-week recovery.
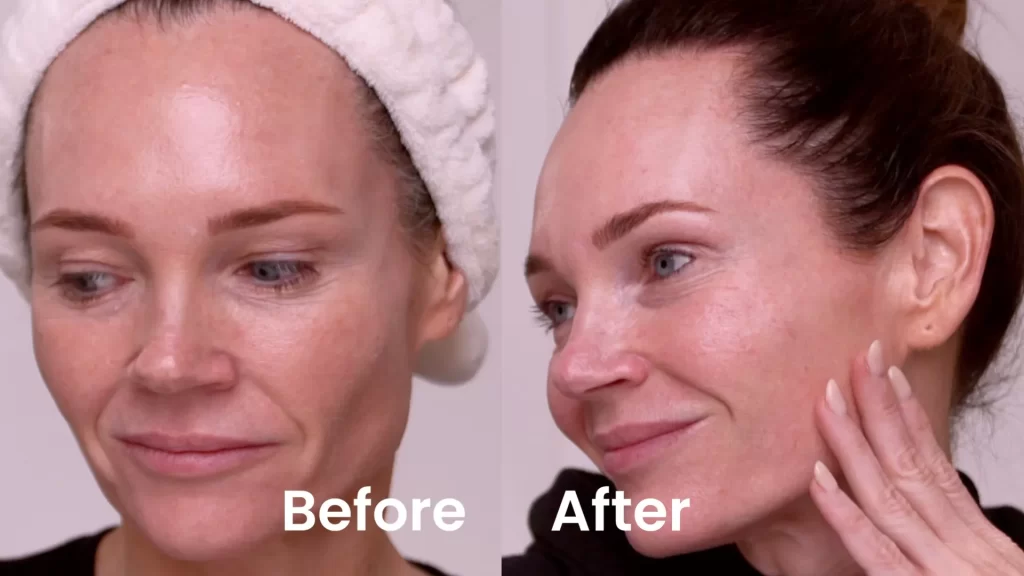
Before and after a 20% TCA Peel
PRODUCTS AND TOOLS I USED
TCA PEEL + CLEANSER
Makeup Artist’s Choice 30% TCA Adjustable Peel Kit Code: KAOS20
Makeup Artist’s Choice Pomegranate Cleanser (comes in kit)
MEASURING + APPLICATION
– Syringes (for measuring distilled water and TCA)
– Small mixing vial
– Gloves
– Q-tips for precise areas (chickenpox scar, eyelids, nostrils, under eyes)
– Phone timer
– Blow dryer on cool to help with the “fire on the face” sensation
RECOVERY PRODUCTS
– For Real Organics beef tallow balm 10% Off
– A gentle, unscented cream my friend made for his daughter with eczema (not for sale yet; no link)
MAINTENANCE BETWEEN BIG PEELS
– Makeup Artist’s Choice Glow Peeling Pads (lactic, mandelic, salicylic blend)
URL:
Use code KAOS20 to save an extra 20% at Makeup Artist’s Choice.
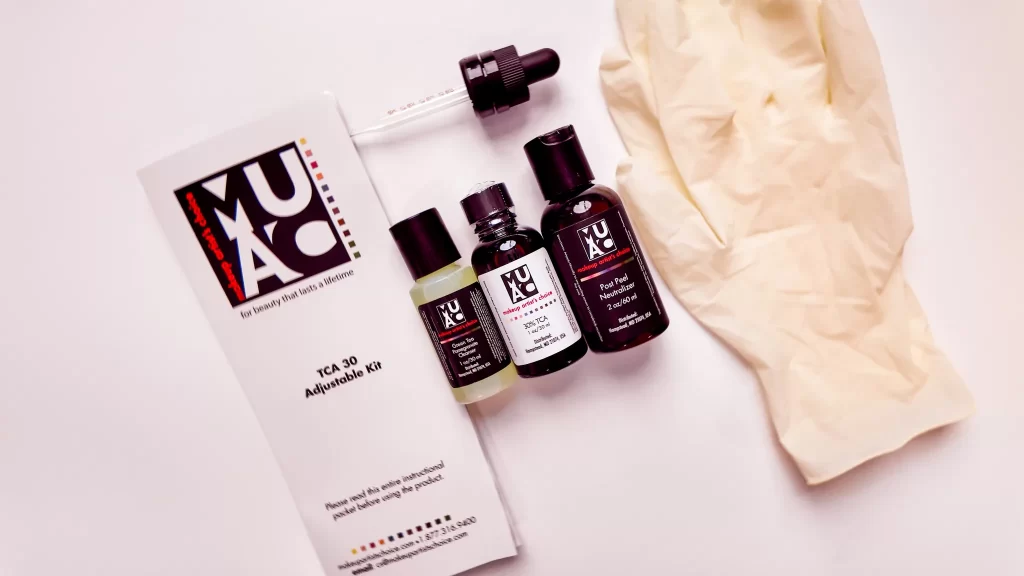
The Makeup Artist Choice Adjustable 30% TCA Peel Kit
THE PEEL: 3 LAYERS OF 20% TCA (WHAT I FELT AND SAW)
This is a diary of what I did – not instructions.
Layer 1
I applied my diluted 20% TCA with saturated gauze, starting on the forehead and working over the entire face and jawline. I set a 5 minute timer. It tingled and warmed up but was manageable. Midway, I used a Q-tip with the peel to hit my old chickenpox scar and lightly treat my eyelids.
Layer 2
I reused the same gauze (squeezed back into the cup to save product) and applied a second layer. This one really brought the “fire.” During this layer I started to see visible frosting, especially in the scar and central areas. I spot-treated around the nostrils and eyelids again with a Q-tip.
Layer 3
One more full-face pass with the same gauze. This layer was the most intense. My face frosted throughout, and I used the blow dryer on cool to tolerate the burn. After three layers, I let the TCA self-neutralize. The kit also includes a neutralizer if you want to stop sooner.
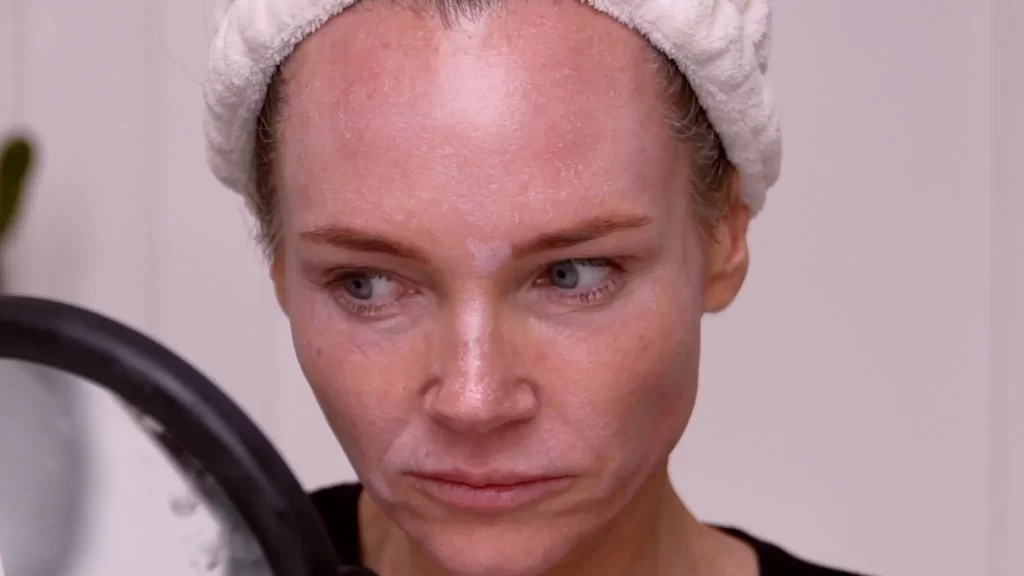
Face is frosted from a 20% TCA Peel
Day 0 (Peel day, evening)
About 30 minutes after the last layer, the burn had calmed down but my skin felt tight and sunburned. I let my face cool for a few hours, then applied a generous layer of beef tallow balm to keep the skin flexible and prevent early cracking.
Day 1
Skin looked shiny, red, and extremely tight, like a mask. No big sheets yet. I kept applying beef tallow and avoided any rubbing.
Day 2
Still tight and dry. I had my regular Wednesday beauty live and focused on microneedling stretch marks instead of my face. Hydration was the main priority.
Day 3
Peeling really started around the mouth and chin. The skin began to crack and lift in those areas. I continued to pat on beef tallow instead of rubbing so I didn’t tear skin early.
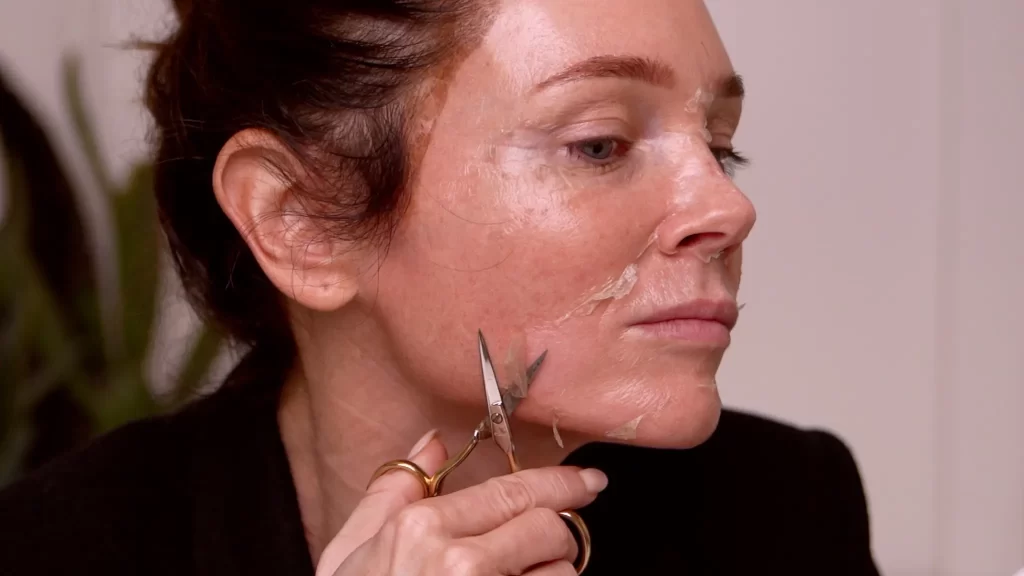
Day 4 (Halloween + clipping day)
This was the big sheet day. Thick pieces of skin were hanging, especially around the mouth, nasolabial folds, and chin. Hair dye from a recent appointment grabbed onto the peeling skin along my hairline, so it looked extra dramatic. I used sanitized, sharp scissors to clip only the loose, hanging skin (no picking), then patted on a gentle cream for hydration.
Day 5
Most of the large sheets had come off overnight. I just had small crusty areas on the nose, jawline, and hairline. I used the gentle cream again and a spoolie to carefully remove dye buildup and loosen flakiness where the skin was ready.
Day 6
Fully cleared. I wore makeup to church and my skin looked smooth, hydrated, and even. No obvious dry patches. I topped with the gentle cream again and my face felt like fresh, new skin. This was easily one of my fastest TCA peel recoveries.
If you want to learn more about professional-grade peels and safe at-home protocols, join me inside the Natural Kaos App, where I can share freely and in-depth with our skincare community.
KEY TAKEAWAYS FROM THIS 20% TCA PEEL
– 20% TCA can be enough
I frosted and fully peeled in under a week without going all the way to 30%. You don’t have to chase the highest percentage to see a big change.
– Layering matters
The combination of three layers and contact time created the intensity, not just the number on the bottle.
– Hydration and no picking are critical
Patting on occlusives (like beef tallow), clipping only what’s clearly detached, and avoiding rubbing helped protect my new skin and minimize risk for hyperpigmentation.
– Real life doesn’t stop
I answered the door for FedEx during my peel, went to Costco mid-peel, and went trick-or-treating while shedding. It’s not a spa bubble; it’s real-life timing.
RESOURCES AND LINKS
Previous 20% TCA neck and chest peel
Previous 30% TCA Peel Explained
Makeup Artist’s Choice 30% TCA Adjustable Peel Kit – Code KAOS20
Makeup Artist’s Choice Glow Peeling Pads – Code Kaos20
For Real Organics beef tallow balm 10% Off
Natural Kaos App (skin and wellness community)
Shop My Shelf – products I use
FAQ – 20% TCA PEEL (EDUCATIONAL ONLY)
Q: Is 20% TCA still considered a strong peel?
A: Yes. Around 20% TCA, especially in layered applications, is typically considered a medium-depth peel and carries real risk. It should be approached seriously and discussed with a professional.
Q: How long did your 20% TCA peel take to heal?
A: On me, frosting happened during three layers and I was fully cleared by Day 6, with big sheet peeling mainly on Days 3–4. Your timing can be different depending on your skin and how your provider applies the peel.
Q: Do you need 30% TCA to get big peeling sheets?
A: No. This peel was diluted to 20% and still produced full-face frosting and thick sheets of peeling skin. Strength is only one part of the equation; layers, skin prep, and individual tolerance also matter.
Q: When were you comfortable wearing makeup again?
A: By Day 6 my skin was clear enough that I could wear makeup without emphasizing dry patches. Always follow your provider’s guidance on when to return to makeup after a peel.
Q: Is this blog telling me to do TCA peels at home?
A: No. I’m documenting what I personally chose to do and the results I got. TCA is a powerful acid, and any decision to do peels should be made with a licensed professional who knows your skin history.