
My 200-Unit Dehantox Face & Neck Map (Educational Only)
Disclaimer: This blog is for educational and informational purposes only. I am not a medical professional, and nothing here is medical advice. I am not demonstrating injection techniques. If you are considering any injectable, always consult a licensed medical provider who understands anatomy, safety, and proper placement.
Watch the Video
🎥 Prefer to watch instead of read? Here’s my full video on mapping 200 units of Dehantox across the face and neck.
Keep scrolling for the step-by-step photos and written guide that break everything down in detail.
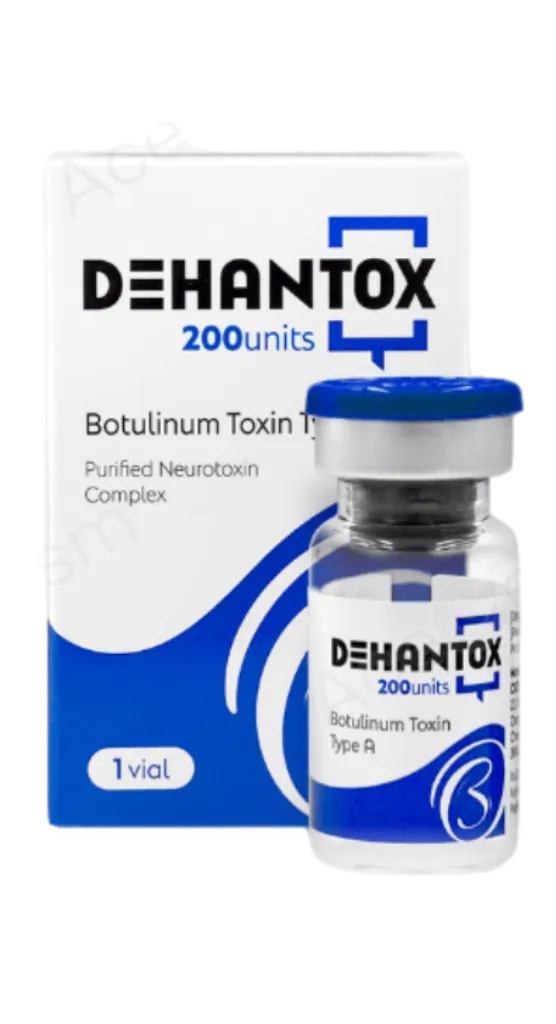
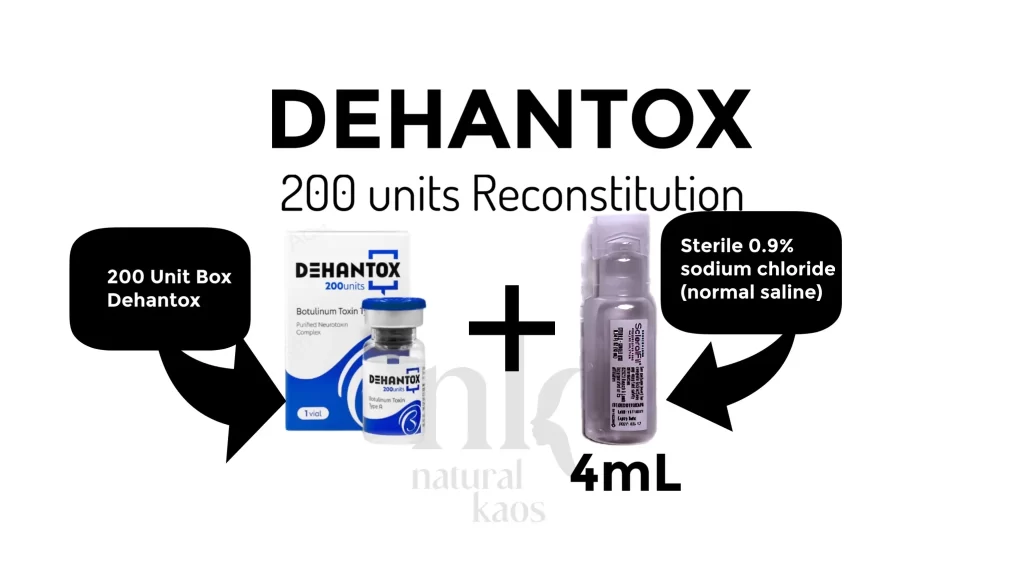
Dehantox is a KFDA-approved botulinum toxin type A that comes as a lyophilized (freeze-dried) powder requiring reconstitution.
What makes it unique:
Early studies and reports suggest longer-lasting outcomes compared to traditional toxins.
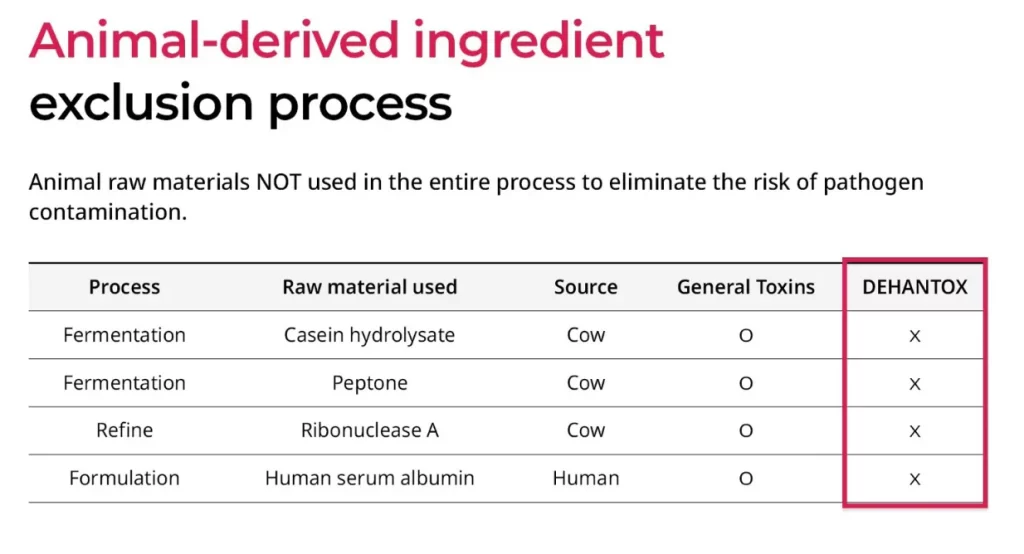
Albumin-free formula (stabilized with dextran, sucrose, and L-histidine).
Includes hyaluronic acid and peptides, studied for added skin-supportive effects.
Because of this new formulation, Dehantox is generating excitement as a next-generation option in the aesthetic space.
Why I Created a 200-Unit Map

My last toxin session was April 7, 2025, where I used Russian placement methods for a lifted, open-eye look. For this update on September 15, 2025, I refined my map with new insights.
Key takeaway: If you want a lifted brow, you usually can’t completely freeze your forehead. Natural movement in the frontalis can actually help maintain structure long-term, as overuse of toxins can thin the forehead muscle.
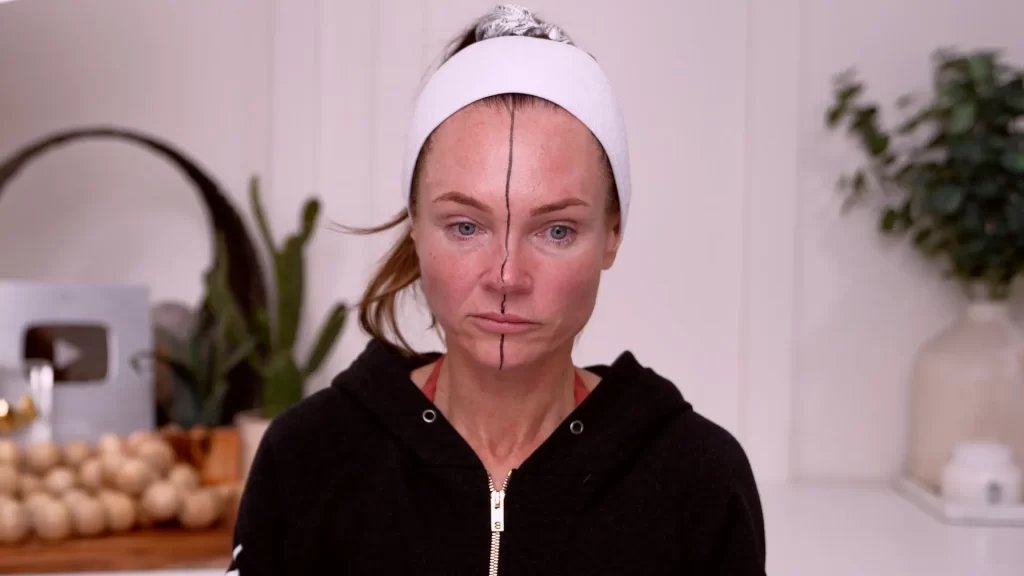
How I Prepare for Mapping
Reference points: vertical and horizontal lines across face, nose, lips, chin, and platysmal bands in the neck.
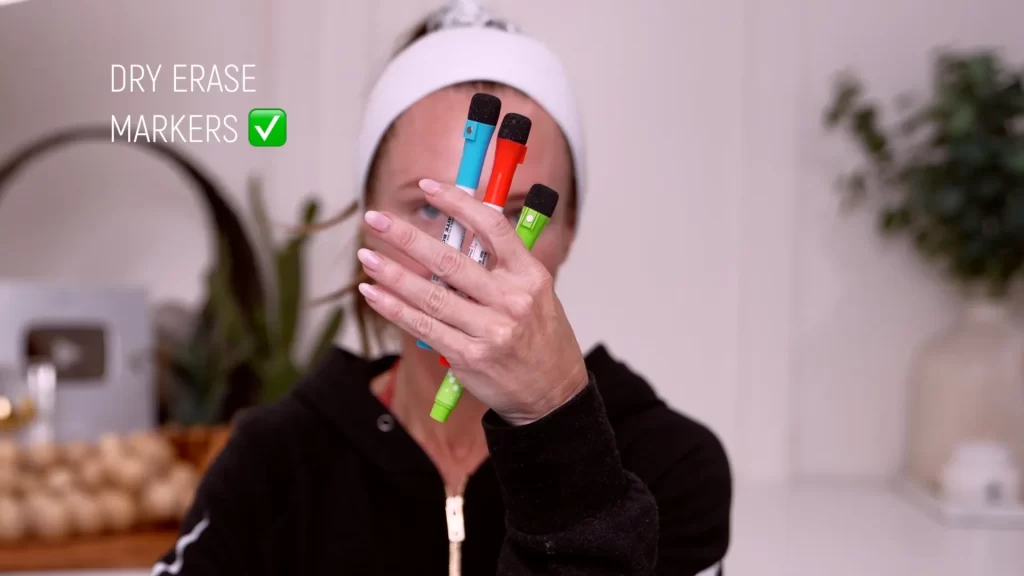
Clean skin (skip moisturizer so lines stick).
Dry erase markers (easy to adjust).
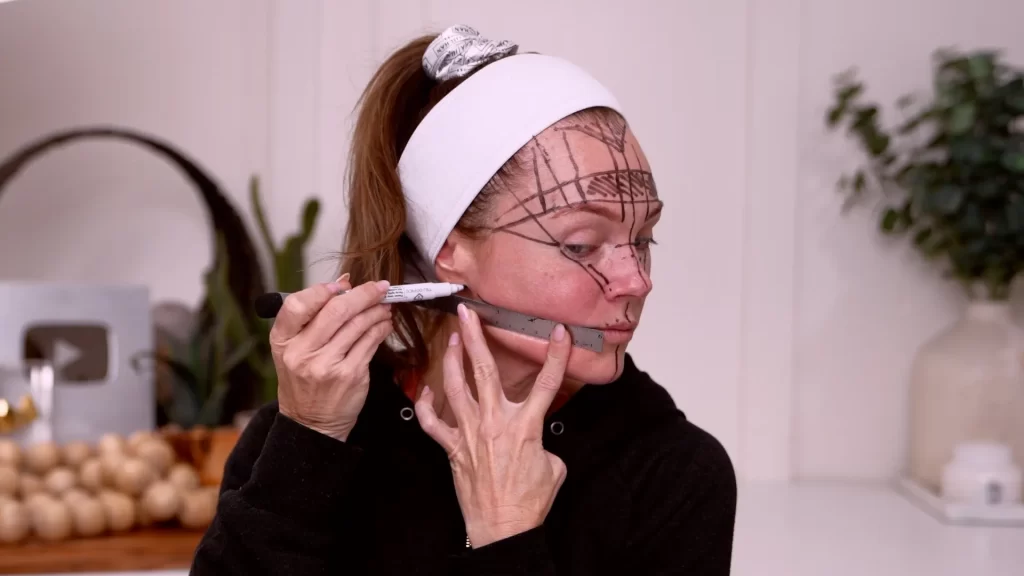
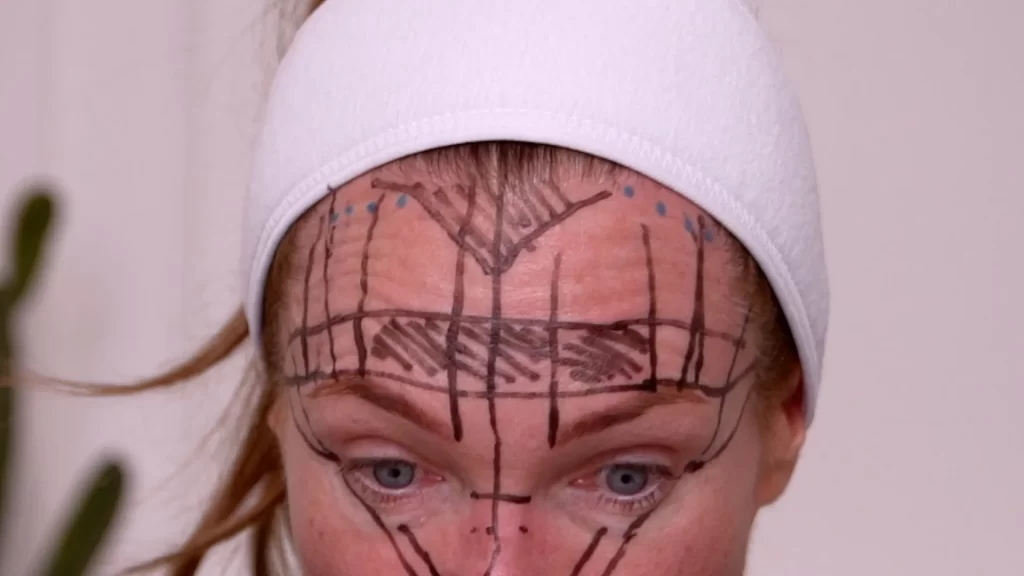
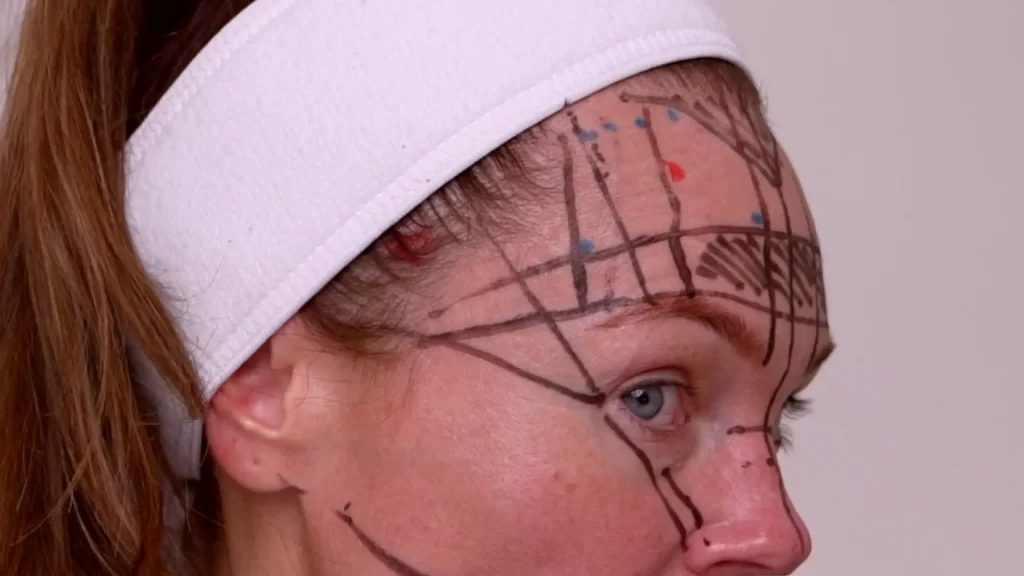
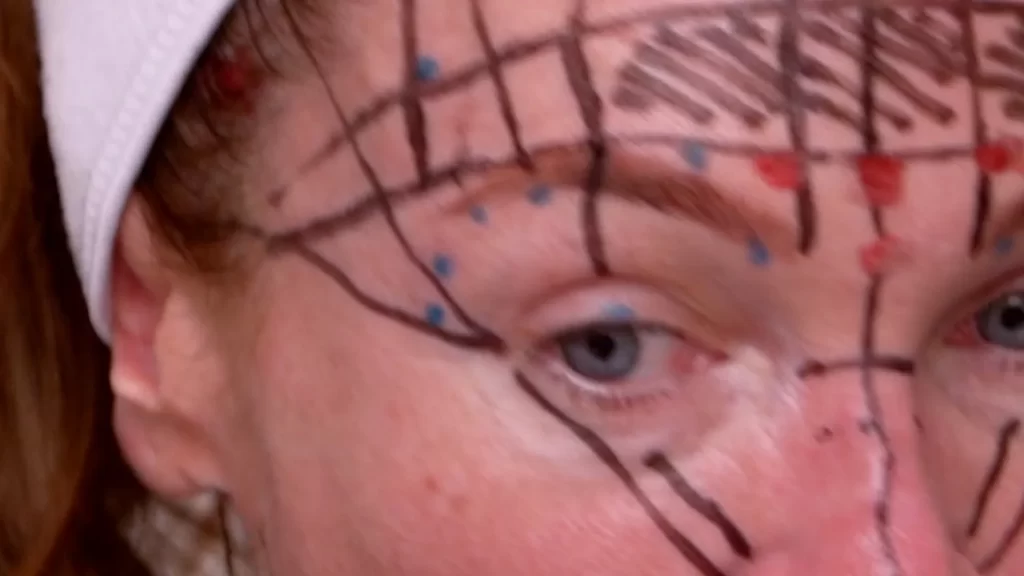
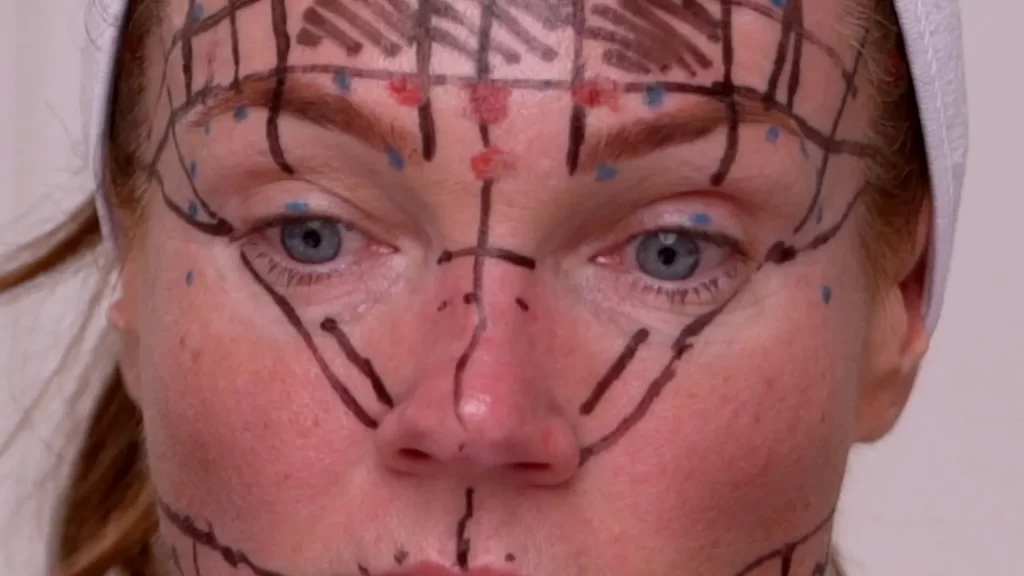
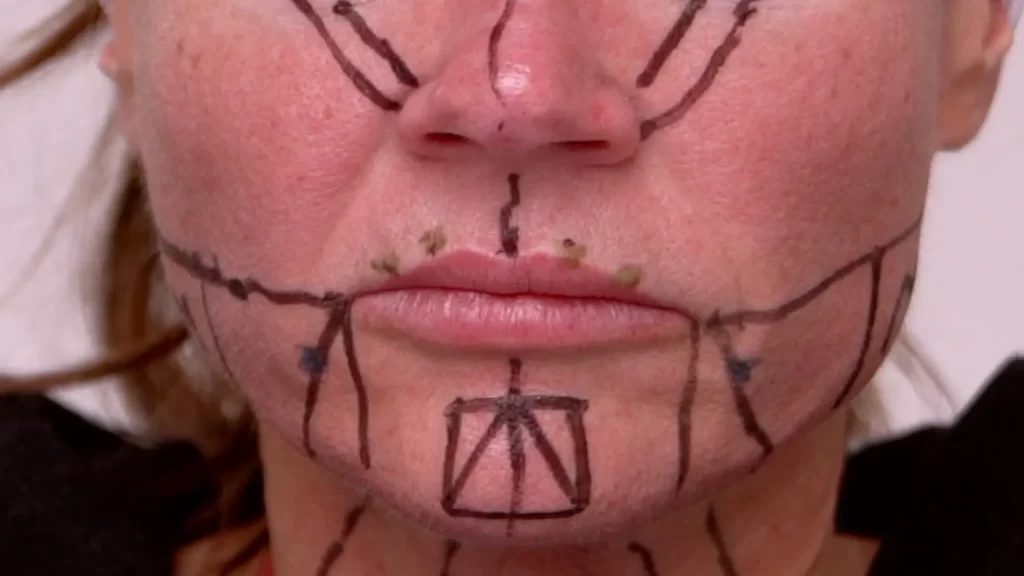
Step-by-Step Mapping Guide (Insert Photos at Each Step)
Each step below corresponds with a mapping photo.
Step 1: Vertical Center Line
Mark a straight line down the center of the face.
Step 2: Brow Arch Horizontal Line
Draw a line across the forehead at the brow arch.

Step 3: Vertical Eye Lines
Mark vertical lines at the inner brow, brow arch, and lateral eye edge.

Step 4: Secondary Forehead Line
2 cm above the brow arch line.

Step 5: Hairline Cupid’s Bow
Raised brow marks the mid-hairline “Cupid’s Bow.”

Step 6–7: Diagonal Lines
From nose through pupil, and from nose through outer eye → both to hairline.


Step 8: Center Eye Horizontal Line
Outer eye to hairline, carried across nose bridge.

Step 9: Nose Reference
1 cm down from mid-eye line, then 1 cm lateral both sides.

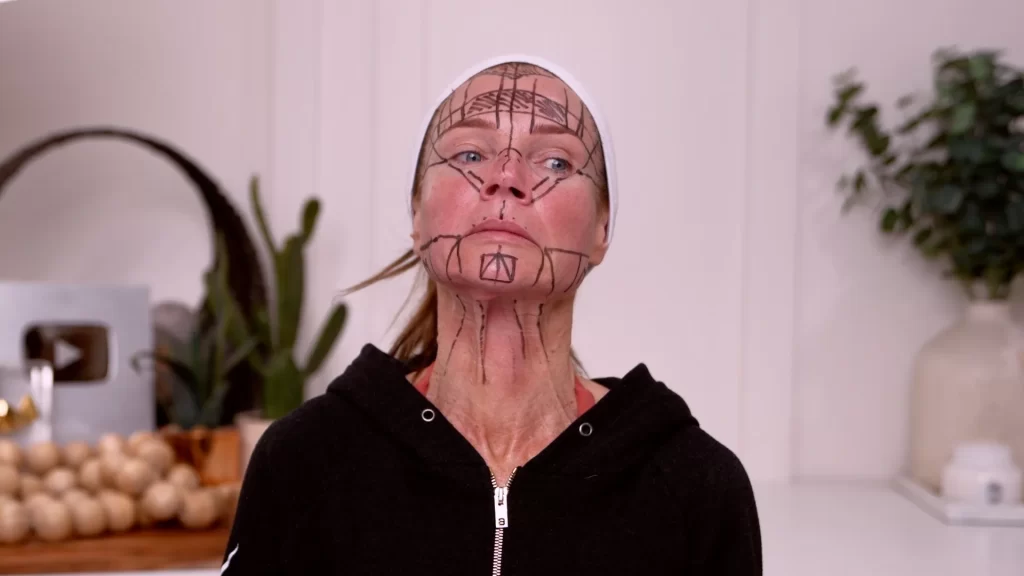
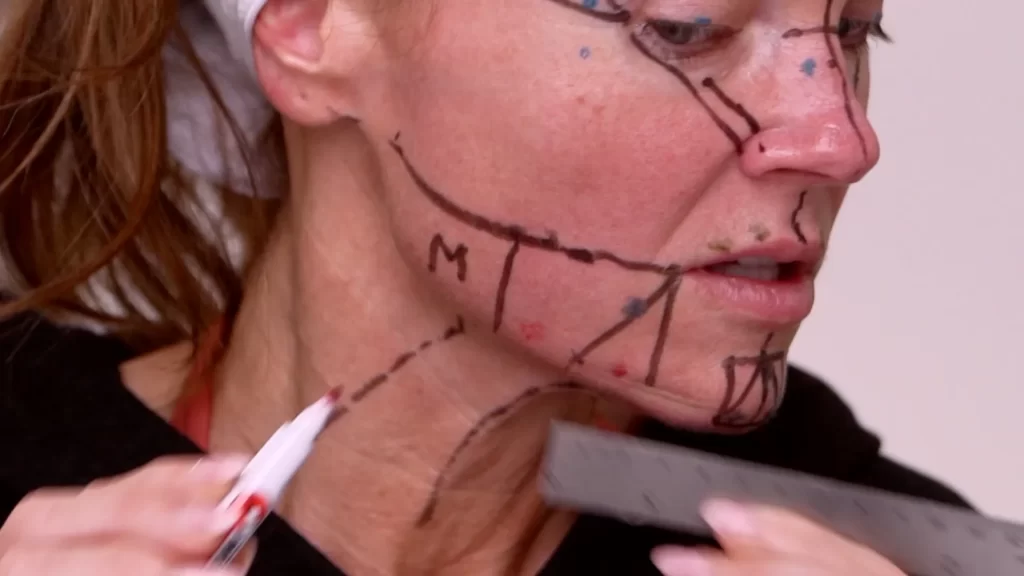
Step 11: Lip to Earlobe Diagonal
Corner of mouth to earlobe.
Step 12: DAO Safety Line
Vertical from lip corner, then 2 cm lateral for DAO-safe mapping.

Step 13: Jawline
Vertical mark from masseter down. (I don’t place toxin in masseters.)

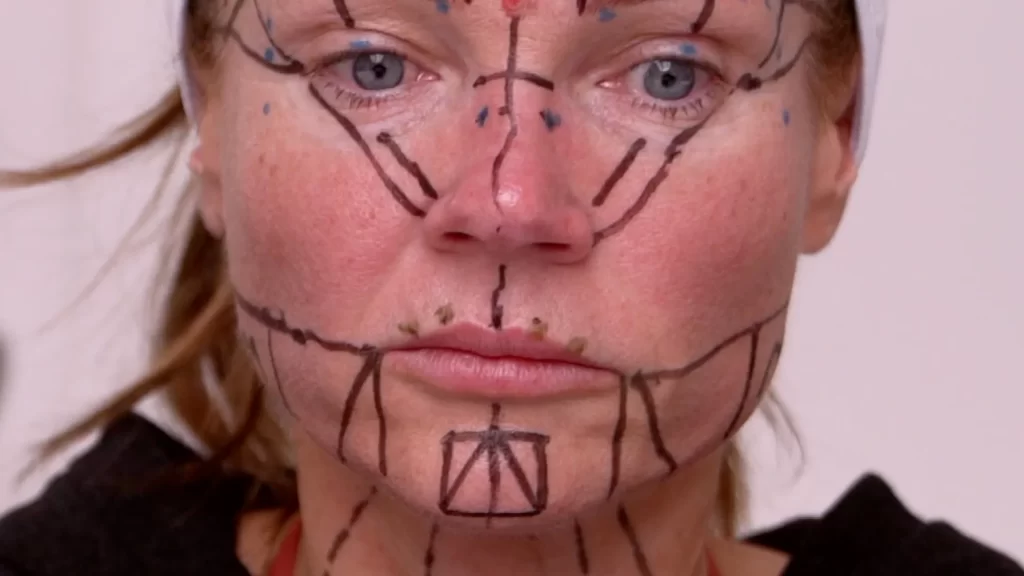
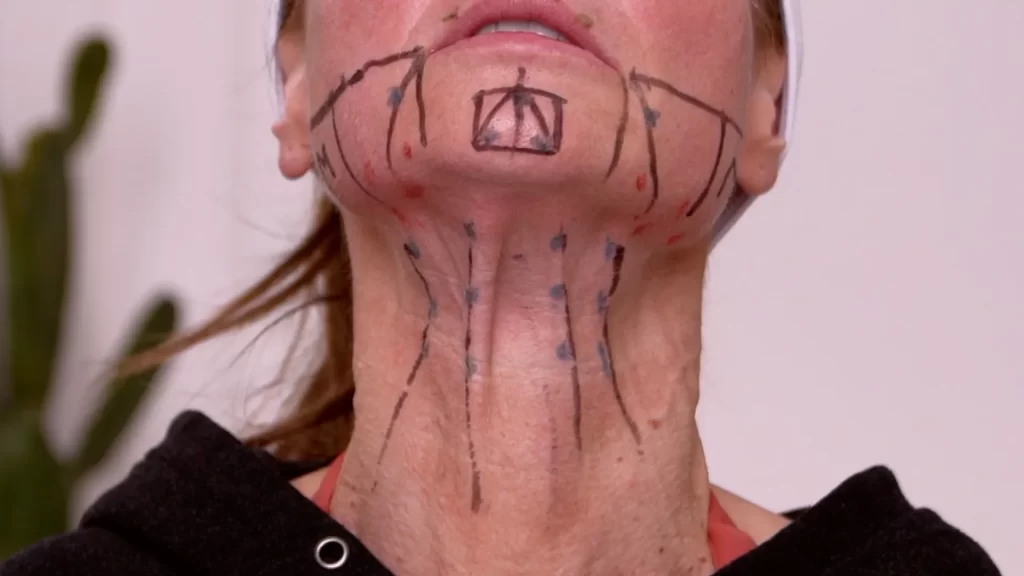
Step 14: Chin Box
Box 2 cm off centerline with diagonal cross lines.

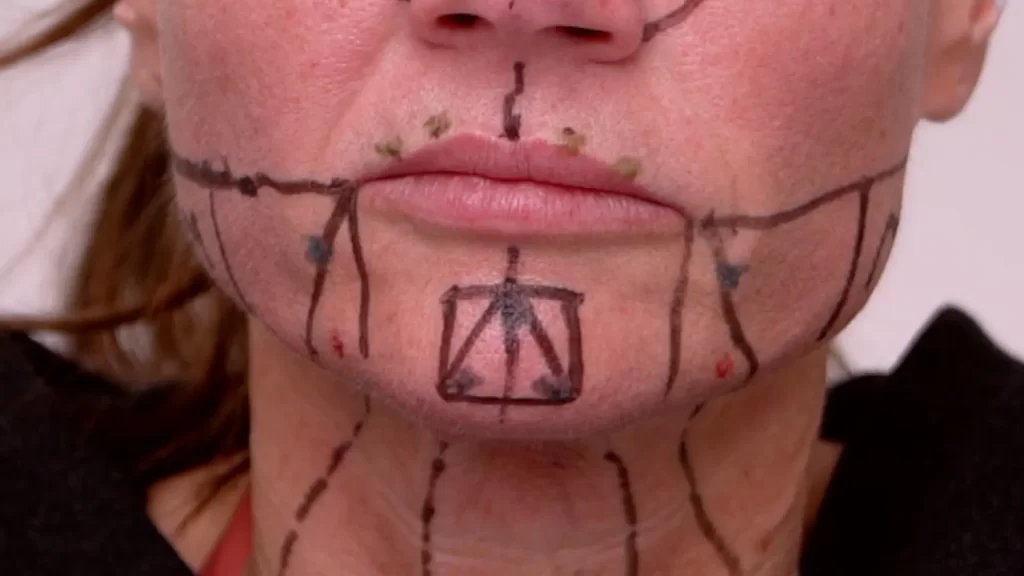
Step 15: Neck Platysmal Bands
Mark central and lateral bands.
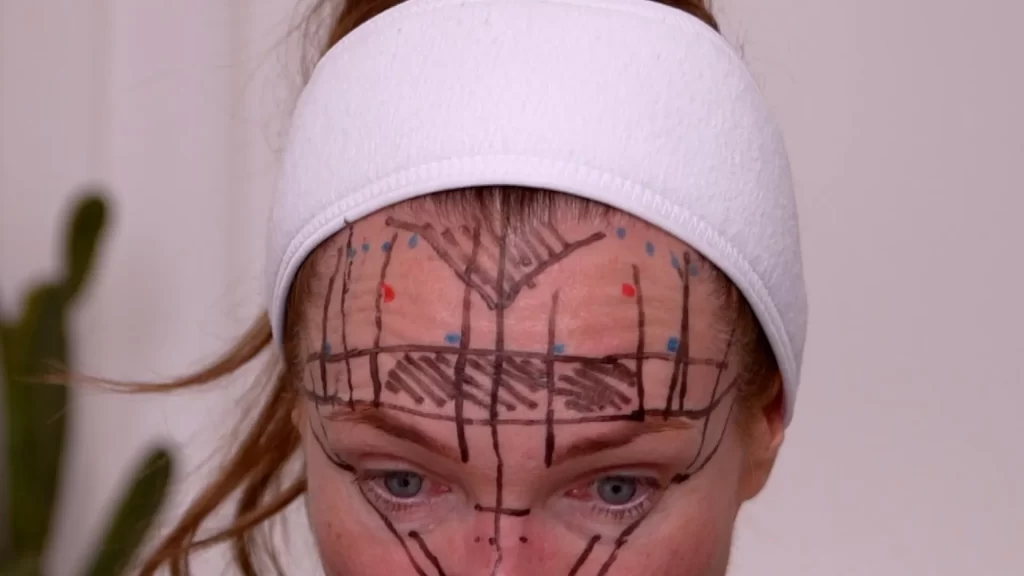
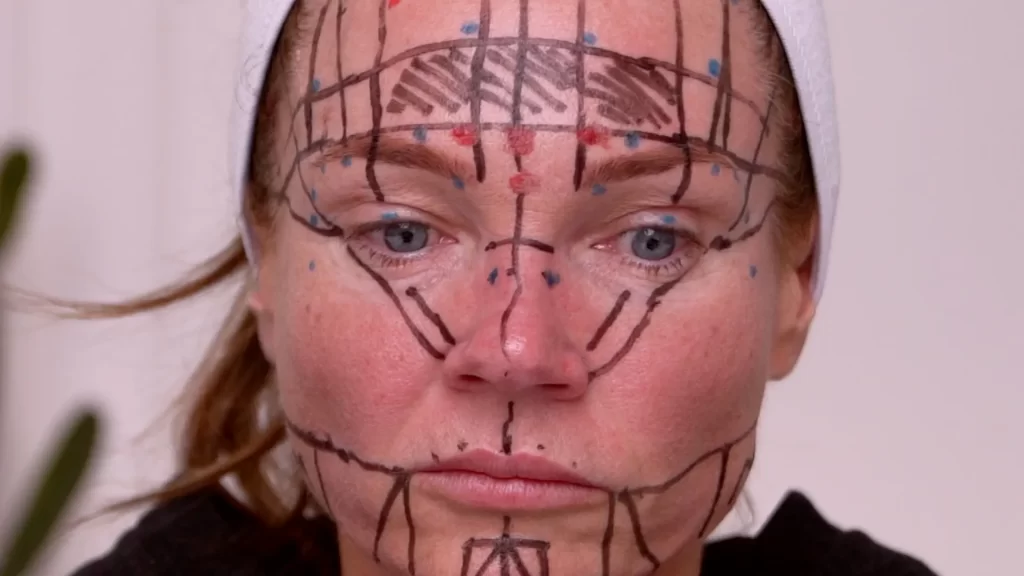
Step-by-Step Unit Placement (Insert Photos at Each Mark)
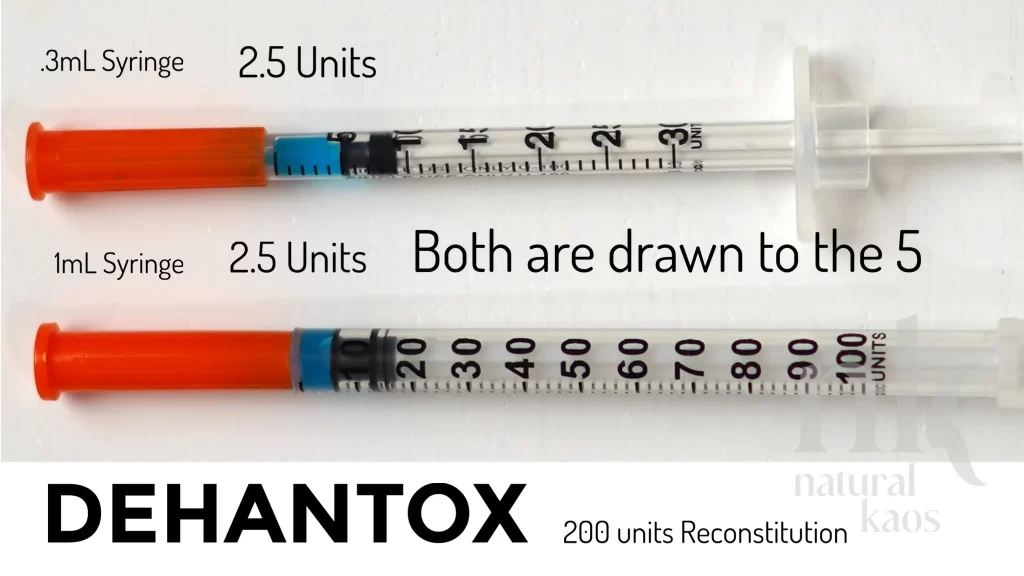
Reconstitution: 200U vial + 4 mL saline = 5 units per 0.1 mL.
I use .3 mL syringes for precision (5u, 2.5u, 1.25u).


Color Code
Remember these colors:
Green = 1.25 Units
Red = 5 Units
Blue = 2.5 Units
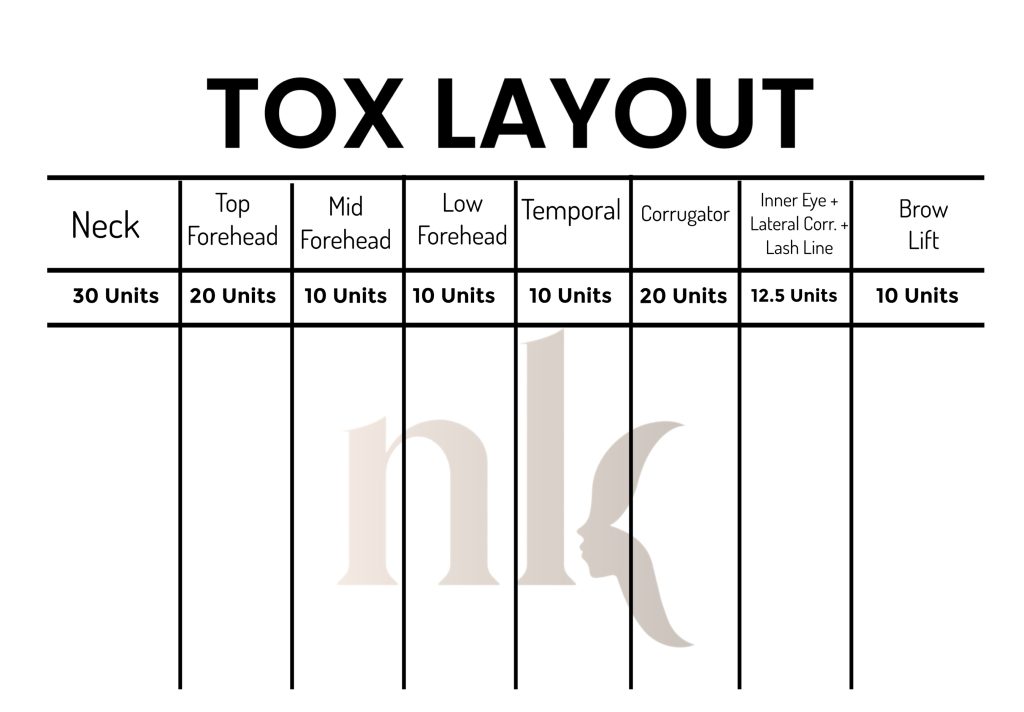
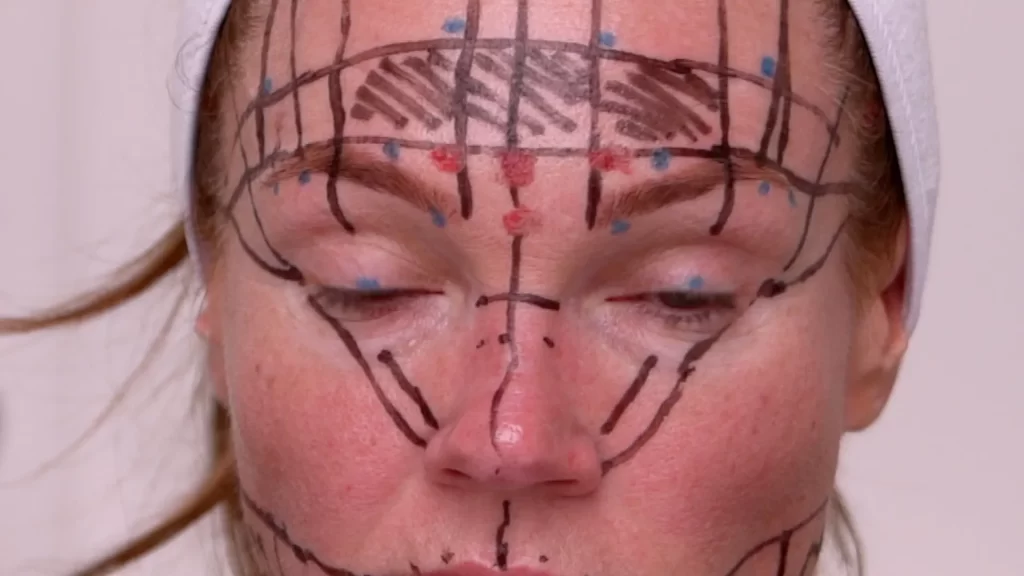
Forehead & Brows
Mid-pupil line, 2 cm above → 5u.
Hairline spots → 2.5u each.
Inner brow & lateral intersections → 2.5u each.

Temples
5u, 2 cm inside hairline at brow line.
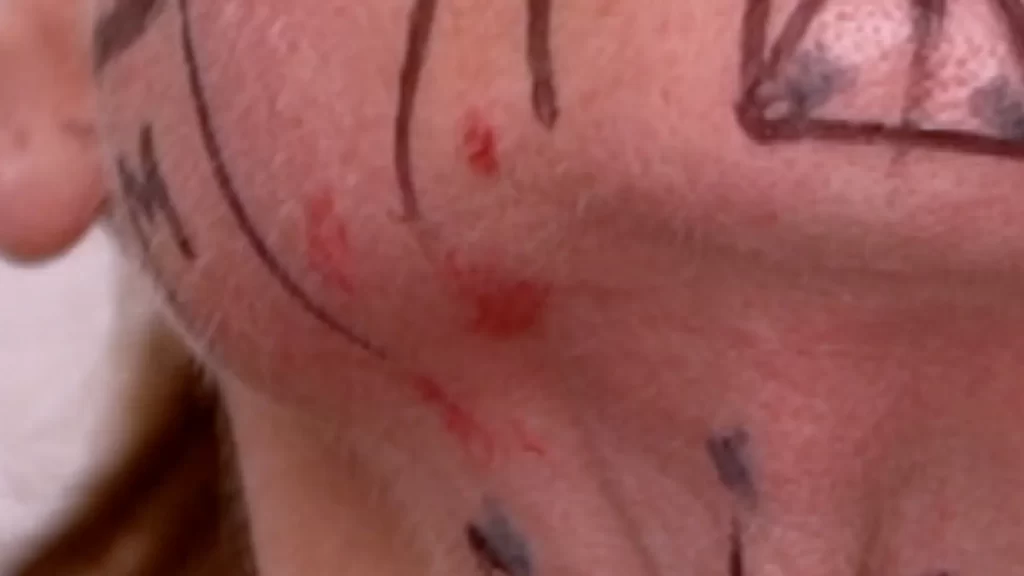
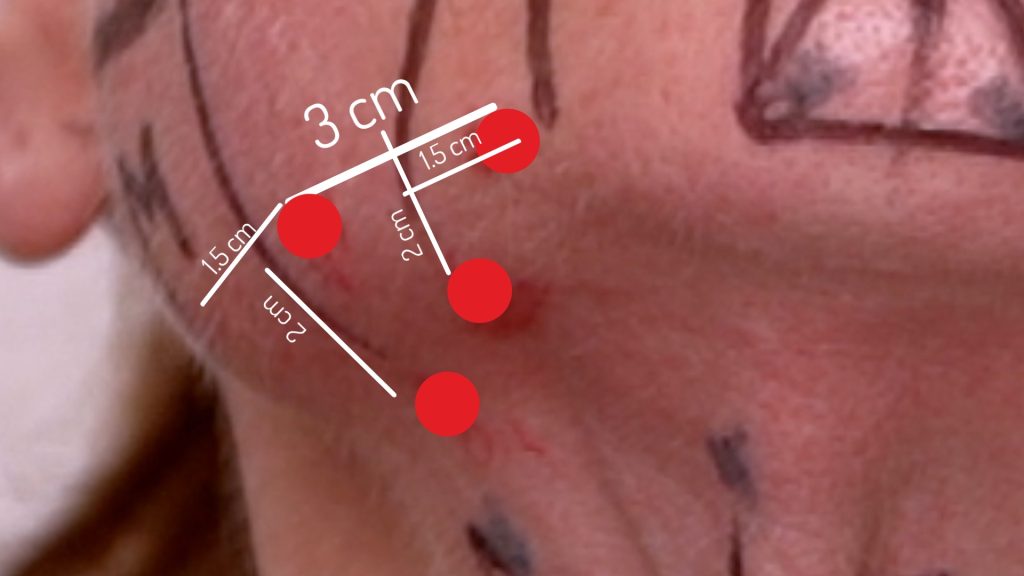
Corrugators
Lateral tail of corrugator gets 2.5 units
Center/brow intersection → 5u.
2 cm below → 5u.
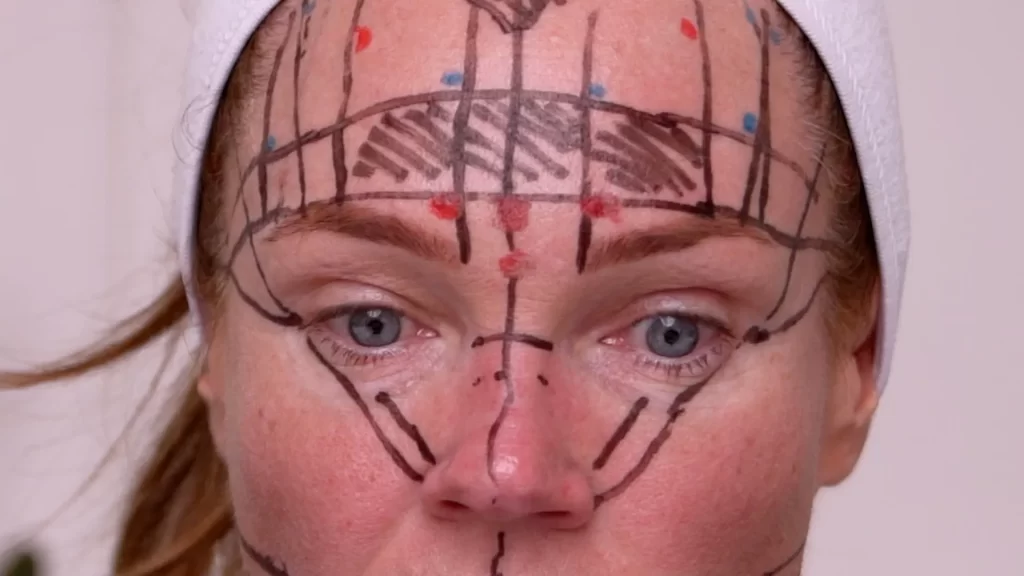
FYI: I insert my needle at the bottom of these red dots.

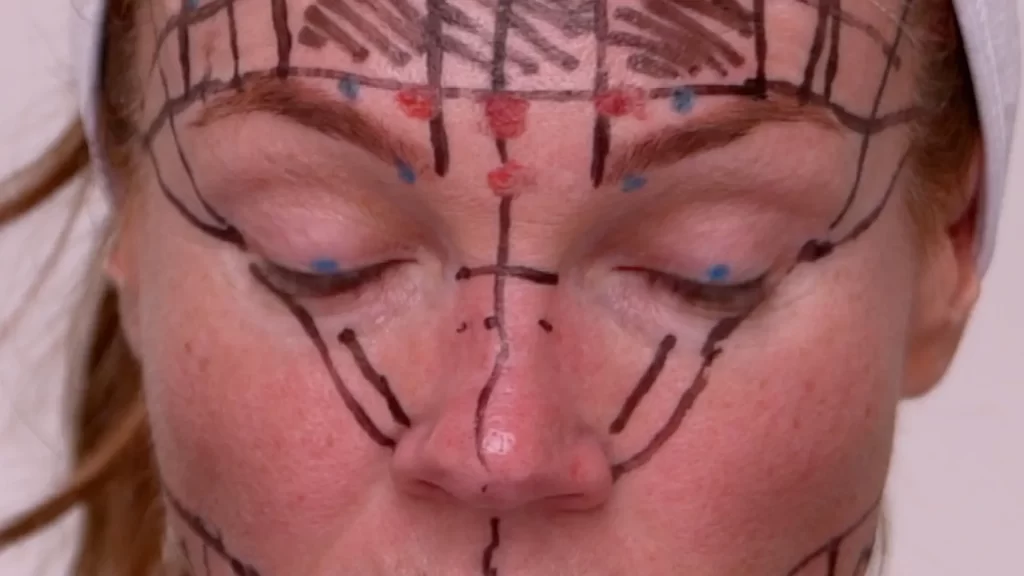
Inner Eye/Brow
Below brow → 2.5u.
Inner eye/brow intersection → 5u.
1.5 cm lateral → 2.5u.

Eyelid Lift
Center eyelid → 2.5u.
Brow Lift Points
1 cm lateral, then another 1 cm lateral → 2.5u each.
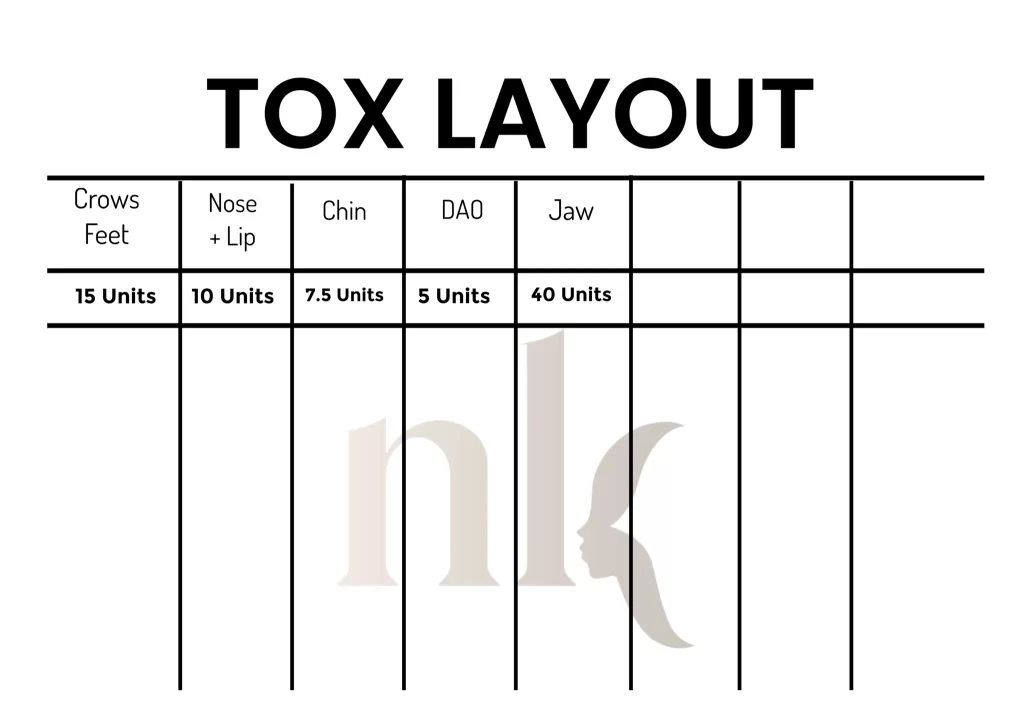
Crow’s Feet
1 spot down mid-eye line, 2.5u.
2 spots from tail, 2.5u each.
Bunny Lines
2 spots, 2.5u each.
Lip Flip
4 points, 1.25u each.
DAO
2 cm further down → 5u.
1 cm lateral/down → 2.5u.
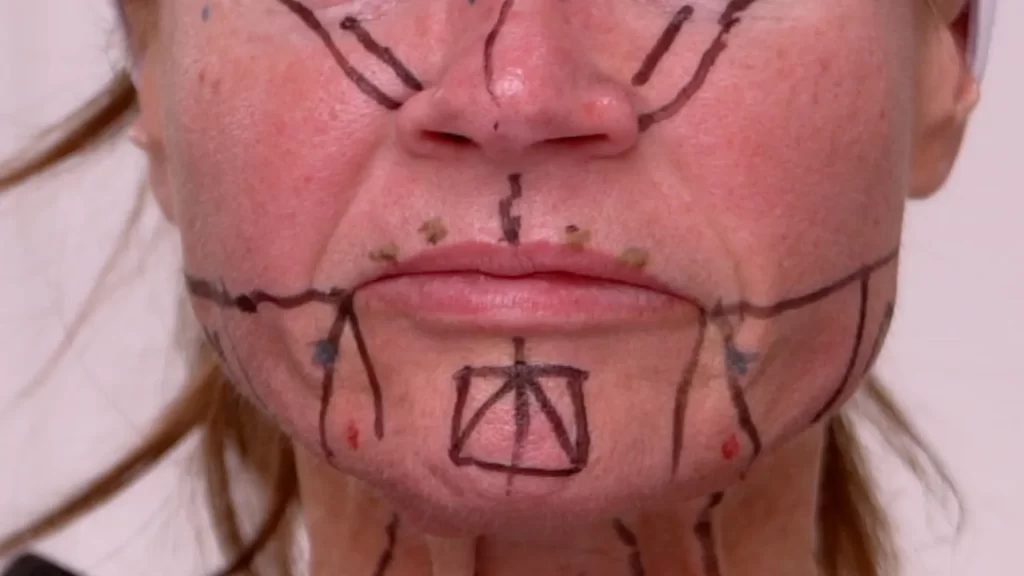
Chin
3 triangle points, 2.5u each.
Jawline
Series of 5u placements along lower jaw (5 spots).
Neck Platysmal Bands
3 points per band × 4 bands = 12 spots, 2.5u each.
Grand Total = 200 Units of Dehantox
.
Why I Skip Masseters
Injecting masseters can slim the jaw but may worsen jowl heaviness. Since I grind my teeth, I use a night guard instead of weakening these muscles.
Final Thoughts
This mapping shows how I currently distribute 200 units of Dehantox across face and neck. It’s not a how-to — just an educational breakdown of unit allocation.

If you want to see actual placement and treatment processes, I share those exclusively inside my Skin & Wellness App Natural Kaos.
Resources & Links
- Skin & Wellness App
- Amazon Storefront
- .3ml Insulin Syringes
- Alcohol Swabs
- Saline USE CODE KAOS10 TO SAVE
- Dehantox USE CODE KAOS10 TO SAVE
- Botulinum Toxin Book
- Bruise Gel
- Arnica Tablets
- Dry Erase Markers
- Free Printable Face Maps & Tox Layout
- YouTube Video
Frequently Asked Questions about Dehantox Mapping
Q: What is Dehantox?
A: Dehantox is a newly KFDA-approved botulinum toxin type A that comes as a lyophilized powder. It’s albumin-free and stabilized with dextran, sucrose, and L-histidine, and includes hyaluronic acid and peptides for potential added skin support.
Q: How many units are in a vial of Dehantox?
A: Dehantox is typically packaged in a 200-unit vial, which must be reconstituted before use.
Q: How long do the results of Dehantox last?
A: Early reports and clinical data suggest Dehantox may have longer-lasting effects than some traditional toxins, though duration can vary person to person.
Q: Can I inject Dehantox myself at home?
A: No. This blog is educational only. Any injectable treatment should be done by a licensed medical professional who understands anatomy and safety.
Q: Where can I learn more about application and placement?
A: I share mapping concepts publicly for education, and full treatment demonstrations are available inside my private Skin & Wellness App.
.