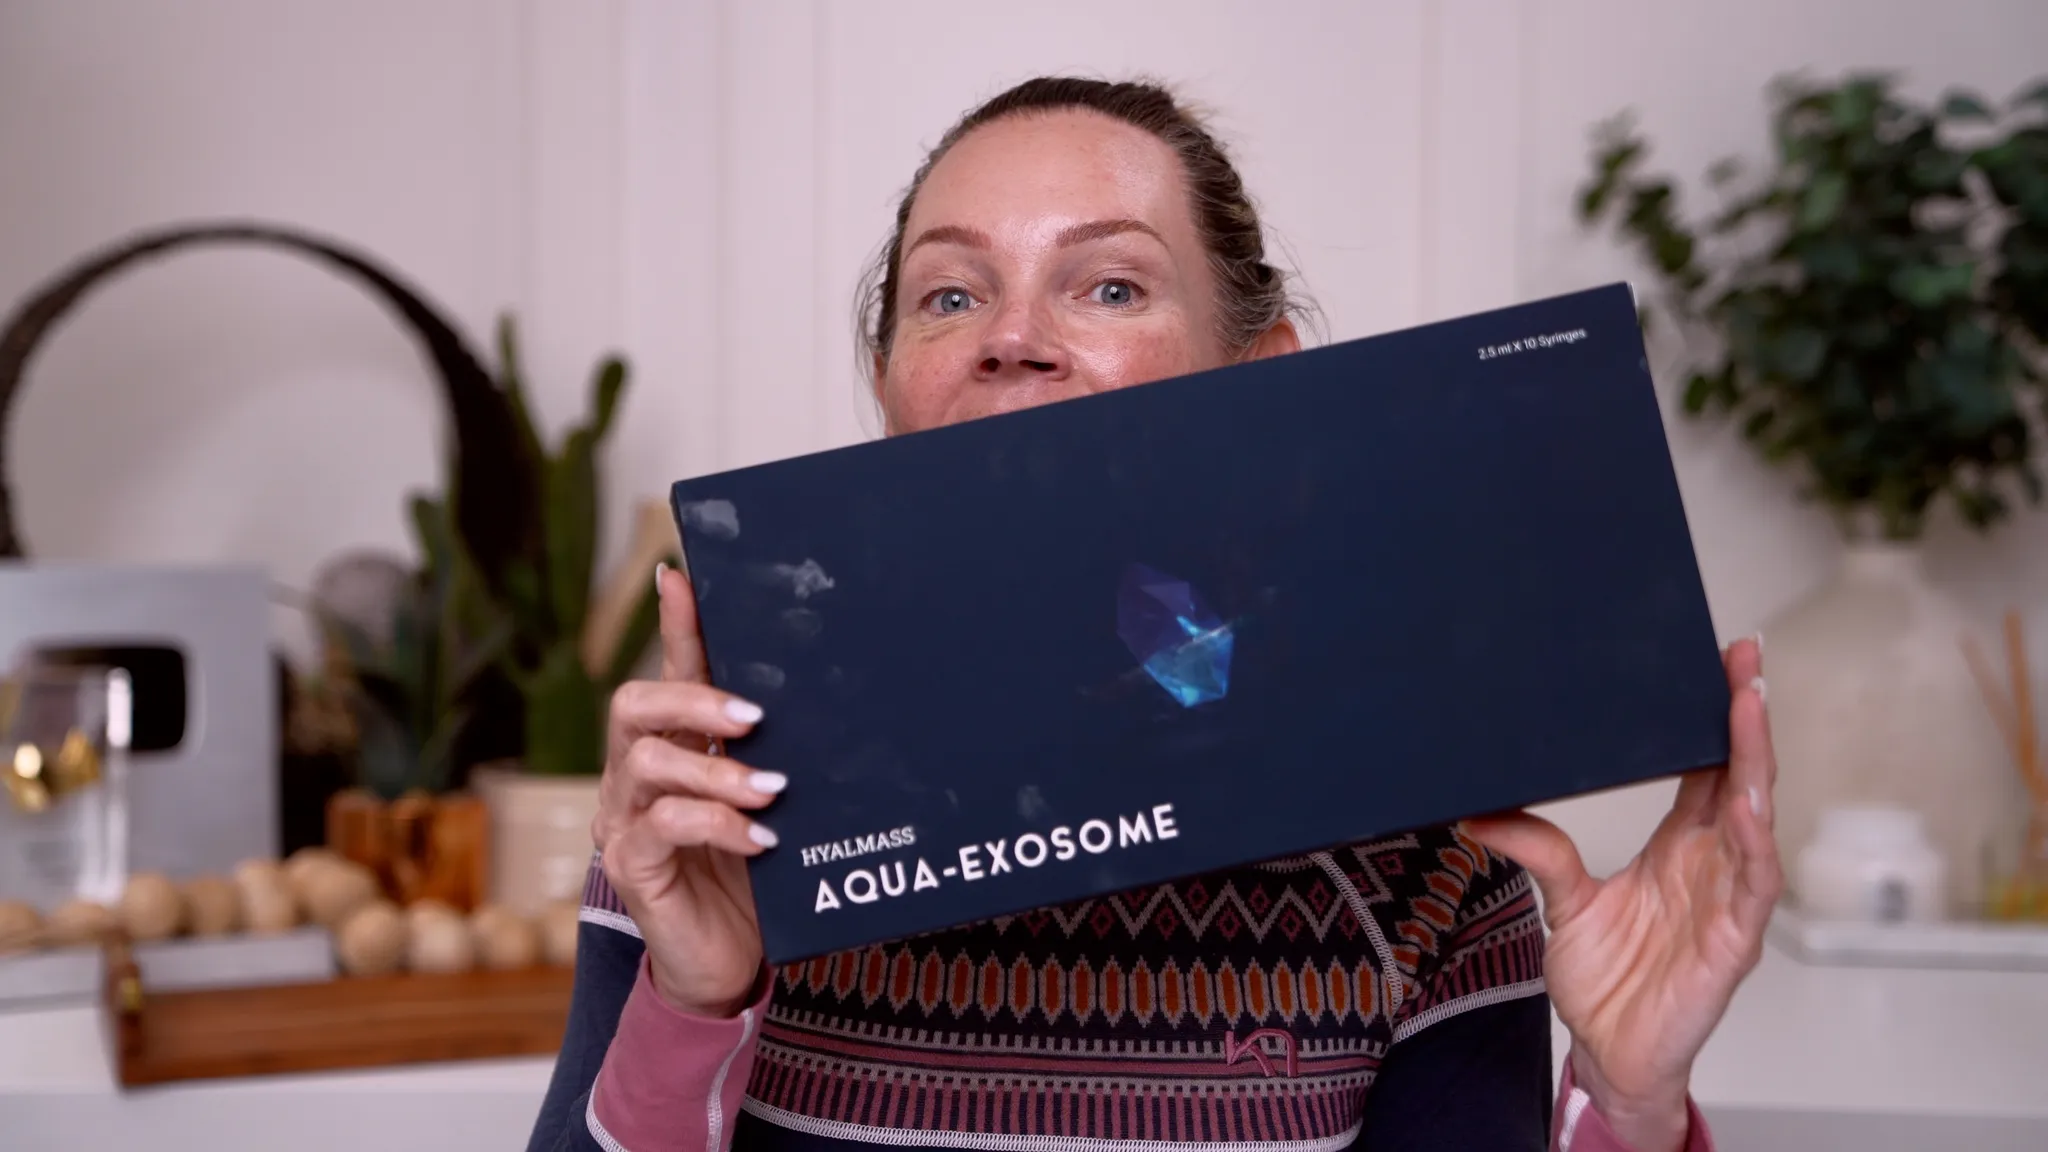
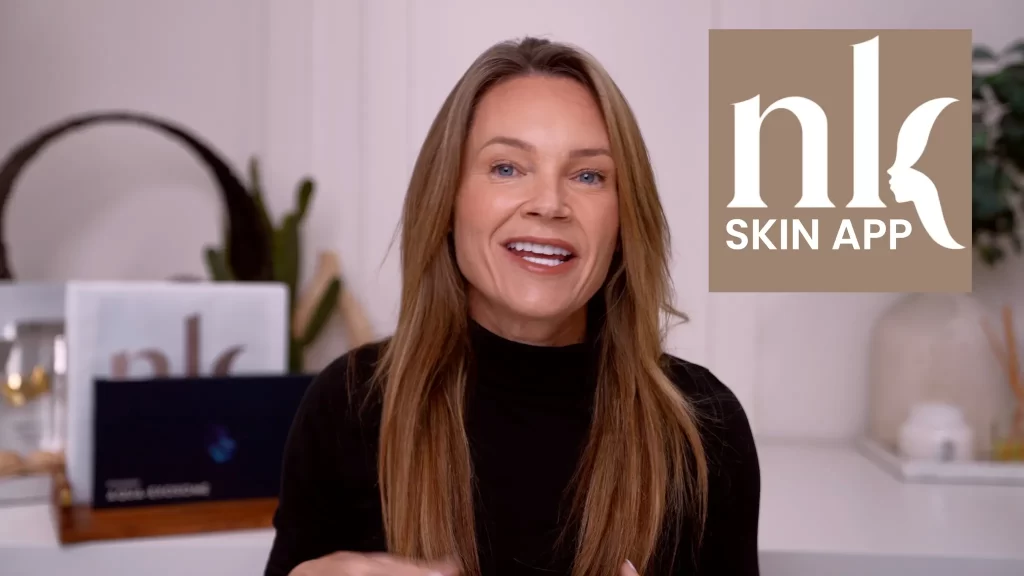
Hey everyone, welcome back to Spa and Tell — your go-to for smart, safe, and transformative DIY skincare. If you’re new here, make sure to hit that subscribe button and tap the bell so you never miss a glow-up moment.
Today, I’m diving into something I’ve been so excited to try — mesotherapy with aqua exosomes. Yep, we’re combining two of the most cutting-edge trends in skin rejuvenation to boost hydration, collagen, and overall tissue repair, seriously — all from the comfort of home.
In this video, I’m going to break down:
- What mesotherapy is and how it works
- What aqua exosomes do for the skin
- My full protocol for using them at home
- And then I’ll take you with me over to my skin & wellness app to do the actual injections
- Plus, I’ll share how my skin looks immediately after, and again 24 hours later, to give you a real view of results
This is such an exciting tool in the world of at-home mesotherapy and DIY exosome skin boosters, so let’s get into it.
WHAT IS MESOTHERAPY?
So first up — what is mesotherapy?
Mesotherapy is a minimally invasive technique that involves delivering small amounts of skin-boosting ingredients directly into the mesoderm, the middle layer of the skin, through microinjections. This helps give nutrients right where your skin needs them most — bypassing surface barriers for deeper penetration and faster results.
It’s been popular in Europe and Asia for decades, and now, thanks to accessible tools and sterile serums, you can safely do DIY mesotherapy at home with the proper protocol and precautions.
WHY EXOSOMES?
Now, let’s talk exosomes — specifically, aqua exosomes.
Exosomes are cellular messengers that trigger repair and regeneration in the skin. They help signal your skin to boost collagen, accelerate healing, and even improve the appearance of fine lines, redness, and texture.
Aqua exosomes are water-based and formulated for deep skin hydration while also delivering potent peptides and growth factors. When used with mesotherapy, they penetrate 10 times deeper, in fact, and work more effectively — perfect for skin that’s dry, tired, aging, or just in need of a reboot.
They’re like giving your skin its own private concierge for healing and repair.
AQUA EXOSOME BENEFITS

🔹 1. Deep Hydration
Aqua exosomes deliver intense moisture directly into the skin. Because they’re microscopic vesicles, they penetrate deeper than topical products — making the skin plumper, smoother, and more hydrated from within.
🔹 2. Collagen and Elastin Stimulation
They signal skin cells (fibroblasts) to produce more collagen and elastin, which improves firmness, elasticity, and reduces fine lines over time.
🔹 3. Skin Repair and Regeneration
Exosomes carry growth factors, peptides, and anti-inflammatory molecules that accelerate tissue repair — helping with post-acne scarring, fine lines, texture, and overall skin rejuvenation.
🔹 4. Anti-Inflammatory Effects
They calm redness, sensitivity, and irritation by balancing the skin’s immune response — making Aqua Exosomes great after microneedling, lasers, peels, or even rosacea-prone skin.
🔹 5. Brighter, Healthier Complexion
By improving cell turnover and reducing microinflammation, exosomes can brighten the skin tone, reduce pigmentation, and give the skin a naturally radiant glow.
🔹 6. Barrier Repair
They help restore the skin barrier, meaning better protection against environmental stressors like pollution, UV, and dehydration.
In short:
Aqua exosomes are like tiny messengers delivering hydration, collagen-boosting signals, and repair instructions deep into your skin — making them a powerhouse for anti-aging and skin health.
MY DIY PROTOCOL
Here’s the protocol I’ll be using for my DIY exosome mesotherapy treatment:
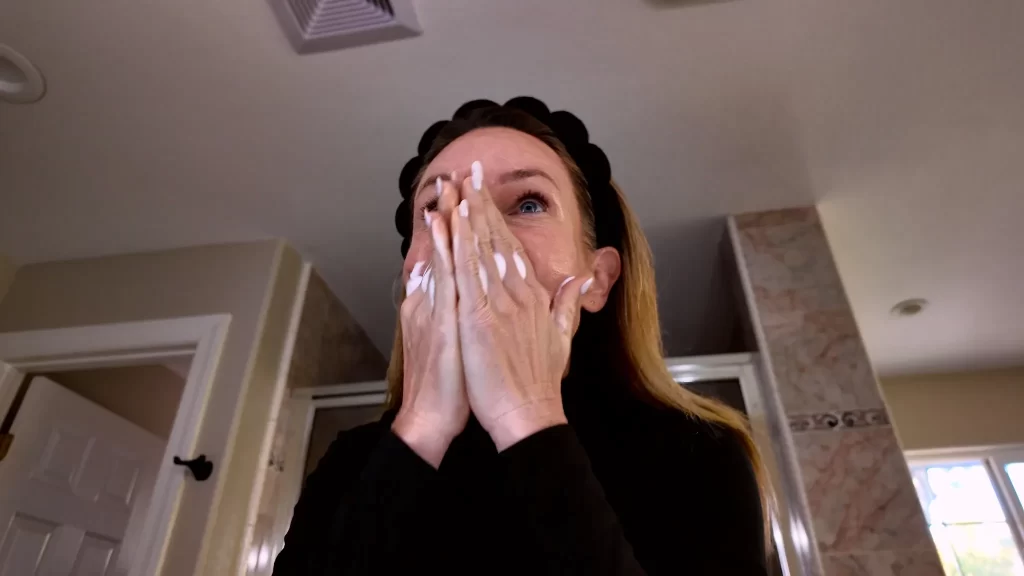
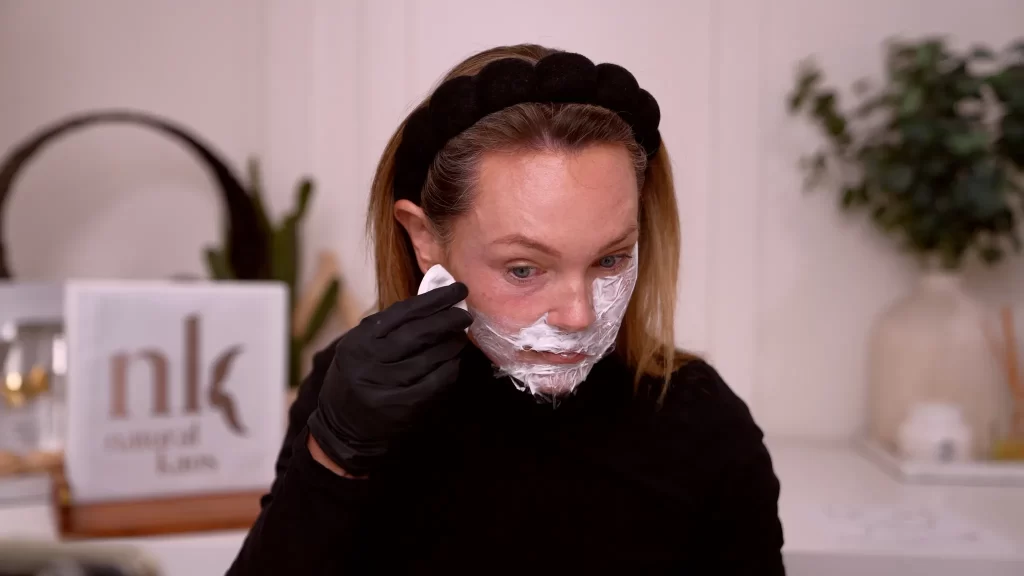
- Prep the Skin:
- Double cleanse to remove makeup, SPF, and debris
- Disinfect the treatment area with alcohol
- Make sure the skin is dry and clean

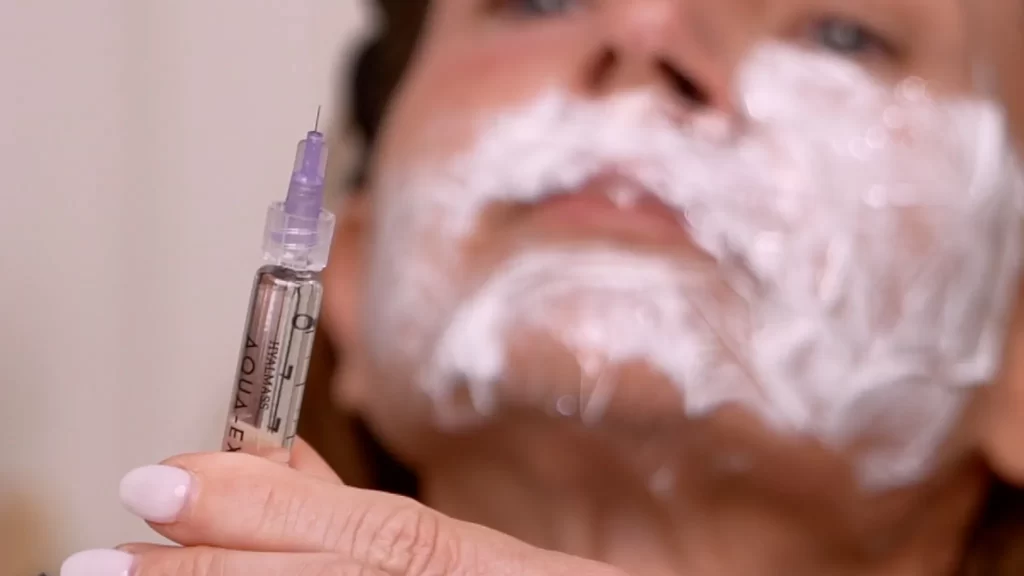
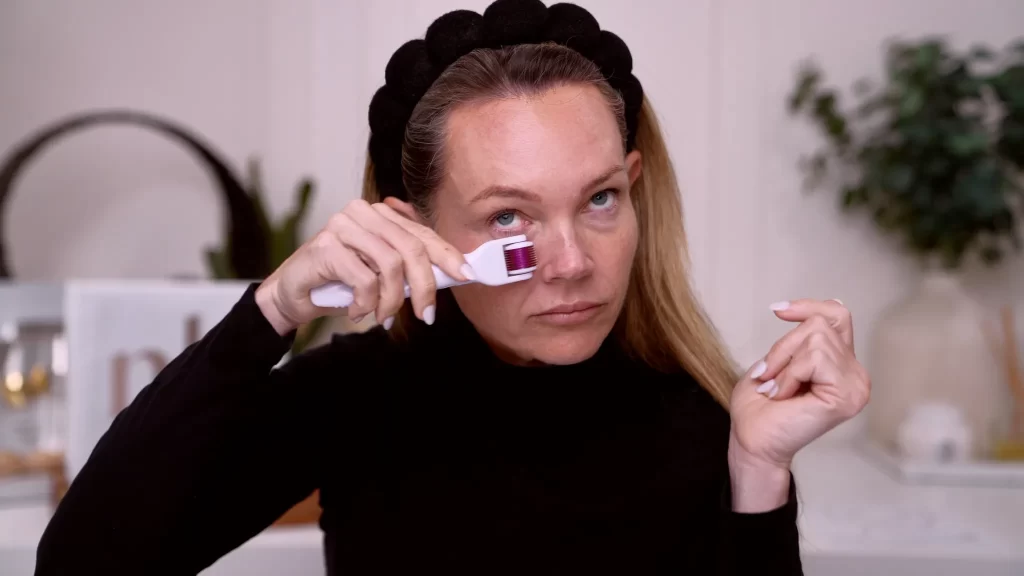
- Numbing:
- I first microneedle areas where I will be placing with a dermaroller
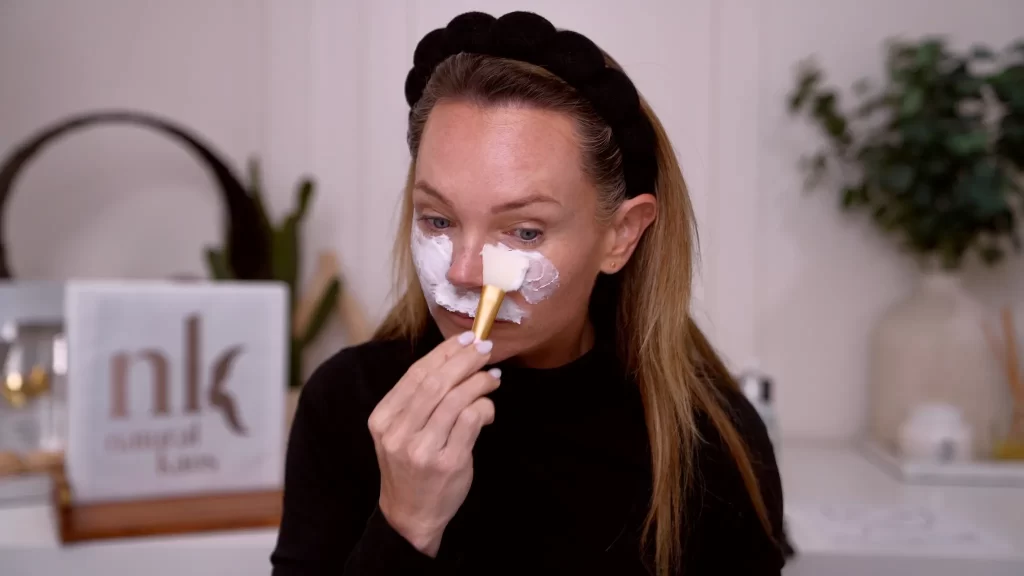
- Then I add my 10% Lidocaine Cream from Korea
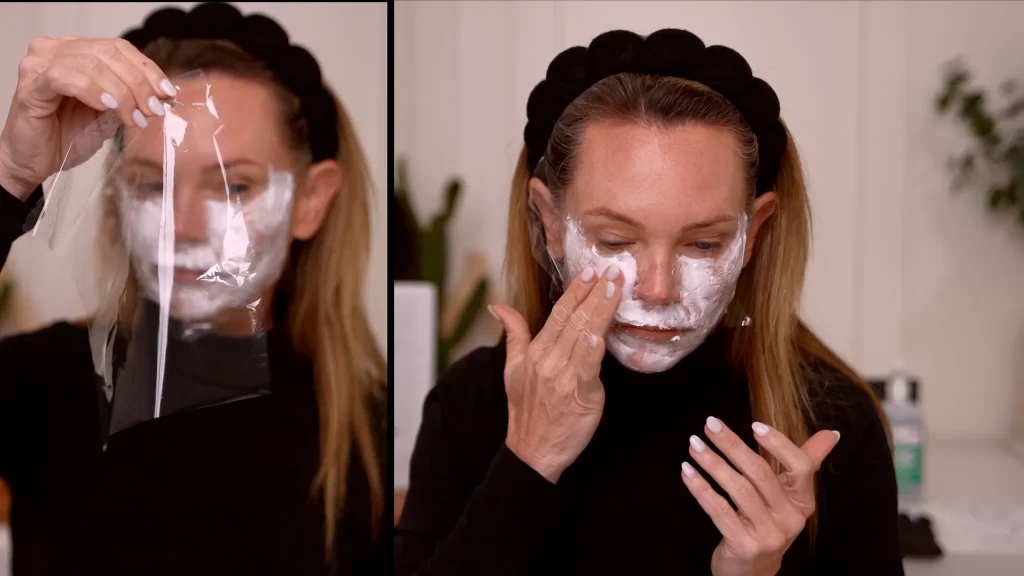
- I top this with plastic wrap
- Let it sit for 30-45 minutes before treatment
- I remove the numbing cream as I treat areas to maintain comfort
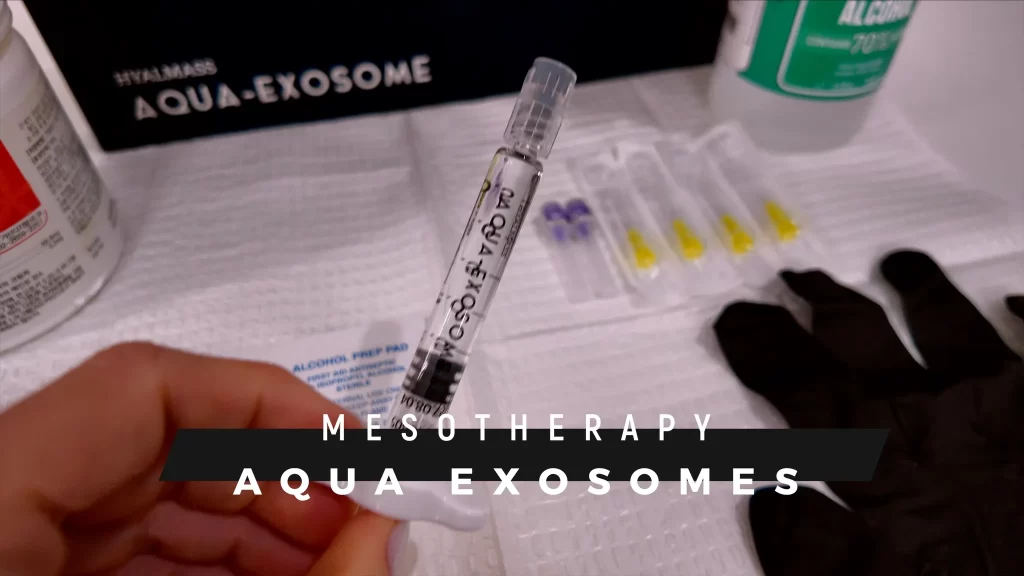
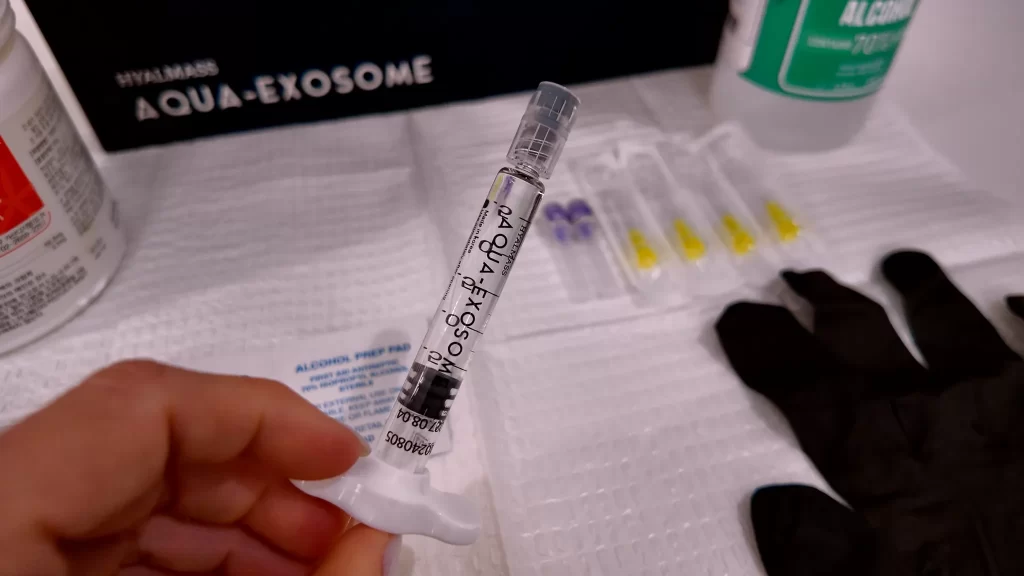
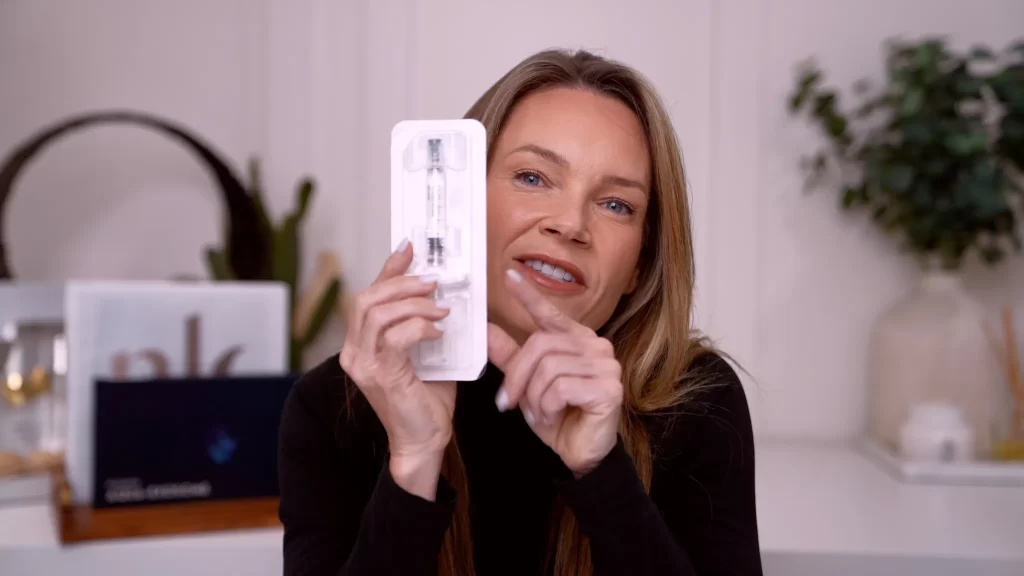
- Product:
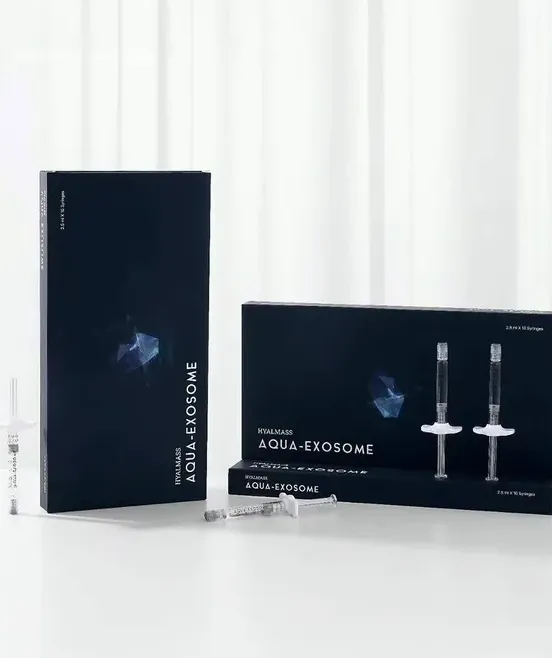
- I’m using a sterile 2.5 mL vial of aqua exosomes
- I’ll be injecting tiny amounts — we’re talking microdroplets
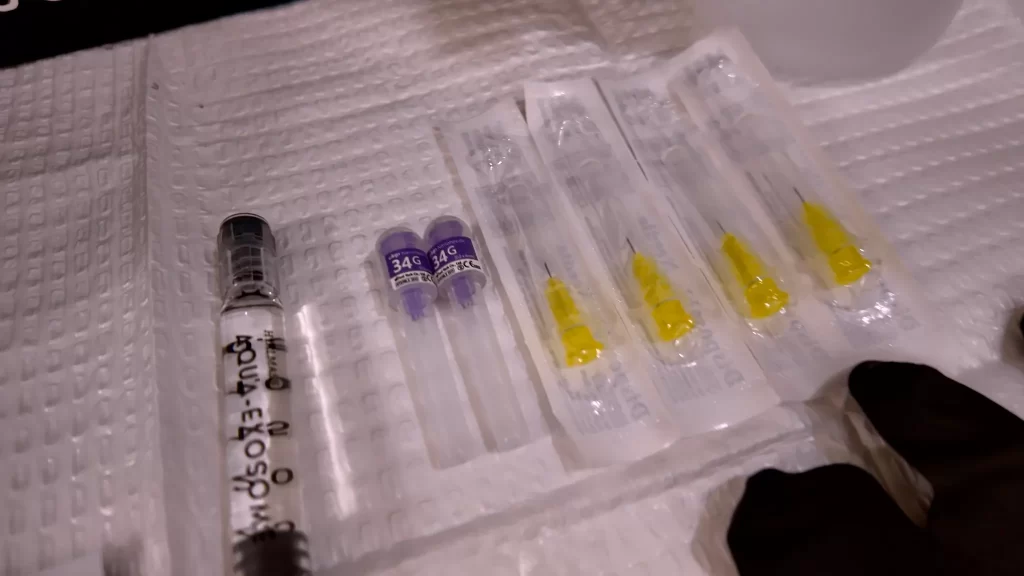
- Tools:
- A mesotherapy injector or insulin syringe with a 32G needle
- Gloves and antiseptics for safety
- Optional: numbing cream if you’re sensitive, which I am


Technique:
Focusing on areas of dehydration and fine lines — under the eyes, cheeks, and nasolabial folds
I’ll be doing a papule technique, tiny blebs spaced about 1 cm apart

- Post-Care:
- No makeup or actives for 24 hours
- Use gentle, hydrating skincare only
- Avoid sweating or heat for the first day
This entire protocol will be conducted in my Skin & Wellness App, which is linked below — that’s where I perform the actual injection process in real-time.
.
JUMP TO THE APP

Alright, I’m heading into the app now to complete the full treatment. If you’d like to see it in action, click the link in the description, and I’ll see you there. Then, come right back here because I’ll show you what my skin looks like immediately after. This procedure was performed on April 28, 2025. If you visit my profile in the app, you will see it in my feed.
POST-TREATMENT UPDATE
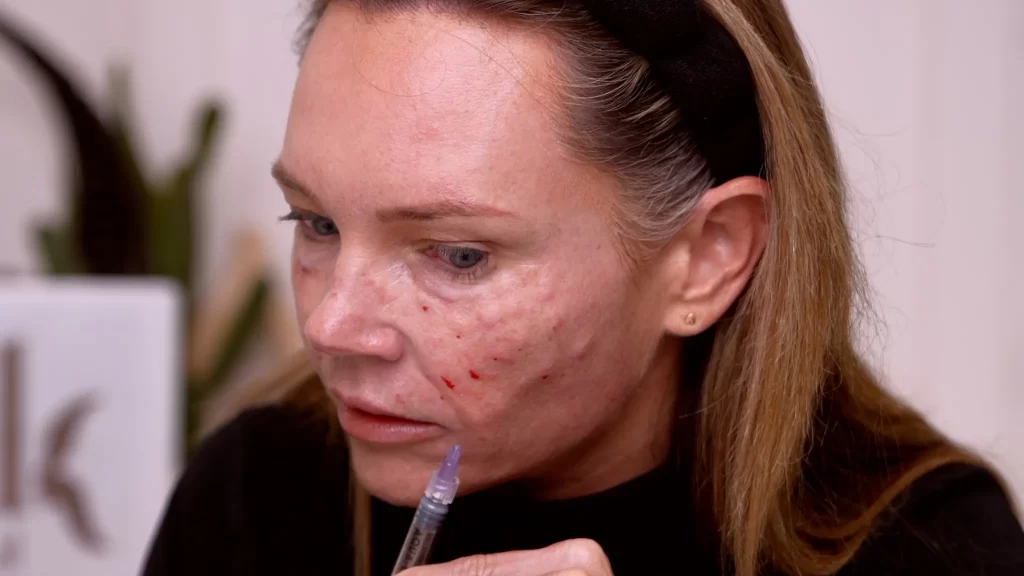
Okay, I’m back! Here’s what my skin looks like immediately after the aqua exosome mesotherapy.
You’ll probably notice some redness and little bumps at the injection sites — this is totally normal. This usually calms down within a few hours. My skin feels hydrated already, and there’s no burning or stinging.
The best part is that exosomes continue to work for 24-72 hours, stimulating collagen and accelerating skin repair beneath the skin surface.
24-HOUR UPDATE

It’s now 24 hours later, and I’m honestly impressed. The redness is gone, my skin looks plumper and feels really smooth. There’s a glow that wasn’t there yesterday, especially around my cheekbones and under-eye area.
Mesotherapy with aqua exosomes is subtle but powerful, and what I love is that you can do this once every 2–4 weeks for progressive results. I’ll be keeping this in my monthly routine. The Aqua Exosomes box comes with 10 needless syringes that you can use in your face and scalp to encourage hair growth, and I shared Microneedling my scalp with these exosomes last month in this Live video.
EXOSOME & MESOTHERAPY CONCLUSION

So if you’ve been curious about at-home mesotherapy or looking for a way to introduce exosome skin boosters into your routine safely, this is a beautiful, low-downtime treatment to try. If you aren’t ready for mesotherapy, you can also use microneedling with these Aqua exosomes.
If you found this helpful, be sure to give it a thumbs up and share it with your skincare-obsessed friends. And if you’ve done mesotherapy before or have questions, drop them in the comments — I read and respond to every one.
Additionally, please refer to the description below for my comprehensive DIY exosome mesotherapy Blog checklist, tool recommendations, and links to the products I utilized.
Thanks so much for watching — stay hydrated, stay radiant, and I’ll see you in the next one!
.
SOURCING
You can source Aqua Exosomes here

FillerHouseHyalmass Aqua Exosome
Use code KAOS20 to save 20%

PROTOCOL
🧪 DIY Aqua Exosome Mesotherapy Checklist
Hydration, Collagen Boost & Skin Repair at Home
✅ BEFORE YOU BEGIN
🔲 Clean your space – Use a sterile surface and wash hands thoroughly
🔲 Disinfect tools – Alcohol wipes or UV sterilizer
🔲 Gather supplies (see full list below)
🔲 Chill your exosomes – Keep refrigerated until use
🔲 Apply numbing cream (optional) – Leave on for 15–20 minutes, then remove
💉 SUPPLY LIST
✔️ Aqua Exosomes 2.5 mL (sterile, single-use vial)
✔️ 1 mL insulin syringe (32G recommended) OR mesotherapy injector
✔️ Nitrile gloves
✔️ Hypochlorous acid spray or 70% isopropyl alcohol
✔️ Cotton rounds or gauze
✔️ Gentle cleanser (no actives)
✔️ Optional: Numbing cream (10% lidocaine)
🔬 INJECTION PROTOCOL
🔲 Double cleanse your skin
🔲 Disinfect the full treatment area
🔲 Inject using papule technique (tiny blebs 1 cm apart)
🔲 Focus on:
• Cheeks
• Under eyes
• Nasolabial folds
• Forehead or neck (if desired)
🔲 Use microdroplets — do not overfill!
🔲 Finish with gentle hydrating serum (no actives)
🩹 AFTERCARE
🔲 No makeup or actives for 24 hours
🔲 Avoid sweating, heat, saunas, or heavy workouts
🔲 Keep skin clean and hydrated
🔲 Use hyaluronic acid or barrier-repair moisturizers
🔲 Optional: Apply cooling mask or LED red light 12+ hrs later
📅 RECOMMENDED FREQUENCY
🗓️ Every 2–4 weeks for best results🌟 Benefits are cumulative — think long game!
Want more protocols like this?
Subscribe to Spa and Tell on YouTube
MORE PRODUCTS :
FACE MAPS
MORE TREATMENTS