Testing Russian Toxin Techniques for a Lifted & Youthful Look!
Have you ever heard of Russian toxin placement? It’s a new way of injecting Botox that promises a more lifted, snatched look instead of just freezing wrinkles. But does it work? Today, I’m testing it out and sharing my plan.
On Instagram, I’ve been fed many Russian injectors who specialize in botulinum toxin placement.
I need a touch-up, so today, I decided to test the Russian toxin technique for a lifted and youthful look.
The Russian toxin technique is a specialized botulinum toxin placement method that differs from traditional injections in a few key ways. It’s designed to create a lifting effect rather than the typical “frozen” look associated with Botox.
Although botulinum toxins relax muscles, the Russian strategy promises a lifted effect; we will see.
How Russian Toxin Placement Differs from Traditional Botox
1. Ideal for Certain Face Shapes – This technique is popular for those wanting a more sculpted, “snatched” look rather than just wrinkle prevention.
2. Focus on Lifting – Unlike traditional Botox, which relaxes muscles and can sometimes cause heaviness, this method aims to preserve movement while providing a more snatched, lifted appearance.
3. Strategic Injection Points – Russian placement often targets higher points on the forehead, jawline, and midface to create a natural tightening effect.
Pros & Cons of Russian Toxin Placement
✅ Pros:
- Creates a subtle, lifted look rather than heaviness
- Helps maintain facial expressions while smoothing lines
- May last longer due to different diffusion patterns
❌ Cons:
- May not be as effective for deep wrinkles
- Some patients report a slightly tighter feel in treated areas
Who Is This Best For?
- People who want lifting rather than freezing
- Patients who have noticed heaviness from traditional Botox
After looking at many video examples, I came up with the placement.
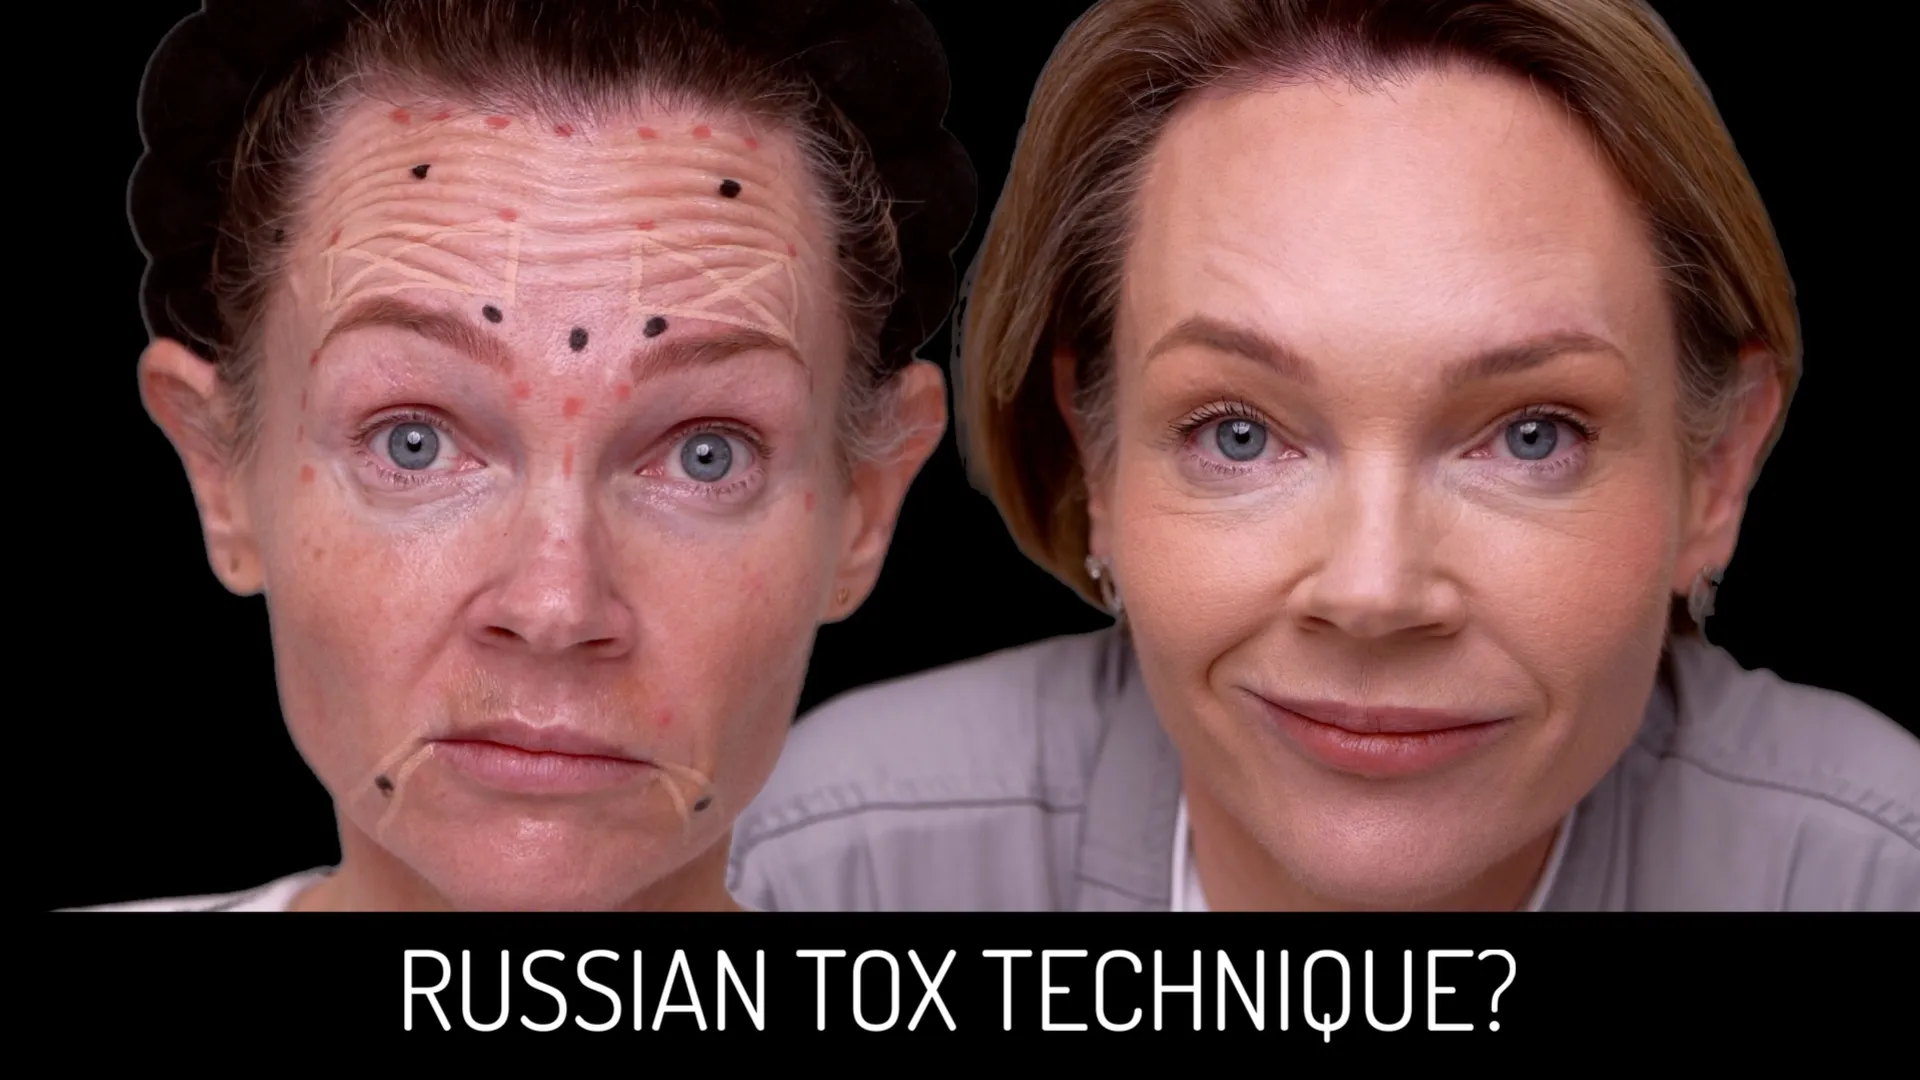
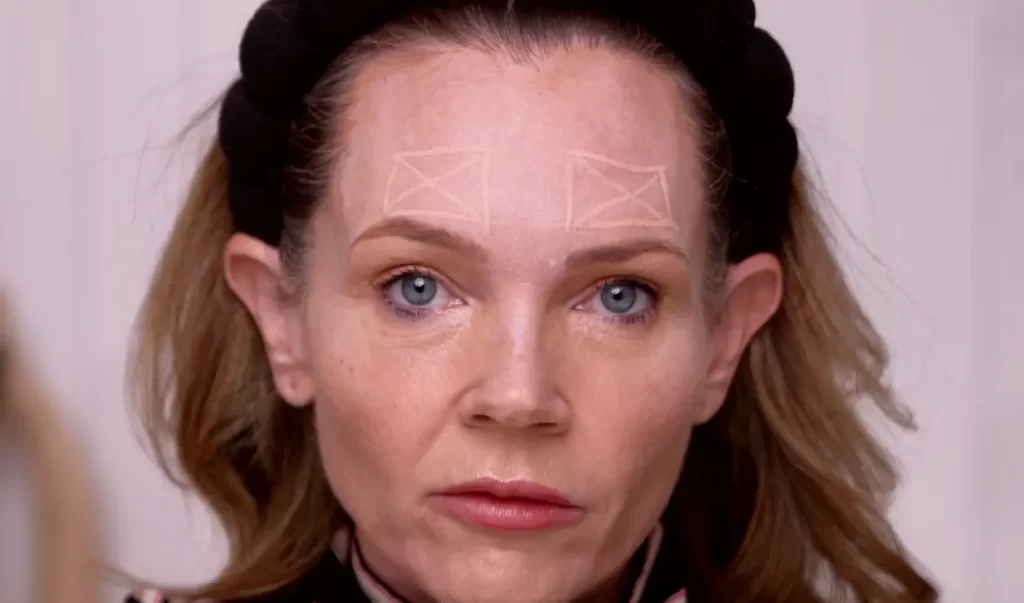
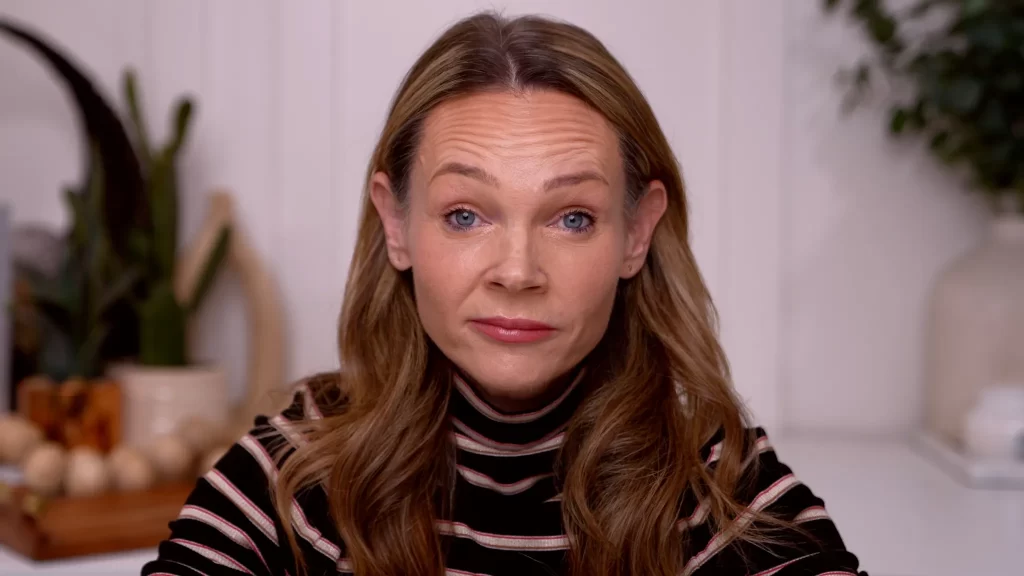
This is what my face looks like right now before treatment.
RESOURCES & SOURCING
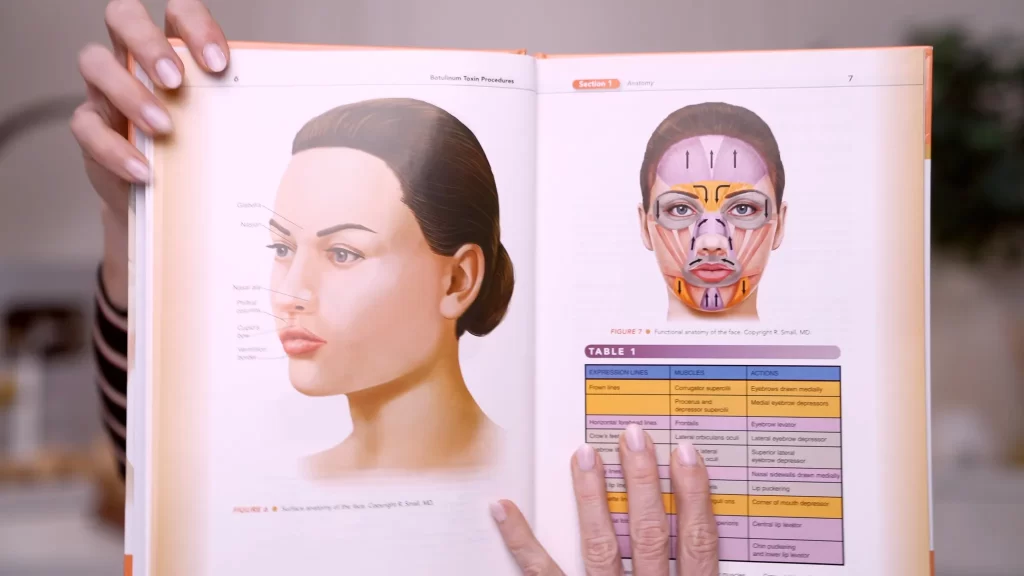
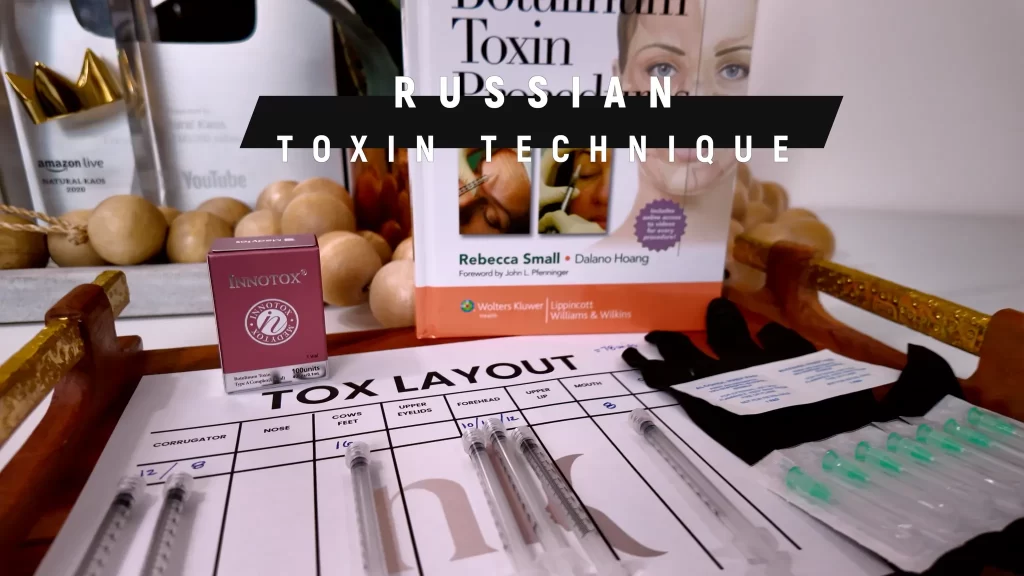
This is the book I use to help identify muscles and in understanding tox placement. You can get this TOXIN book here.
I will do this procedure inside my Skin And Wellness APP and return after placement.
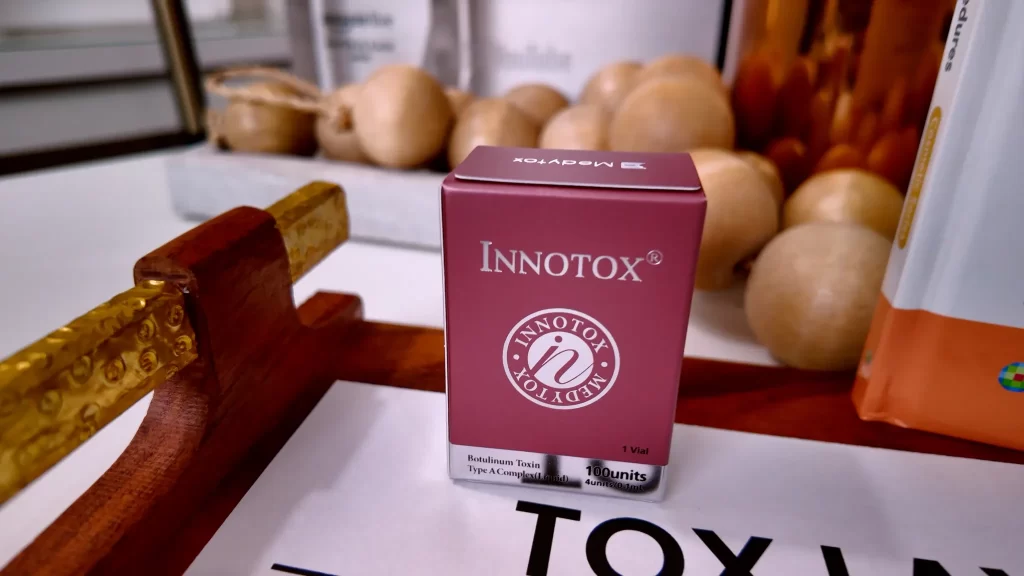
You can purchase Innotox here and save 20% with KAOS20
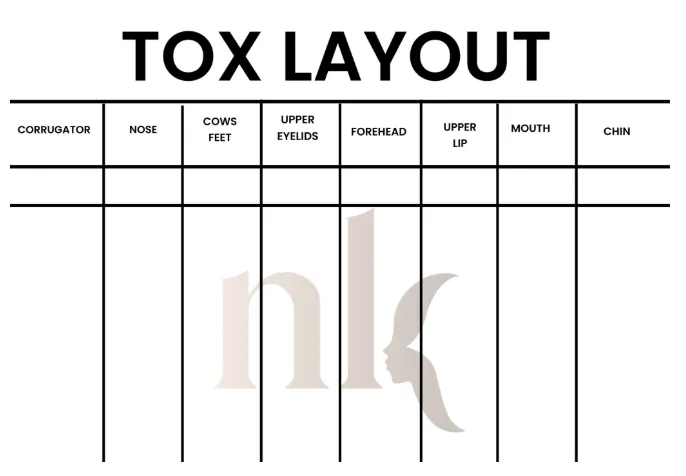
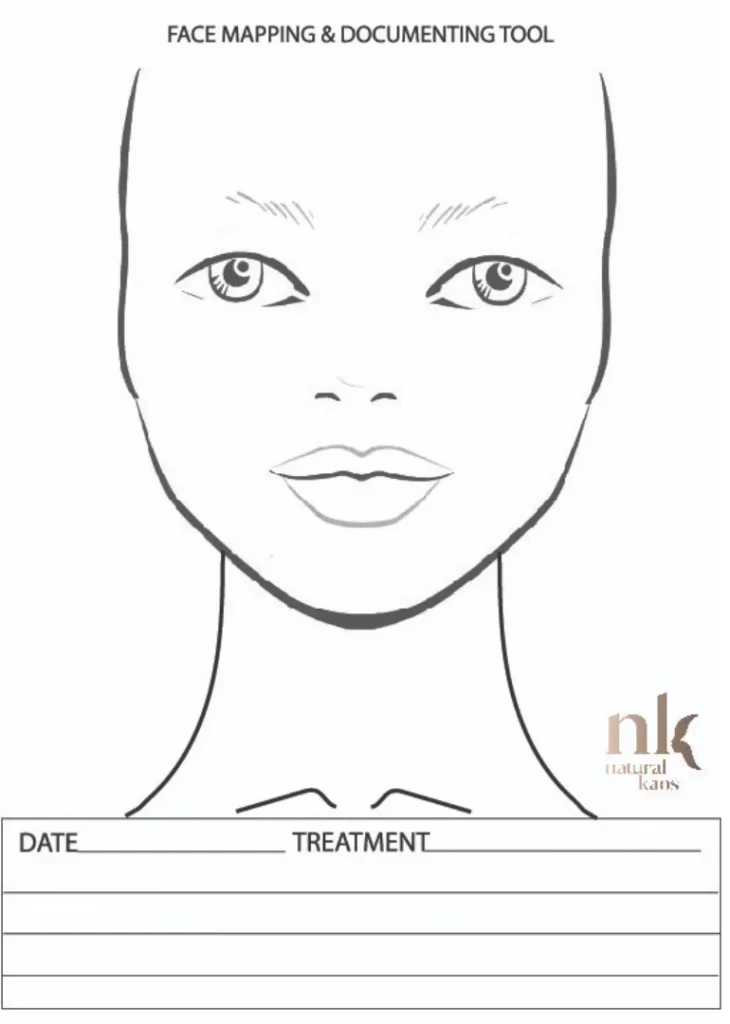
You can download and print my face maps and TOXIN LAYOUTS here.
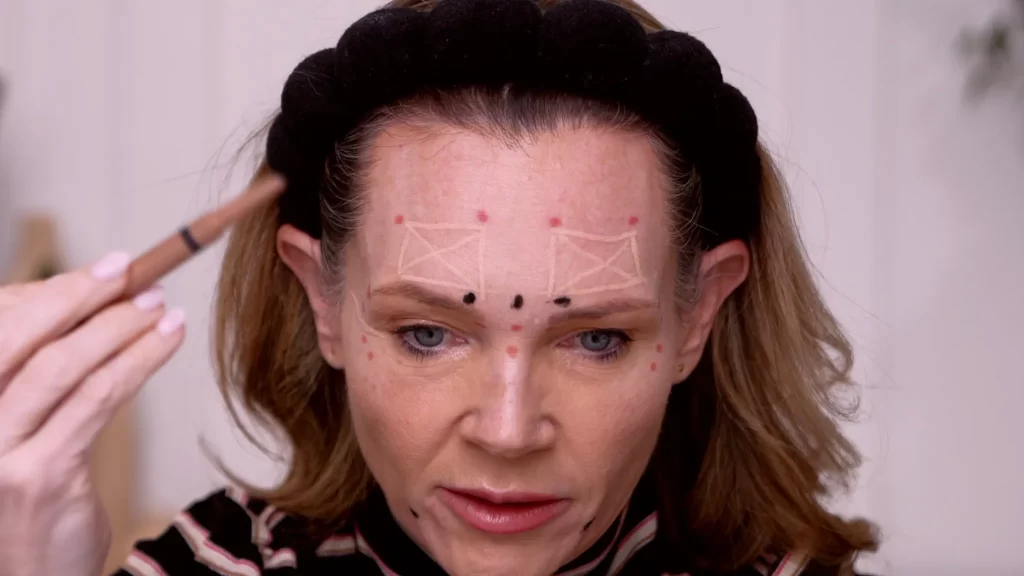
For marking I use eyeliner makeup pencils
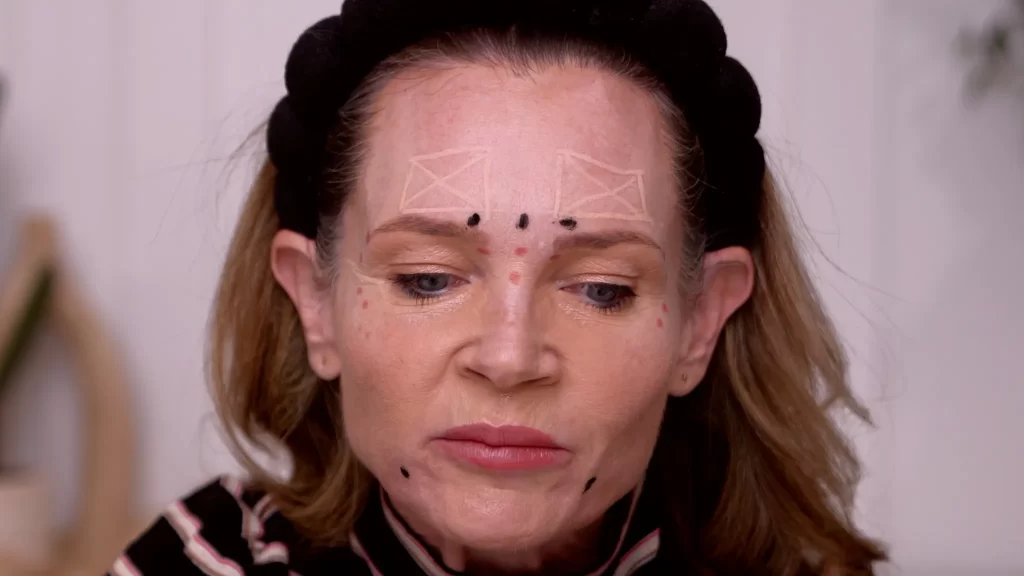
MARKING OUT FOR THIS PROCEDURE
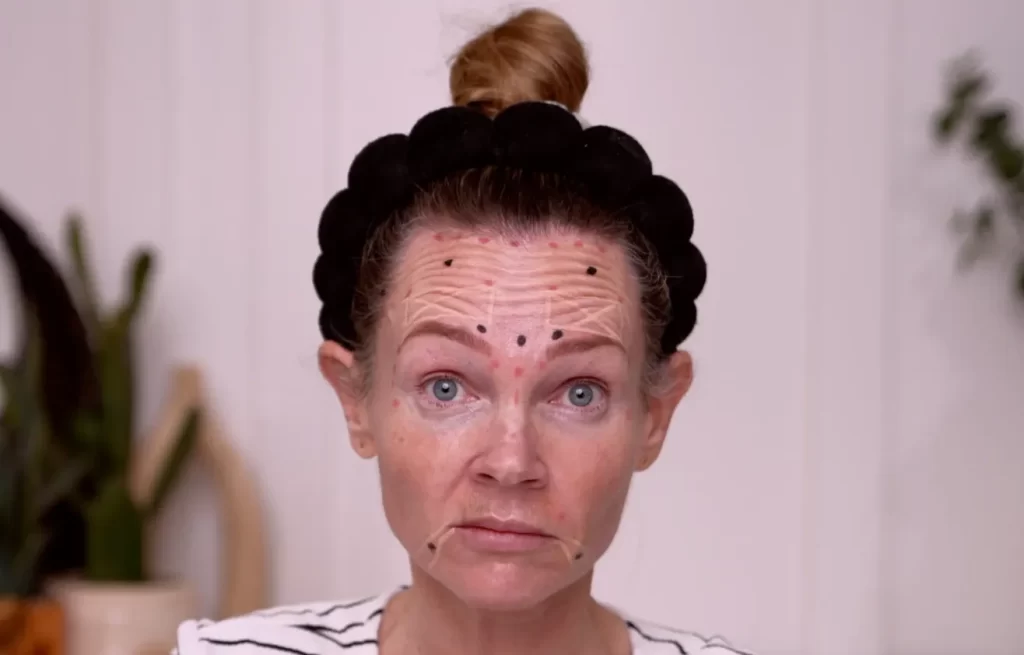
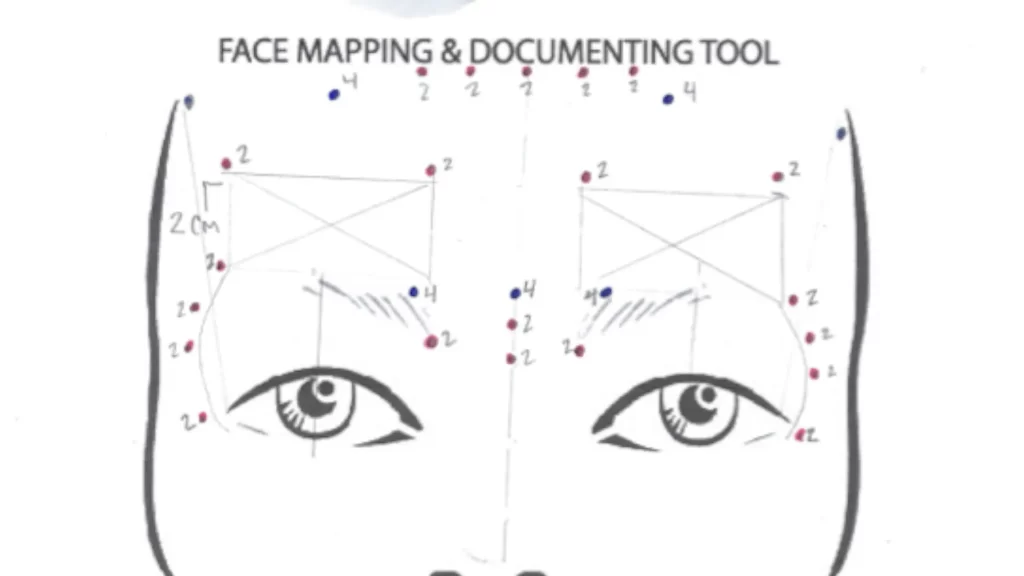
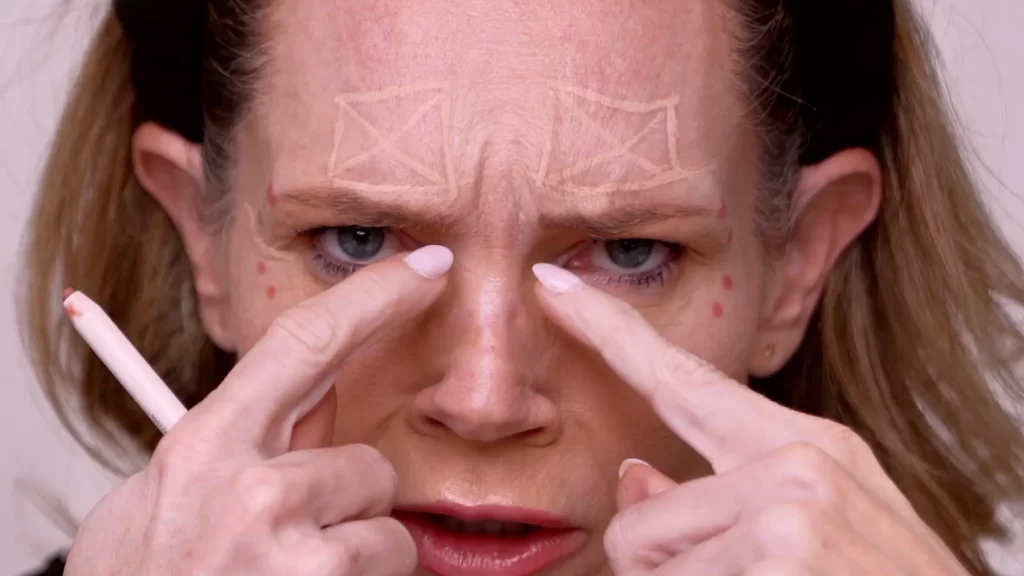
Where not to place.
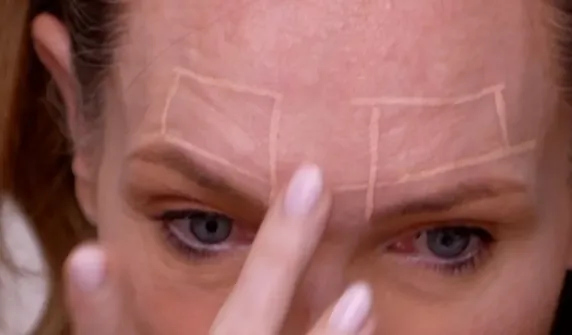
You will make a 2cm box above your eyebrows for this technique.
Crows Feet
Four points are in the crows feet area along the orbital ring about 2cm out from the eye. These will each be 2 units of Innotox.
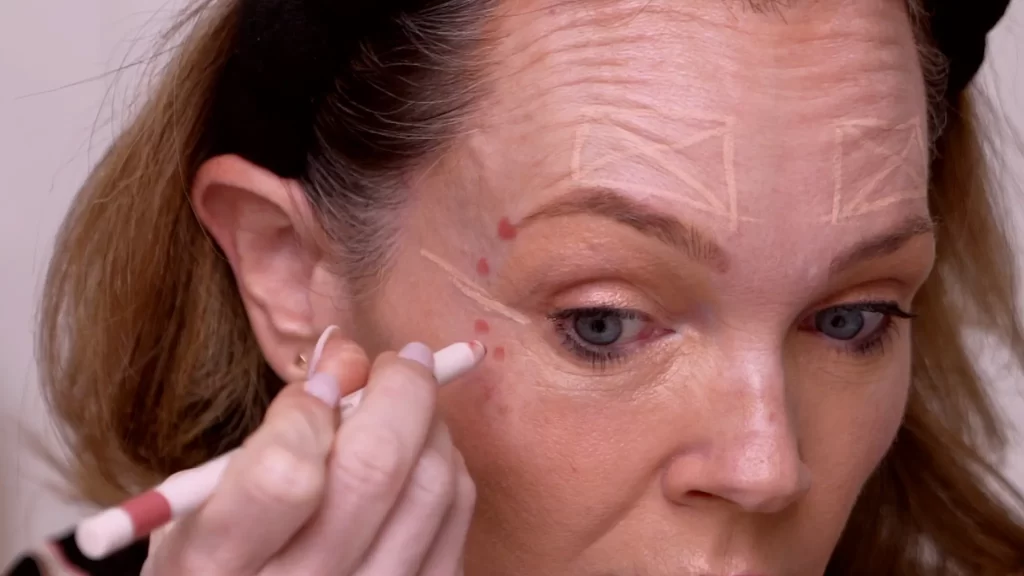
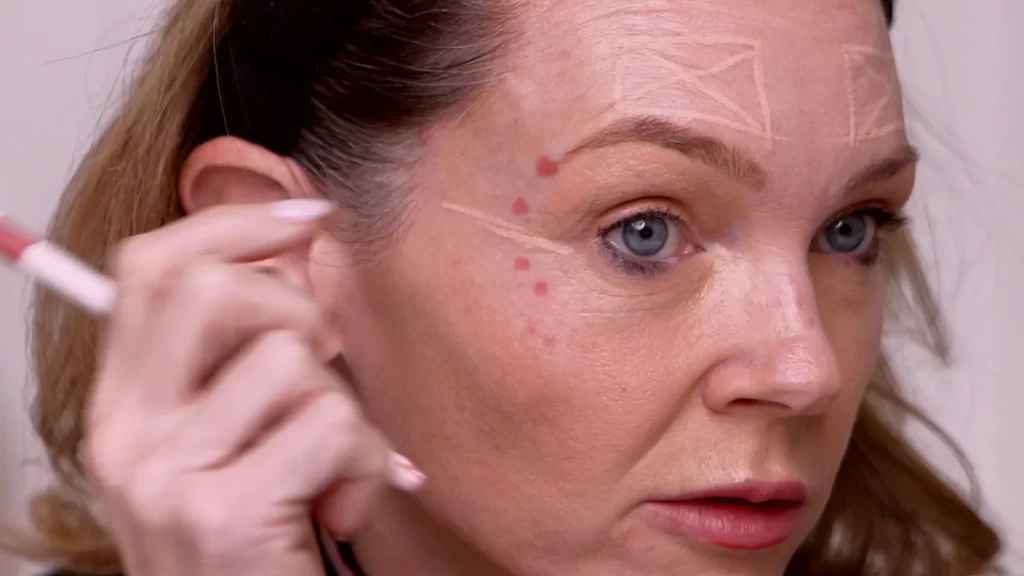
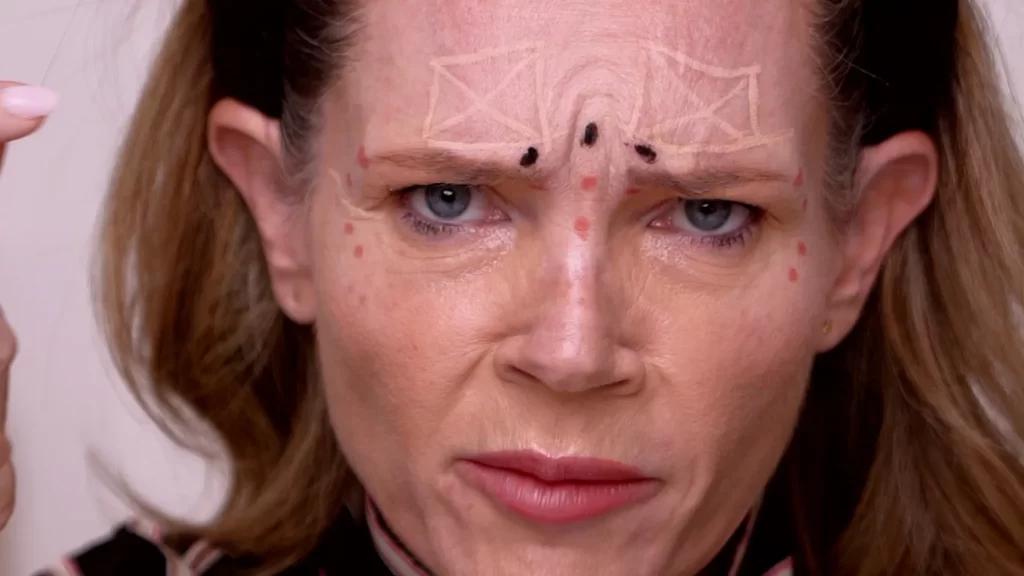
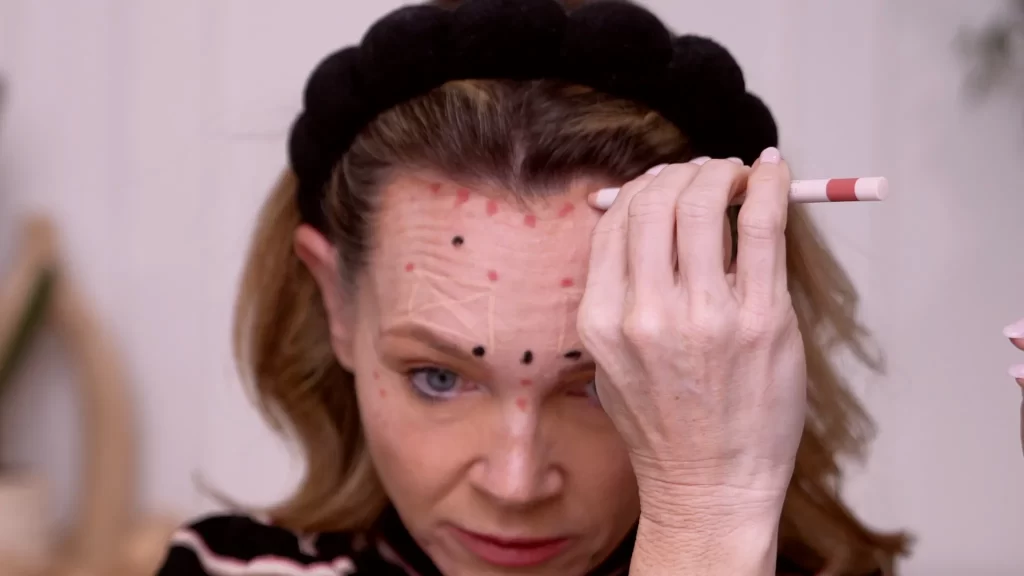
Corrugator
To control my corrugator, I have four points of 2 units of Innotox along my upper nose and at the base of each of my eyebrows.
Above this I have 2 points of 4 units in black above my eyebrows and one in the center where my face makes an upside down U.
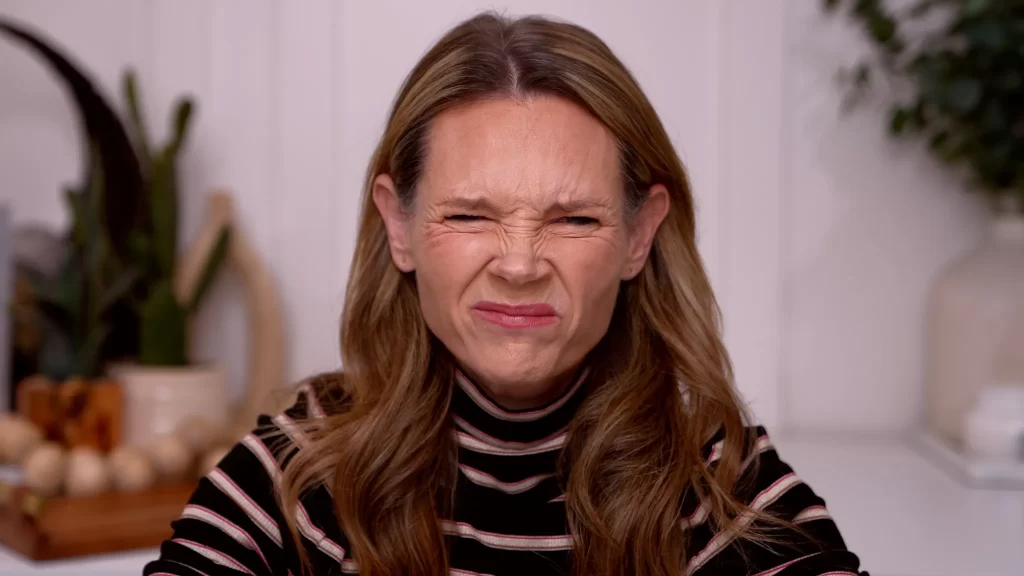
Turn down mouth, DAO’s
To fix the turn down mouth effect you locate the depressor anguli oris. Find it by going to 2cm out from the corner of your mouth and 2cm down. You can also find and feel it when you accentuate this pull down by making the carp mouth face. I place 4 units of Innotox at these points.
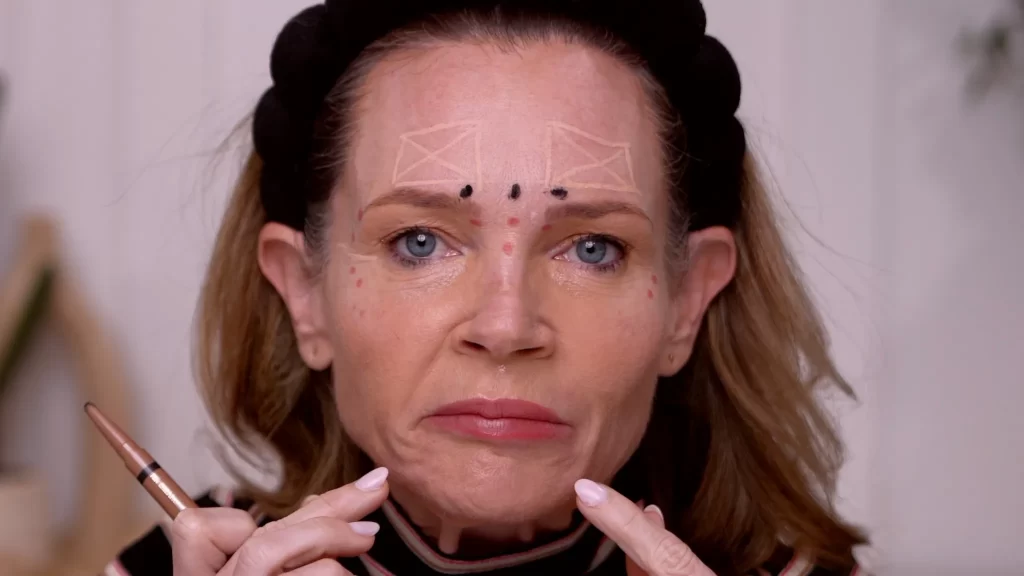
Frontalis
For the frontalis I add four points of 2 units of Innotox above the 2cm block and then 1cm up between each of the two pink dots I place 4 units in black.
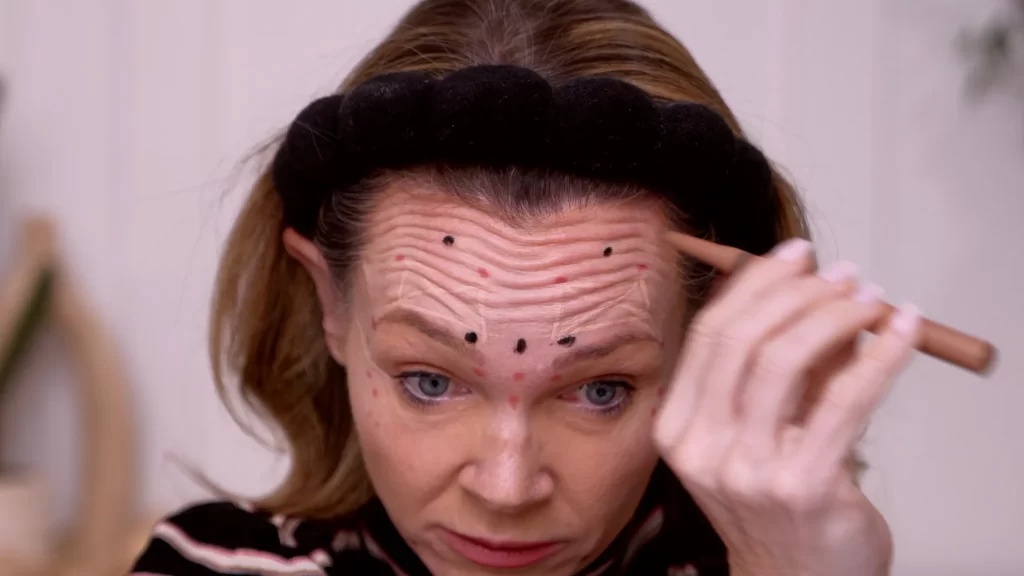
Temporal
To open the eye and give it more lift I place 4 units in my temporal region. Its inside the hairline making it harder to show, but basically I took a ruler lined it up with my eyebrow tail and temple and then placed 2cm inside my hair line.
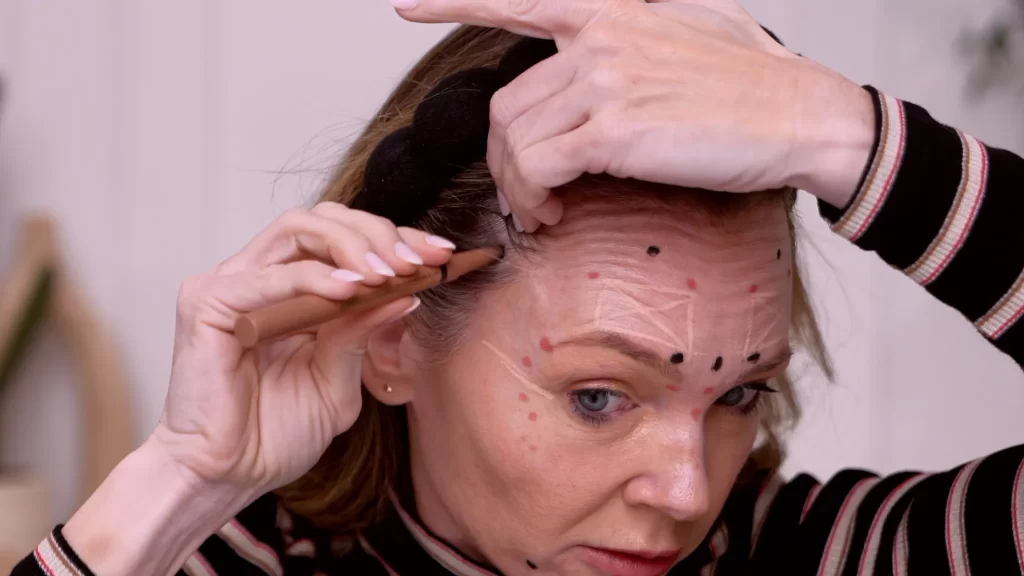
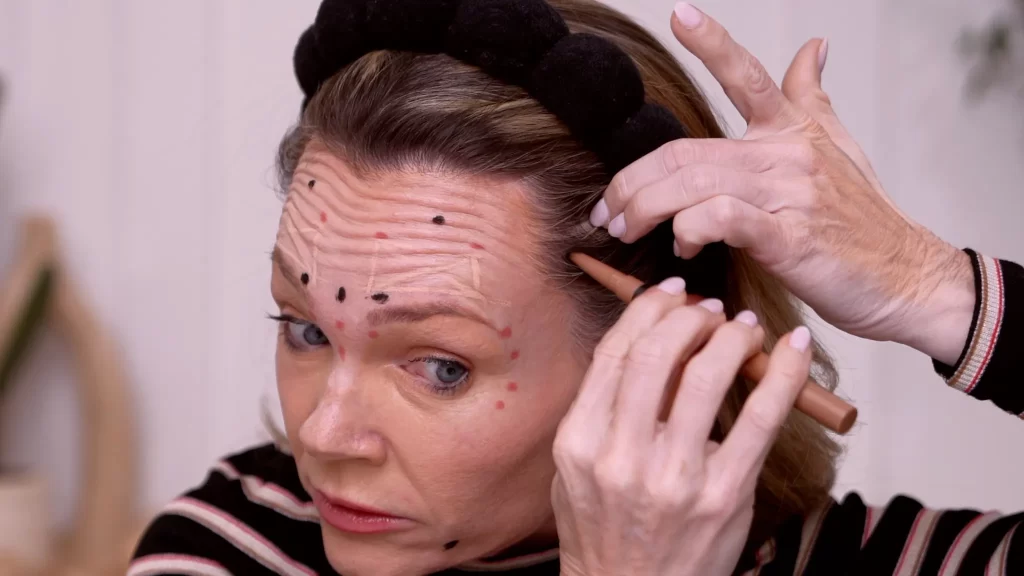
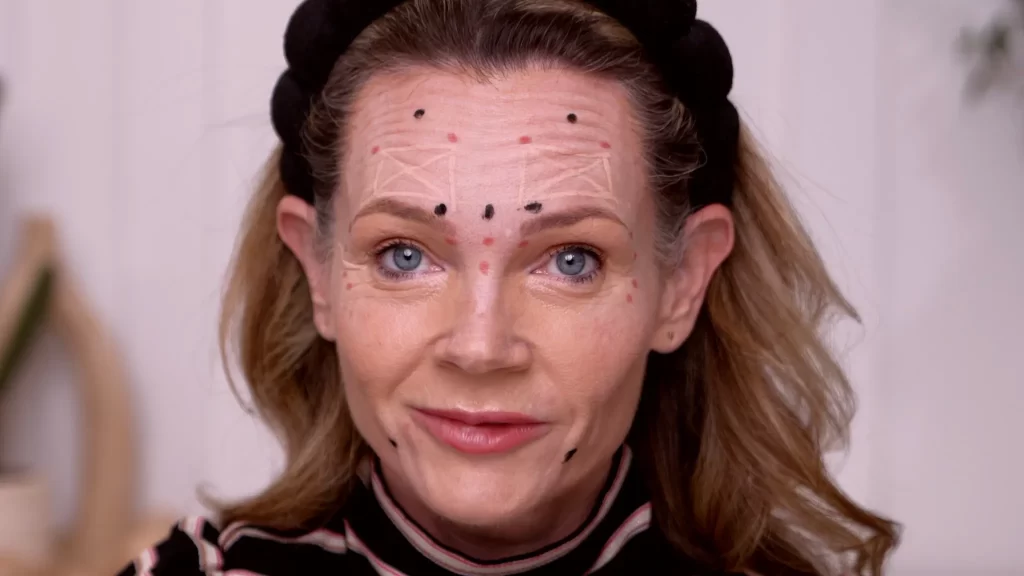
Hairline
This is one of the areas that really denotes the Russian tox technique. Instead of scattering toxin throughout the frontalis, you do 2 unit increments close along the hairline. This is suppose to give more lift to the brow instead of it feeling heavy. In this picture I marked 7 places but really my map is set up for 5 places. We all have different widths and this is a place that you can modify if you feel you need more.
BEFORE INNOTOX RUSSIAN TOX TECHNIQUE

I used Innotox, and I love this toxin because it has a quick uptake, so in about 3 days, we should see results.
Here is one week post-injecting Innotox.
.
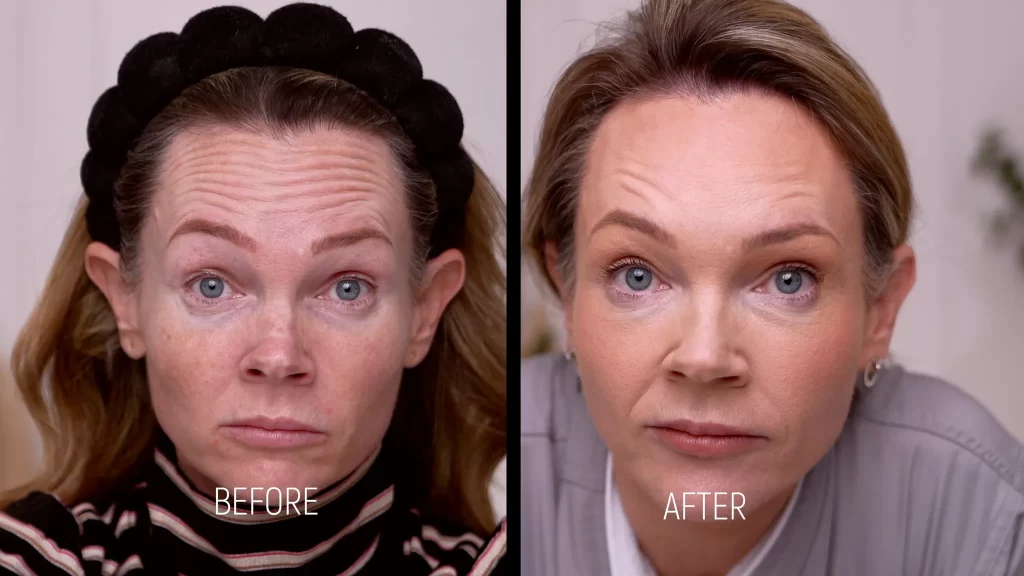

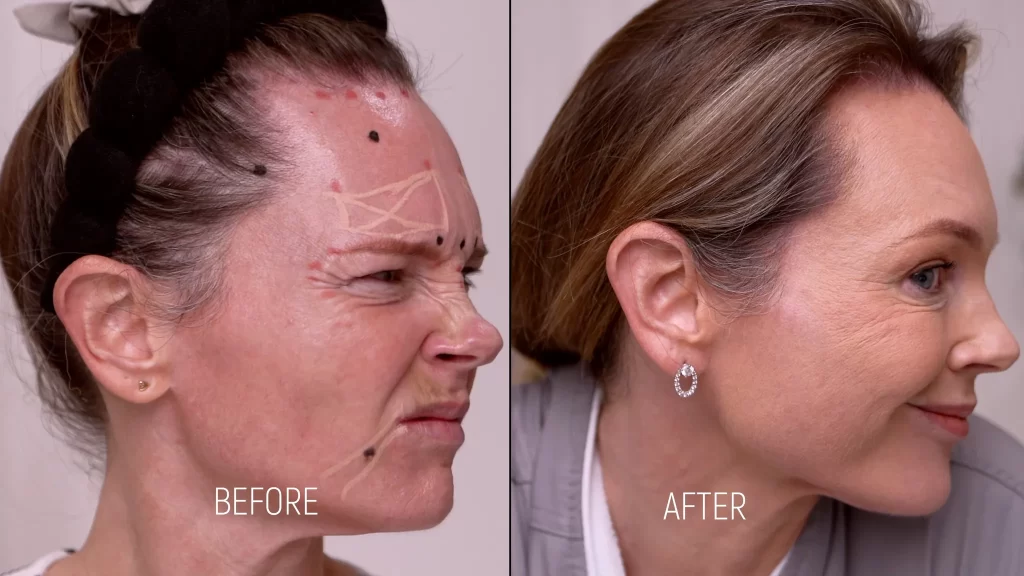

I’m loving the results from this Russian tox technique! My forehead still has natural movement, but everything looks so much smoother—and my eyes feel more open and refreshed. I hope this video and blog helped guide you on your own toxin journey.
Kim xoxo 💉✨
-
How to Dermaplane at Home: Texture Reset & Glow Routine
-

How to cover a bruise with makeup
-

Is Retatrutide Better Than Semaglutide or Tirzepatide? Full Breakdown
-
Tighten Your Neck with Microneedling and Hyaron | Full Protocol
-
Russian Lip Filler Technique Explained: Why It Looks So Different
-
HOW TO SMOOTH STRETCH MARKS WITH Hyaron AND CHANNEL PRO PEN MICRONEEDLING
-
Scalp Microneedling for Hair Growth with Hanaheal Hair Filler
-
Microneedling With Exosomes for Fine Lines and Wrinkles
-
Rejuner Red Mesotherapy for Crepey Neck Skin — Complete Treatment Guide (Results + What to Expect)
-
How To Erase Crepey Neck Skin | Best Routine + Tools
-

New Years Eve in Hawaii Try-On Bikinis & Dresses
-

Every Injectable I Did in 2025: Full Timeline, Products Used & Why I Chose Them